
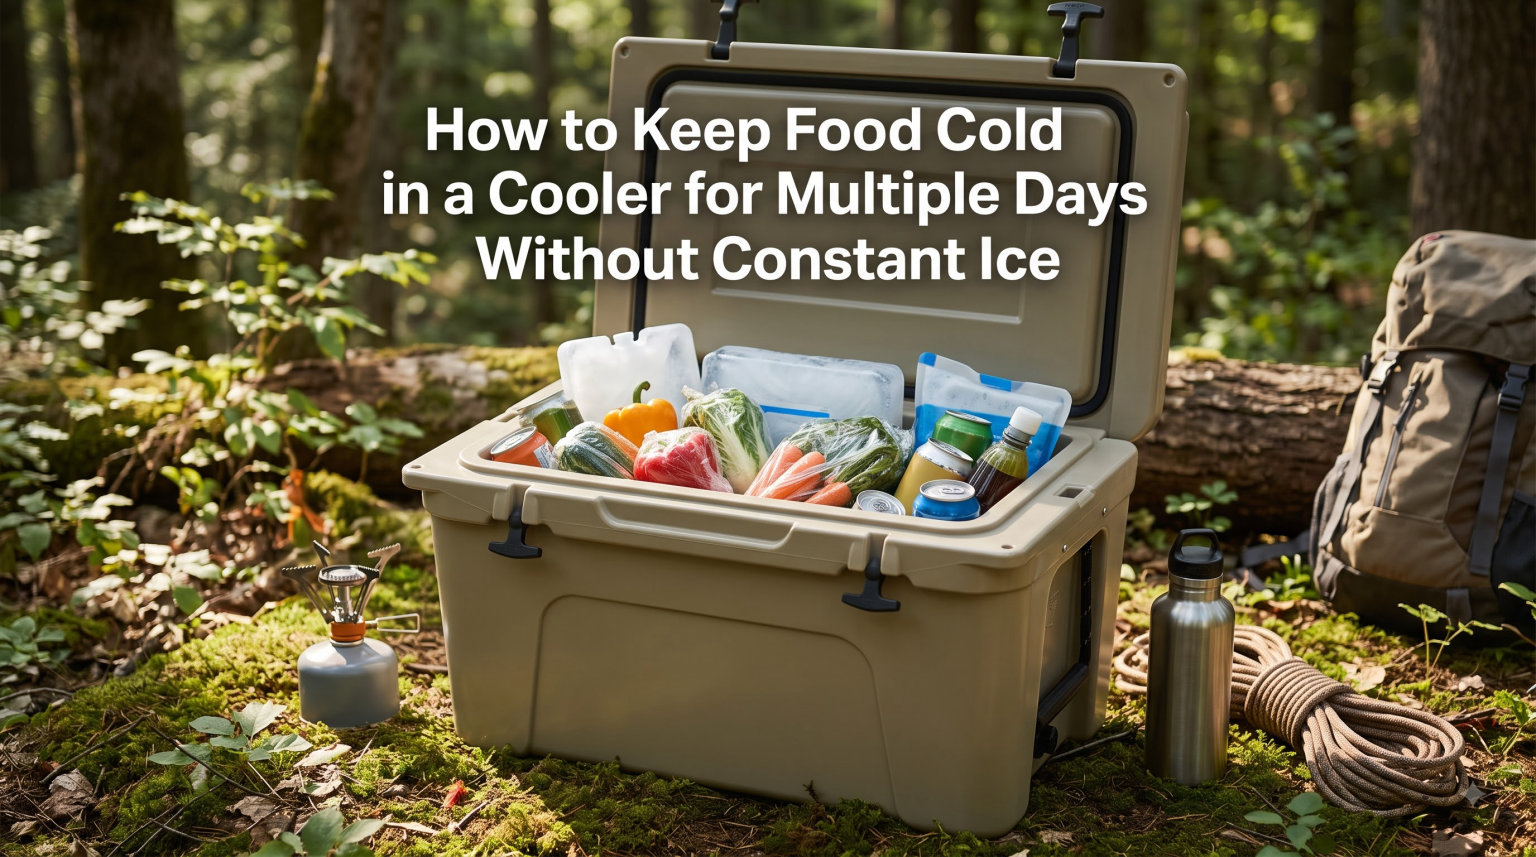
Yes, a well-packed cooler can keep food cold for three to five days without constantly buying fresh ice. The trick is combining a pre-chilled rotomolded cooler, frozen water bottles instead of bagged cubes, strategic layering at a 2:1 ice-to-food ratio, constant shade, and disciplined lid management.
If you have ever opened your cooler on day two of a camping trip and found everything swimming in lukewarm water, you are not alone. Soggy food, spoiled meat, and constant ice runs are the most common complaints I hear from campers and road trippers. The good news is that nearly every cooling failure comes down to a handful of fixable mistakes.
In this guide, I will walk you through exactly how to keep food cold in a cooler without ice runs every few hours. I have pulled together techniques from experienced backcountry campers, food safety standards, and plain physics so you can pack once and stop worrying about your provisions for days.
Whether you are heading out for a three-day weekend or a full week off the grid, these methods will help your cooler hold temperatures below 40 degrees Fahrenheit far longer than you thought possible. Let us start with why most coolers fail in the first place.
Table of Contents
The Physics of Cold: Why Coolers Lose Their Chill
Coolers do not make things cold. They only slow down the rate at which heat enters. Once you understand that single principle, every strategy in this guide makes sense.
Heat travels into your cooler through three mechanisms. Conduction happens when warm air outside touches the cooler walls and transfers energy through the insulation directly. Convection occurs every time you open the lid and warm air rushes in to replace the cold air that escapes. Radiation is the sun beaming infrared energy onto the exterior surface, heating it like a car dashboard in July.
A cheap cooler with thin foam walls lets heat conduct through quickly. A rotomolded cooler with pressure-injected foam and a freezer-grade gasket seal slows conduction dramatically. But even the best cooler fails if you leave it in direct sun and open it every twenty minutes.
Then there is thermal mass, which is the single most important concept in this entire guide. Thermal mass is simply the amount of cold-storing material inside your cooler. The more frozen mass you pack, the longer the interior stays cold because that mass absorbs incoming heat before your food warms up.
Think of it like a bank account. Frozen water bottles are your savings. Every time warm air leaks in, it makes a small withdrawal from that frozen mass. If you have plenty in the bank, your food stays safe for days. If you start with almost nothing, you are broke by noon.
Bagged ice has a hidden problem too. As it melts, it turns into water that pools at the bottom. That water is above freezing, so it actually warms your food from below. Campers call this mess cooler soup, and it is the number one reason food spoils prematurely. Every method in this guide is designed to fight that specific failure.
Start With the Right Cooler
Your cooler is the foundation of everything else in this guide. You can pack brilliantly, but a thin-walled bargain cooler will still leave you with warm food by day two.
Rotomolded vs Traditional Coolers
Rotomolded coolers are built from a single molded piece of polyethylene with thick, pressure-injected foam insulation in the walls and lid. Brands like Yeti, Pelican, RTIC, and Orca dominate this category. They cost more but can hold ice for five to ten days in the right conditions.
Traditional coolers have thinner blow-molded walls, less insulation, and often a loose-fitting lid with no gasket. They work fine for a day at the beach but struggle beyond 48 hours. The difference in ice retention between the two types is not marginal. It is the difference between replacing ice twice a day and not replacing it at all.
Here is a quick comparison of what matters:
Wall thickness: Rotomolded coolers typically have 2 to 3 inches of foam. Traditional coolers often have less than 1 inch.
Lid seal: Rotomolded models use freezer-grade gaskets that compress when latched. Traditional lids simply rest on top with a small lip.
Latches: Heavy-duty T-latches on rotomolded coolers pull the lid tight. Traditional coolers usually have cheap plastic clips or nothing at all.
Ice retention: Rotomolded coolers hold ice 5 to 10 days. Traditional coolers hold ice 1 to 3 days under the same conditions.
Drain plug: A good cooler has a threaded, gasketed drain plug you can attach a hose to. Cheap ones have a push-in plug that leaks.
If you are serious about multi-day trips, a rotomolded cooler is the single best investment you can make. Everything else in this guide works better when your cooler is not fighting you.
Size Matters: Bigger Is Not Always Better
A larger cooler holds more thermal mass, but it also contains more empty airspace that must be cooled. Air is a terrible insulator and warms quickly. The ideal cooler is just large enough to hold your food and frozen bottles with minimal empty space.
For a two-person, three-day trip, a 45 to 65-quart cooler is typically plenty. For families or longer trips, step up to 75 to 100 quarts. Fill any remaining airspace with extra frozen bottles, towels, or newspaper so there is no room for warm air to pool.
Pre-Chill Everything: The 24-Hour Rule
Pre-chilling is the step most people skip, and it is the one that arguably doubles your ice life. If you load room-temperature food into a room-temperature cooler, your ice spends the first several hours just cooling down the cooler walls and the food itself.
Step 1: Chill the Cooler
Twenty-four hours before your trip, fill your cooler with bagged ice or frozen water bottles and close the lid. Leave it in a cool spot indoors. This drops the interior wall temperature dramatically so your real cooling load starts cold, not at ambient room temperature.
If you are short on time, even four to six hours of pre-chilling helps. But the full 24 hours makes a measurable difference because the thick foam walls need time to fully absorb the cold.
Step 2: Pre-Freeze Your Food
Freeze everything that can be frozen without ruining it. Meat, pre-cooked meals, stews, chili, and casseroles all freeze beautifully and become additional thermal mass as they slowly thaw over days. Milk, cheese, and even some breads can go in the freezer for 24 to 48 hours before departure.
Plan your meals in reverse order. Freeze the meals you will eat last. They will thaw slowly and be ready by day three or four. Foods for day one can go in the cooler cold but not necessarily frozen.
This strategy turns your food into ice. Every frozen steak or block of frozen chili is another soldier fighting to keep the cooler cold. A forum member on a popular camping subreddit put it perfectly: freeze cheese, eggs, and milk in plastic containers and they double as cooling bricks for the first two days.
Step 3: Pre-Chill Drinks Separately
Warm drinks dumped into a food cooler will tank your internal temperature fast. If possible, chill drinks in a refrigerator before loading them. Better yet, use a separate cooler for drinks entirely, which leads directly into the packing strategy below.
Ditch the Bagged Ice: Smarter Alternatives
Bagged ice is the worst choice for multi-day cooling. It melts fast, pools into warm water, and soaks your food. The alternatives below all outperform cubed ice by a wide margin.
Frozen Water Bottles: The Workhorse
Frozen water bottles are the single best ice replacement for most campers. They melt slowly because the plastic traps the meltwater inside. Your food stays dry, your cooler never develops that swampy soup, and when a bottle finally thaws you have cold drinking water.
Use a mix of bottle sizes. Large one-gallon jugs freeze solid and last the longest, acting as your primary thermal mass. Smaller half-liter bottles fill gaps between food items and cool small spaces efficiently. A good starting load is one gallon-size frozen jug for every 10 to 15 quarts of cooler space.
Freeze the bottles at least 48 hours before your trip. A bottle that is only partially frozen will melt far too quickly and provide less cooling than a fully solid block.
Saltwater Frozen Bottles: The Secret Weapon
Here is a technique that barely shows up in mainstream guides but gets rave reviews in camping forums. Add salt to the water before freezing your bottles. Saltwater freezes at a lower temperature than freshwater, which means it also melts at a lower temperature.
The practical effect is significant. A frozen saltwater bottle stays colder than a frozen freshwater bottle as it thaws. This keeps the surrounding food colder for longer because the bottle absorbs more heat before reaching 32 degrees Fahrenheit.
To make them, dissolve roughly one cup of table salt per gallon of water. Shake well, leave an inch of headspace for expansion, and freeze for 48 hours. Label these bottles clearly so nobody drinks the salty water by mistake. Use them as your bottom-layer thermal mass underneath the food.
I recommend combining freshwater and saltwater bottles. Use freshwater bottles where you might want to drink them, and saltwater bottles for pure cooling power in the base layer.
Block Ice vs Cubed Ice
If you must use real ice, choose block ice over cubes every time. A solid block has far less surface area than the same volume of cubes, so it melts much more slowly. You can buy block ice at most gas stations near camping areas, or freeze your own using milk cartons or plastic containers.
One experienced camper on a camping forum suggested freezing water in clean gallon milk jugs. Those large ice chunks keep a cooler cold for a couple of days with zero soggy mess because the plastic contains the melt.
Dry Ice for Extended Trips
For trips longer than four days, dry ice is worth considering. It sublimates directly from solid to gas at minus 109 degrees Fahrenheit, so it never creates liquid water. Your food stays cold and bone dry, which eliminates the cooler soup problem entirely.
Dry ice is roughly three times colder than regular ice and lasts much longer. A ten-pound block can keep a well-insulated cooler below freezing for two to three days on its own.
However, dry ice requires caution. Never handle it with bare skin because it causes burns. Keep your cooler ventilated, because the carbon dioxide gas it releases needs to escape. Never store dry ice in an airtight container or a sealed vehicle overnight. Place it at the bottom of the cooler with a layer of cardboard between it and your food so it does not freeze items solid.
Reusable Gel Ice Packs
Hard-sided gel ice packs are convenient and mess-free, but they do not last as long as frozen water bottles or block ice. Use them to fill small gaps between food items or in a separate day-cooler for drinks. They are best as a supplement rather than your primary cooling strategy for multi-day trips.
How to Pack a Cooler for Multiple Days
This is the heart of the guide. How you pack matters as much as what you pack. A poorly organized cooler will burn through its thermal mass in half the time, no matter how good your ice strategy is.
The Golden Ratio: 2:1 Ice to Food
Aim for a ratio of roughly two parts frozen mass to one part food by volume. This means two-thirds of your cooler should be filled with frozen water bottles, block ice, or pre-frozen meals. Only one-third should be food that is cold but not frozen.
Most people do the opposite. They fill the cooler mostly with food and toss in a single bag of ice. That cooler will be warm by the end of day one. Flip the ratio and your cooling time doubles or triples.
Layer From Bottom to Top
Cold air sinks and warm air rises, so organize your cooler vertically with this principle in mind.
Bottom layer: Place your largest frozen water bottles and saltwater jugs here. This is your thermal foundation. Add block ice if you are using it. The bottom stays coldest the longest, so this layer does the heavy lifting.
Second layer: Place the meals you will eat last. These are the items that need to stay frozen the longest. By the time day four arrives, they will have thawed to the perfect temperature.
Middle layers: Pack day two and day three meals in order, with the earliest meals on top. Fill every gap between food items with smaller frozen water bottles or ice packs. Air gaps are your enemy.
Top layer: Place day one food and anything you need frequent access to, like snacks or lunch fixings. Cover the top with a final layer of frozen bottles or a frozen towel.
Organize Food by Day and Tape It Off
This is a strategy from Alpine Savvy that most guides overlook entirely. Divide your food into sealed bags or containers labeled by day. Then use duct tape to create physical barriers between day sections inside the cooler.
When you reach into the cooler on day two, you only open the day-two section. The day-three and day-four food stays sealed behind the tape, untouched by warm air. This dramatically reduces how much cold air you lose each time you open the lid.
Some campers go further and write do not open until day three on the tape. The psychological barrier works. It stops you from rummaging through the entire cooler looking for a snack and letting all your cold air escape.
Keep Food Off the Bottom and Out of Meltwater
Even with frozen bottles, some condensation will accumulate. Keep your food elevated above the base layer using a small rack, a layer of frozen bottles, or heavy-duty shopping bags. The camping community strongly recommends placing food in waterproof bags to keep meltwater away from it.
Transfer anything liquid into screw-top containers before packing. Open milk cartons and flimsy packaging will leak when they warm slightly. A small spill turns into a mess that contaminates other food and smells up the entire cooler.
Vacuum Seal for Extra Protection
Vacuum-sealed bags do two things. They protect food from moisture and they compress it into flat, stackable packages that eliminate air pockets. Flat packages pack tighter than bulky store packaging, which means less empty airspace warming up inside the cooler.
If you do not have a vacuum sealer, heavy-duty zip-top bags work almost as well. Press the air out before sealing. The goal is always the same: remove air, reduce volume, maximize contact with your frozen thermal mass.
Fill Every Air Gap
Empty airspace inside your cooler is warm airspace. After packing, fill any remaining gaps with small frozen water bottles, crumpled newspaper, or a clean towel. Some campers place a frozen towel or thermal blanket across the top before closing the lid for an extra layer of insulation.
The less air inside the cooler, the slower the temperature rises when you do open it. This single habit can add a full day to your ice life.
Field Management: Keeping It Cold on the Trip
Packing perfectly only gets you halfway there. How you manage the cooler during the trip determines whether your food lasts three days or fizzles out by day two.
Keep the Cooler in Constant Shade
Sunlight is the number one killer of cold. A cooler sitting in direct sun can lose ice twice as fast as the same cooler in shade. Position your cooler under a tree, behind a tent, under a tarp, or beneath a vehicle.
As the sun moves throughout the day, reposition the cooler to stay in shade. This sounds simple, but it is the difference between a five-day cooler and a two-day cooler. If no natural shade exists, create your own with a reflective tarp or emergency blanket draped over the top.
Minimize Lid Openings
Every time you open the lid, cold air pours out and warm air rushes in. Studies of cooler performance show that frequent opening can cut ice life by 30 to 50 percent. The fix is simple: open less, open briefly, and know exactly what you are grabbing before you lift the lid.
Plan a meal schedule so you open the food cooler only at meal times. Keep drinks and frequently grabbed snacks in a separate cooler. Some experienced campers on forums recommend limiting how many times you enter the big cooler at all, treating it like a vault that only opens two or three times a day.
Use a Two-Cooler System
The two-cooler system is used by nearly every experienced multi-day camper. Dedicate one cooler exclusively to food and open it only at meal times. Use a second, smaller cooler for drinks and snacks that gets opened constantly throughout the day.
Drink coolers burn through ice fast because people open them every thirty minutes for a cold beverage. If your food shares that cooler, it burns through ice at the same rate. By separating them, your food cooler stays sealed and cold for days longer.
The drink cooler does not need to be expensive. A basic traditional cooler works fine because drinks do not spoil. Save your rotomolded investment for the food cooler where ice retention actually matters.
Should You Drain the Meltwater?
This is one of the most debated questions in camping forums, and the conflicting advice confuses a lot of people. Let me clear it up.
Do not drain if you are using bagged ice or cubed ice. The meltwater is still cold, often close to 32 degrees. It fills gaps between ice cubes, improving thermal contact and actually helping the remaining ice last longer. Draining it removes cold thermal mass and lets warm air fill the space.
Do drain if the water is rising above your food level. Food sitting in water will get soggy and spoil faster. Use the drain plug to lower the water level to just below your food rack or bottom layer, then close it again.
If you are using frozen water bottles or block ice exclusively, this debate does not apply. There is almost no meltwater to worry about. This is another reason frozen bottles are superior to bagged ice for multi-day trips.
Use Thermal Covers and Reflective Tarps
A simple reflective tarp or emergency blanket draped over your cooler can reduce radiant heat absorption dramatically. The shiny surface reflects sunlight instead of absorbing it, keeping the exterior surface cooler and slowing heat transfer through the walls.
Dedicated cooler covers made of insulated, reflective material are available for popular rotomolded brands. They add another layer of insulation that can extend ice life by 20 to 30 percent. Even a wet towel draped over the cooler uses evaporative cooling to pull heat away from the surface.
Keep the Cooler Off the Hot Ground
Direct contact with hot ground or a hot truck bed transfers heat into the cooler through conduction. Elevate the cooler on a piece of wood, a folded sleeping pad, or a couple of branches. In a vehicle, place a reflective pad or foam mat underneath it.
This is a small detail that adds up. A cooler sitting on 100-degree asphalt absorbs heat constantly through its base. The same cooler lifted an inch off the ground stays noticeably colder.
Natural and Alternative Cooling Methods
Sometimes you run out of ice and there is no store in sight. These natural methods can extend your cooling or serve as backups when conventional ice is unavailable.
Creek and River Immersion
If you are camping near a cold stream, you have a natural refrigerator. Submerge sealed food containers or even the entire cooler in the creek, securing it with a rope so it does not float away. The cold running water pulls heat away from the cooler far more effectively than still air.
This works best with sealed containers rather than the cooler itself, since most coolers are not designed to be fully submerged. Place your drinks and sealed food bags directly in the water among rocks in the shade. The water temperature in mountain streams is often in the 40s, which is colder than your cooler interior.
Always secure everything with rope and check local regulations about food in waterways. Never submerge food in waterproof bags that might attract wildlife to the water source.
Evaporative Cooling With Wet Fabric
Evaporative cooling is one of the oldest refrigeration methods known to humans. When water evaporates from a surface, it absorbs heat, cooling whatever is underneath. Drape a wet towel, burlap sack, or wet cotton shirt over your cooler and let evaporation do the work.
This method works best in dry climates where evaporation happens quickly. In humid environments, the air is already saturated with moisture and evaporation is slow, so the cooling effect is minimal. Keep the fabric damp by re-wetting it periodically throughout the day.
One forum camper noted that covering a cooler with wet fabric in a breezy, dry campsite can drop the surface temperature by 10 to 15 degrees compared to a dry, sun-exposed cooler. Combined with shade, this technique is surprisingly effective and costs nothing.
Underground and Root Cellar Methods
In a pinch, digging a shallow pit in cool, shaded ground can keep food colder than leaving it on the surface. The ground temperature even a foot below the surface is significantly cooler than ambient air on a hot day. Line the pit with leaves or pine needles for insulation and place sealed containers inside.
This is not a replacement for a good cooler, but it is a useful backup for drinks or non-critical items. It also works well as a temporary holding spot while you reorganize your main cooler.
The 72-Hour Success Checklist
Here is a condensed checklist you can use to pack for a three-day trip with confidence. Follow these steps and your food will stay below 40 degrees for the full duration.
Before the Trip
Freeze water bottles and saltwater jugs at least 48 hours in advance, leaving headspace for expansion.
Pre-freeze all meals you will eat on day two and beyond.
24 hours before departure, fill the cooler with sacrificial ice to pre-chill the walls.
Transfer liquid foods into screw-top containers to prevent leaks.
Organize food into labeled, sealed bags by day.
Pack the cooler using the 2:1 ratio: two-thirds frozen mass, one-third food.
Layer bottom to top with last-day meals at the bottom and first-day food on top.
Fill every air gap with small frozen bottles or crumpled paper.
During the Trip
Keep the food cooler in constant shade and reposition as the sun moves.
Open the food cooler only at meal times, never for casual browsing.
Use a separate drink cooler for beverages and snacks.
Keep the cooler elevated off hot ground with wood or foam.
Drape a reflective tarp or wet towel over the cooler during the hottest hours.
Only open the day-section you need, keeping later-day food sealed behind tape.
Drain meltwater only if it rises above your food layer, then close the plug immediately.
If you check every box on this list, you should be able to open your cooler on day three and find food that is still cold to the touch, with frozen bottles that have only partially melted. That is the difference between a miserable, food-poisoning-risk trip and a relaxing one.
FAQs
Can a cooler keep food cold for 3 days?
Yes, a rotomolded cooler that is pre-chilled for 24 hours, packed with frozen water bottles at a 2:1 ice-to-food ratio, kept in constant shade, and opened only at meal times can easily keep food below 40 degrees Fahrenheit for three full days. The key is minimizing warm air exposure and maximizing frozen thermal mass inside the cooler.
How long will food stay cold in a cooler without ice?
Food stays cold in a well-packed cooler for 3 to 5 days when you use frozen water bottles, pre-frozen meals, and proper layering instead of bagged ice. Without any frozen thermal mass at all, food will warm above the safe 40-degree threshold within 4 to 6 hours as the residual cold dissipates.
How to keep a cooler cold for 5 days?
To keep a cooler cold for 5 days, use a rotomolded cooler pre-chilled for 24 hours, pack a 2:1 ratio of frozen saltwater and freshwater bottles to food, fill all air gaps, keep the cooler in constant shade on an elevated surface, drape it with a reflective tarp, use a separate drink cooler, and open the food cooler only at meal times.
How to make a cooler more cold without ice?
To cool a cooler further without adding ice, pre-chill it for 24 hours with sacrificial ice first, pre-freeze your food so it acts as its own thermal mass, fill all empty airspace with frozen water bottles or cold towels, keep the cooler in shade, cover it with a reflective tarp, and drape wet fabric over it for evaporative cooling.
Will food stay cold in a cooler without ice?
Food will stay cold in a cooler without ice only if you replace the ice with equivalent frozen thermal mass such as frozen water bottles, saltwater jugs, or pre-frozen meals. Without any frozen mass at all, the cooler insulation alone cannot maintain safe food temperatures beyond a few hours.
How to keep food cold longer in a cooler?
To keep food cold longer, pre-chill the cooler for 24 hours, use frozen water bottles instead of bagged ice, maintain a 2:1 frozen-to-food ratio, layer food by day with last-day meals on the bottom, fill all air gaps, keep the cooler shaded and elevated, minimize lid openings, and use a separate cooler for drinks.
What to use instead of ice in a cooler?
The best alternatives to bagged ice are frozen water bottles, frozen saltwater jugs which melt at a lower temperature, block ice which melts slower than cubes, dry ice which leaves no liquid, and reusable gel ice packs for filling small gaps. Frozen water bottles are the top choice because they keep food dry and provide drinking water as they thaw.
Conclusion
Knowing how to keep food cold in a cooler without ice runs is really about understanding thermal mass and heat transfer. Once you grasp that coolers only slow heat from entering, every technique in this guide follows logically from that principle.
Start with a rotomolded cooler and pre-chill it for 24 hours. Replace bagged ice with frozen water bottles and saltwater jugs. Pack at a 2:1 ratio of frozen mass to food, layering last-day meals at the bottom. Fill every air gap, keep the cooler shaded and elevated, and open it only at meal times using a separate drink cooler.
The saltwater bottle trick, the day-by-day tape organization, and the drainwater clarification are details that most guides gloss over. But these small techniques are what separate a two-day cooler from a five-day cooler. They are battle-tested by experienced campers who spend weeks off the grid without access to a store.
Your next step is simple. The night before your trip, freeze your bottles, chill your cooler, and organize your food by day. Pack it right once, and you will not think about ice again until you are back home.