
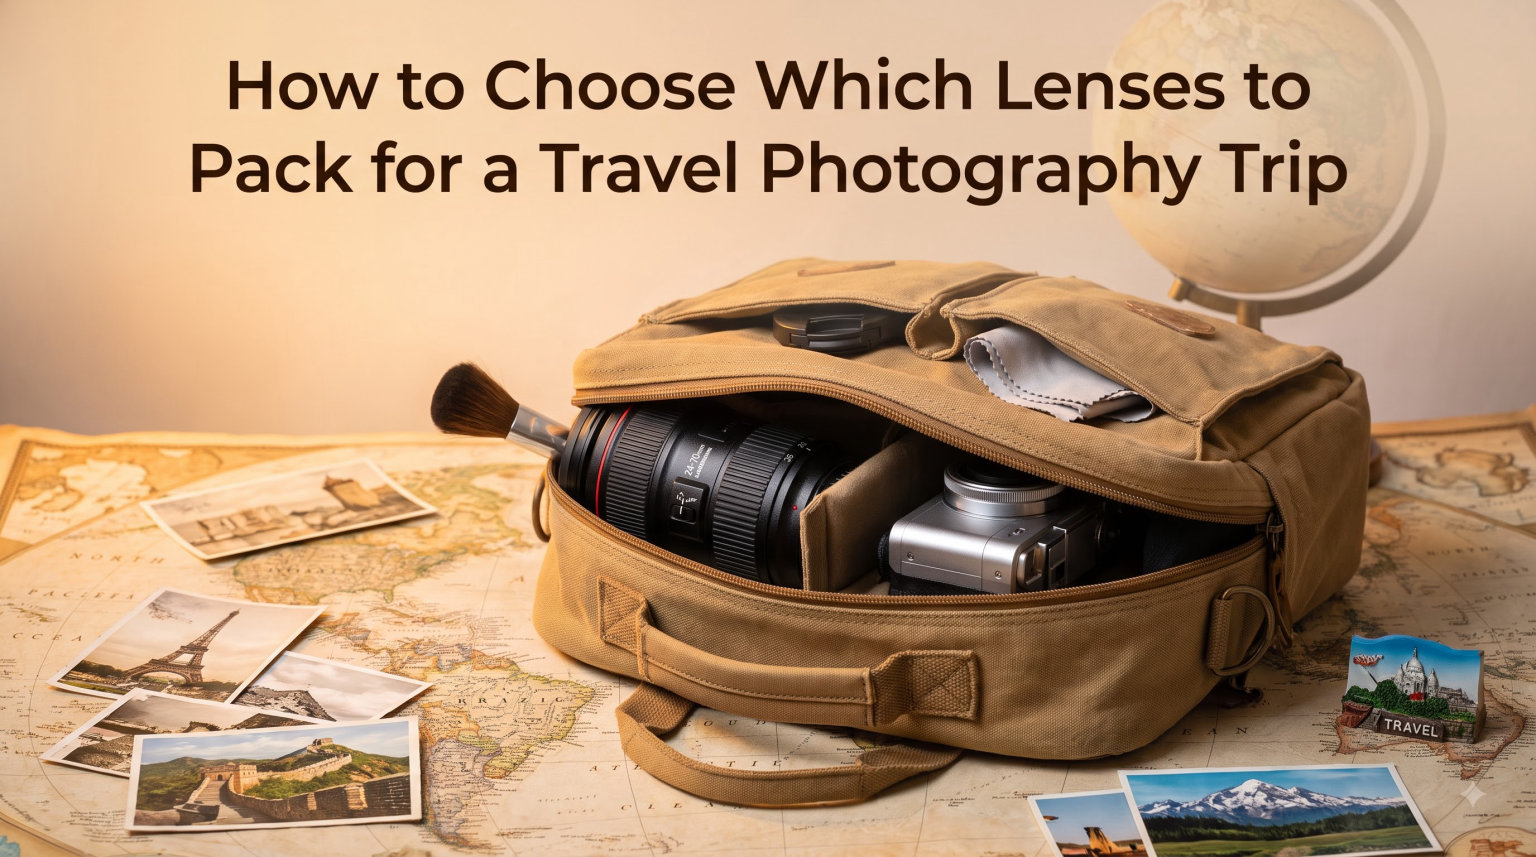
Choosing which lenses to pack for a travel photography trip is the single decision that shapes every photo you bring home. I have watched travelers agonize over bags stuffed with five lenses they never used, and others shoot an entire month in Japan with one 35mm prime and a smile.
This guide gives you a clear framework. We will walk through your shooting style, weight and focal length tradeoffs, the prime versus zoom debate, and how to match your kit to your destination. By the end, you will know exactly which travel photography lenses deserve a spot in your bag and which ones should stay home.
Table of Contents
Understanding Your Travel Photography Style
Your shooting style is the starting point for every lens choice you make. Before you think about focal lengths or aperture ratings, ask yourself one question: what kind of images do you actually want to bring back?
Street and documentary photographers tend to value compact primes around 28mm, 35mm, or 50mm. Landscape shooters usually reach for wide-angle zooms, often 16-35mm or 14-24mm. Wildlife and safari travelers almost always need telephoto reach, sometimes 200mm, 400mm, or even longer.
If your trips mix several genres, a versatile standard zoom like a 24-70mm or 24-105mm is hard to beat. I lean on this kind of lens on city trips where I might shoot a wide cathedral interior in the morning and tight street portraits at sunset.
Identify Your Top Three Subjects
Write down the three subjects you photograph most on the road. Be honest. If portraits dominate your work, a fast 50mm or 85mm prime will serve you better than an ultra-wide zoom. If architecture and interiors lead your list, wide is non-negotiable.
This exercise sounds simple, but most travelers skip it and pack based on what other photographers online carry. The result is usually a bag that is too heavy and not suited to your real subjects.
You can also look back at your last three trips and sort your favorite images by focal length. If most of your keepers were shot at 35mm, your travel kit should center on a 35mm prime or a zoom that includes that focal length.
Key Factors to Consider Before Packing Lenses
Four practical factors decide which travel photography lenses make the cut: weight, focal length range, maximum aperture, and durability. Each one matters, and the best kit balances all four without pushing your bag past a comfortable carry weight.
Weight and Carry Comfort
Weight is the number one reason travelers regret their lens choices. A two-week trip with 4 kg of glass on your shoulder feels heavy on day one and unbearable by day ten. Most working travel photographers try to keep their full camera and lens kit under 2.5 kg.
Test this rule before you travel. Load your bag with everything you plan to bring and walk around your neighborhood for an hour. If you find yourself shifting the strap or setting the bag down often, you are carrying too much.
Remember that every gram saved on glass is a gram you can spend on a memory card, an extra battery, or a snack on a long hike. Weight tradeoffs run in both directions.
Focal Length Versatility
Focal length dictates what you can actually frame. A 35mm prime is wonderful for street scenes but useless for distant wildlife. A 70-200mm zoom handles wildlife and portraits but will not capture a tight alley in Marrakech.
Think of focal length as a coverage problem. Ask yourself: will I see subjects that I cannot walk closer to? If yes, you need telephoto. Will I photograph interiors or architecture where I cannot step back? If yes, you need wide.
Check your airline’s carry-on limits too. A 70-200mm f/2.8 zoom is sometimes too long to fit in a standard camera bag when mounted. You may need to pack it separately or choose a shorter telephoto.
Maximum Aperture and Low Light
A wider maximum aperture helps in two ways: it lets in more light for low-light scenes, and it creates shallower depth of field for portraits. An f/1.8 or f/2 prime is a real advantage for evening street photography and dimly lit restaurants or temples.
That said, slow zooms with f/4 or f/5.6 apertures are smaller, lighter, and usually sharper than fast zooms. For daylight travel, an f/4 zoom is often the smarter choice. Reserve fast apertures for low-light heavy trips.
If your camera body has good high-ISO performance, you can lean on slower lenses and still produce clean images indoors. Modern mirrorless cameras handle ISO 6400 with very little noise, which changes the lens priorities for many travelers.
Durability and Weather Sealing
Travel exposes your gear to dust, sea spray, sudden rain, and rough handling. Weather-sealed lenses cost more but survive conditions that would destroy cheaper options. If your trips include beaches, deserts, or monsoon seasons, sealing matters.
Even without sealed lenses, a simple rain cover and a microfiber cloth take up almost no space and can save your gear in a sudden downpour. A cheap plastic bag works in an emergency.
Lens Types Explained for Travel Photography
There are four lens families that cover nearly every travel scenario. Understanding each one helps you build a kit that handles the subjects you actually photograph.
Wide-Angle Lenses
Wide-angle lenses cover roughly 14mm to 35mm on full-frame cameras. They are the go-to choice for sweeping landscapes, tight interiors, dramatic architecture, and environmental portraits where you want to show the scene around your subject.
A 16-35mm zoom is the most versatile wide-angle for travel. Primes like 14mm or 20mm are sharper and lighter but force you to commit to one focal length. I usually recommend a zoom unless you know exactly what wide composition you want.
Wide-angle lenses also exaggerate leading lines, which works for dramatic cityscapes and natural rock formations. Be careful with portraits though: faces near the edge of the frame can look stretched and unnatural.
Standard Zoom Lenses
Standard zooms cover roughly 24mm to 70mm or 24mm to 105mm on full-frame cameras. This range matches what your eyes see, which makes it the most natural focal length band for everyday travel photography lenses.
A 24-70mm f/2.8 or 24-105mm f/4 is the workhorse lens most travel photographers rely on. You can shoot street scenes, food, portraits, environmental shots, and group photos all without swapping lenses.
These zooms are also the most common “kit upgrade” lens for serious photographers. If you only buy one extra lens, this is the one to consider.
Telephoto Lenses
Telephoto lenses start around 70mm and run up to 600mm or more. They are essential for wildlife, distant architecture details, mountain peaks, and portraits with strong background separation.
For most travel, a 70-200mm f/4 or 70-300mm is the sweet spot. It is light enough to carry daily and covers nearly every telephoto situation short of serious wildlife photography. Safari travelers often go longer, to 100-400mm or 150-600mm.
Telephotos also flatten perspective, which gives landscapes a layered, compressed look. Many photographers reach for a 70-200mm just for that effect, even when telephoto reach is not strictly required.
Prime Lenses
Prime lenses have a fixed focal length. They are usually sharper, faster, and smaller than zooms with the same maximum aperture. A 35mm f/1.8 or 50mm f/1.8 prime is small enough to live in a jacket pocket on a compact camera.
The tradeoff is flexibility. With a prime, you move your feet to frame instead of turning a zoom ring. Many photographers love this constraint. Others find it frustrating on fast-moving trips.
Common travel focal lengths for primes are 24mm, 28mm, 35mm, 50mm, and 85mm. Each one gives a different feel: 24mm for environmental scenes, 35mm for street, 50mm for natural portraits, 85mm for flattering portraits with bokeh.
The Prime vs Zoom Debate for Travel
The prime versus zoom debate is one of the most argued topics in travel photography. Both approaches work. The right answer depends on how you shoot and what you are willing to carry.
Case for One Versatile Zoom
A 24-70mm or 24-105mm zoom covers about 90 percent of travel situations in a single lens. You never miss a shot because you are changing glass. You travel lighter because you carry one lens instead of three.
For photographers who value flexibility and want a single-lens travel setup, a high-quality zoom is the obvious choice. Modern zooms are sharp enough for professional work and have stabilized, quiet autofocus.
Zooms also save you from missing candid moments. Lenses take time to swap, and street photography waits for nobody.
Case for a Single Fast Prime
A single 35mm or 50mm prime forces you to slow down and engage with your scenes. Prime users often produce more thoughtful, intentional images because they cannot rely on zoom to fix their framing in post-production.
Primes also win in low light. An f/1.8 or f/2 prime gathers several stops more light than an f/4 zoom, which means cleaner images at night and indoors without pushing ISO.
Primes are also more discreet. A small 35mm pancake lens looks like a casual walk-around camera, which helps in places where big zooms attract unwanted attention.
My Recommendation for Most Travelers
If you can only bring one lens, choose based on style. Pick a 35mm or 50mm prime if you love street photography and low light. Pick a 24-70mm or 24-105mm zoom if you want flexibility and shoot a mix of subjects.
Skip the kit lens that came with your camera. Aftermarket zooms and fast primes are almost always sharper, faster, and more pleasant to use.
Whichever route you take, the best lens is the one you actually use. A cheap lens you carry everywhere will produce more keepers than an expensive lens you leave at the hotel.
How Many Lenses Do You Really Need?
Most travel photographers end up with two or three lenses. One is too few for varied trips, and four or more is usually too many to carry comfortably. Here is the decision framework I use when packing for a new trip.
The Three-Trip Rule
For a one-week trip with a clear focus (a city, a wedding, a beach resort), bring one to two lenses. For a two-week multi-stop trip, two to three lenses. For a month-long adventure with varied subjects, three lenses is the practical maximum.
Beyond three lenses, you start leaving glass in the hotel safe. At that point, the extra weight and cost are not justified by the images you actually shoot.
Build a Two-Lens Travel Kit
A strong two-lens kit pairs a standard zoom with one specialty lens. The most common pairings are:
- Standard zoom (24-70mm or 24-105mm) plus wide-angle zoom (16-35mm) for landscape-heavy trips.
- Standard zoom plus fast prime (35mm f/1.8 or 50mm f/1.8) for city and street trips.
- Standard zoom plus telephoto (70-200mm or 70-300mm) for safari, wildlife, or mountain trips.
Build a Three-Lens Travel Kit
Three lenses work when your trip really does cover diverse subjects. A common setup is wide-angle zoom, standard zoom, and telephoto zoom. Together, they cover about 14mm to 200mm or 300mm without gaps.
This kit is heavier and more expensive than two lenses. It pays off when you are shooting a landscape-heavy day in the morning and a wildlife-rich afternoon in the same location.
Matching Lenses to Your Destination
Different destinations reward different focal lengths. Choosing travel photography lenses based on where you are going saves you from carrying the wrong gear.
City and Urban Trips
Cities reward versatile focal lengths. A 24-70mm zoom handles street scenes, food, and architecture. Add a 35mm prime for evening and indoor work. Wide-angle zooms are useful only if you plan to shoot interiors of cathedrals or museums.
Landscape and Mountain Trips
Landscapes need wide-angle reach. A 16-35mm zoom is ideal. Pair it with a 24-105mm for tighter landscape details and environmental shots. Telephoto lenses shine in mountain regions for isolating distant peaks.
Safari and Wildlife Trips
Wildlife demands telephoto reach. A 100-400mm or 150-600mm is the standard wildlife kit. Bring a shorter lens too, around 24-70mm, for camp scenes and wide environmental shots of animals in their habitat.
Beach and Tropical Trips
Beaches need weather sealing more than any specific focal length. A 24-70mm or 24-105mm zoom covers most beach and water scenes. Add a wide-angle for dramatic sunsets over water.
Cultural and Historic Sites
Museums, temples, and historic buildings usually restrict tripod use and limit how close you can get. A 24-70mm zoom with image stabilization is the most practical choice. A fast 50mm prime helps in dimly lit interiors where flash is not allowed.
Climate and Weather Impact on Lens Choice
Climate shapes lens choice more than most guides admit. Desert dust, tropical humidity, and freezing mountain temperatures all affect how your gear performs and which travel photography lenses are worth bringing.
Hot and Dusty Climates
Deserts and dry regions push fine dust into every opening on your lens. Weather sealing helps, but a clear filter on the front element adds cheap protection. Skip lenses with extending barrels that draw in dust during zooming.
Cold and Snowy Climates
Cold reduces battery life and can fog your lens when you move between cold outdoors and warm indoors. Bring extra batteries and seal your gear in a plastic bag before bringing it inside to prevent condensation.
Humid and Rainy Climates
Monsoon regions need rain covers and silica gel packs in your bag. Internal zoom lenses hold up better than extending zooms in heavy rain. Primes with sealed mounts are excellent in wet climates.
Packing and Protecting Your Lenses
How you pack your lenses matters as much as which ones you choose. Even the best travel photography lenses are fragile if they bounce around a backpack for ten days.
Use a Padded Camera Bag
A dedicated camera backpack with padded, configurable dividers protects your gear better than a regular travel backpack. Look for bags with side access so you can swap lenses without setting the whole bag on the ground.
Carry On, Do Not Check
Always carry your camera and lenses in your carry-on bag. Checked luggage gets thrown around, lost, and exposed to X-ray scanners that some photographers worry about. Most airlines allow a camera bag plus a personal item at no extra charge.
Pack Lenses in the Center of Your Bag
Place your lenses in the middle of your camera bag, surrounded by soft items like clothing. This cushions them from impacts and isolates them from temperature swings during transit.
Keep a Microfiber Cloth and Rocket Blower Handy
A small microfiber cloth and a rocket blower take almost no space and let you clean lenses in the field. Skip canned air, which can damage lens coatings and push moisture into the barrel.
Document Your Gear Before You Fly
Photograph every lens and serial number before you leave home. If gear is lost or stolen, this documentation speeds up insurance claims and police reports. Keep a copy in cloud storage so you can access it from anywhere.
Common Mistakes to Avoid When Packing Lenses
I have made most of these mistakes myself over the years. Avoid them and you will spend your trip shooting instead of troubleshooting.
Overpacking Just in Case
Fear of missing the shot leads to overpacking. Realistically, you will use two lenses 90 percent of the time. Pack those and a backup only if it truly earns its weight.
Ignoring Your Camera’s Sensor Size
Focal length numbers mean different things on crop sensor and full-frame cameras. A 35mm lens behaves like a 50mm on an APS-C body. Always convert to the equivalent focal length for your sensor before choosing.
Skipping a Lens Test Before the Trip
Test every lens you plan to bring at least a week before you travel. Confirm autofocus works, image stabilization functions, and there are no defects. The worst time to discover a problem is at the airport.
Forgetting a Backup Body or Simple Solution
If you shoot with an expensive camera body, consider a backup. A small used body of the same mount lets you keep shooting if your main body fails. Alternatively, pack a small compact camera as a backup for snapshots and risky environments.
Leaving Insurance and Customs Forms Behind
Expensive gear needs travel insurance. Customs forms and proof of purchase can save you from paying import duties at the border. Keep digital copies in your email so you can retrieve them anywhere.
Decision Checklist for Choosing Travel Photography Lenses
Before you zip up your bag, run through this quick checklist. It is the same checklist I use before every trip and it has saved me from overpacking more times than I can count.
- What are my top three subjects on this trip? Match lenses to those, not to what other photographers carry.
- How many days will I be away? More days usually means more variety, which means one or two extra lenses.
- What is the climate and weather? Dust, rain, and cold each push you toward specific features.
- How much weight can I carry daily without regret? Be honest. Test the loaded bag before you fly.
- Do I have a backup body? If not, consider keeping a versatile zoom on one body instead of swapping lenses constantly.
- Did I test every lens in the last week? Never travel with untested gear.
- Do I have insurance and customs documentation for expensive gear? Confirm before you leave home.
Following this checklist turns lens selection from a stressful guessing game into a clear decision you can repeat for every trip.
Budget Considerations for Travel Lens Purchases
Budget matters, but it should not dictate your main lens. Your primary walk-around lens is the one you will use most. Save money on second copies or specialty lenses rather than on the workhorse itself.
Buy used when possible. Camera lenses hold their value well and used copies are often nearly indistinguishable from new. Reputable sellers include major retailers with certified used programs, local camera stores, and trusted online marketplaces.
Skip third-party zoom lenses at the extreme ends of the range. A 28-300mm zoom sounds tempting but usually underperforms at both ends. Sticking to shorter, faster zooms almost always produces better images.
Frequently Asked Questions About Travel Photography Lenses
What is the best lens to use for travel photography?
The best travel photography lens is one that balances your creative needs with portability. Most photographers pick a versatile 24-70mm or 24-105mm zoom for flexibility, or a fast 35mm or 50mm prime for low-light street work. The right choice depends on your shooting style and the subjects you photograph most.
Is 35mm or 50mm better for travel?
A 35mm lens captures more of the scene and works better for tight interiors, street photography, and environmental portraits. A 50mm lens gives a more natural perspective and stronger subject separation, which is great for portraits and food. For most travelers, 35mm is the more versatile of the two.
What are the best lenses for travel photography beginners?
Beginners do best with one or two versatile lenses. A 24-70mm or 24-105mm zoom on a standard camera body covers most situations without forcing lens swaps. Adding a fast 50mm prime for low light is a strong second step once you know what you like to shoot.
How do you decide which lenses to take when traveling?
Start by listing your top three subjects on the trip. Match focal lengths to those subjects, then keep only the lenses that fit your carry weight and budget. Most photographers end up with two or three lenses: a versatile zoom plus one or two specialty lenses.
What lenses should I bring for a photography trip?
Bring one versatile zoom as your main lens, then add specialty glass based on your trip. Add a wide-angle zoom for landscapes and architecture. Add a telephoto zoom for wildlife and distant subjects. Add a fast prime for low-light street photography and portraits.
How many lenses do I need for vacation?
For most vacations, two lenses is the sweet spot. Three lenses makes sense for diverse trips that mix landscapes, street scenes, and wildlife. More than three usually means you are carrying gear you will not use, which adds weight without improving your photos.
Final Thoughts on Choosing Travel Photography Lenses
Choosing the right travel photography lenses is not about owning the most expensive glass. It is about matching your gear to the way you actually shoot and the trips you actually take.
Start with your style, pick two or three lenses that cover your top subjects, and skip the rest. Test your kit before every trip, pack it carefully, and trust your choices once you are on the road.
The best lens is the one in your hand when the moment happens. Pack a small kit you enjoy carrying, and you will shoot more, walk farther, and come home with the photos you actually wanted to take in 2026.