
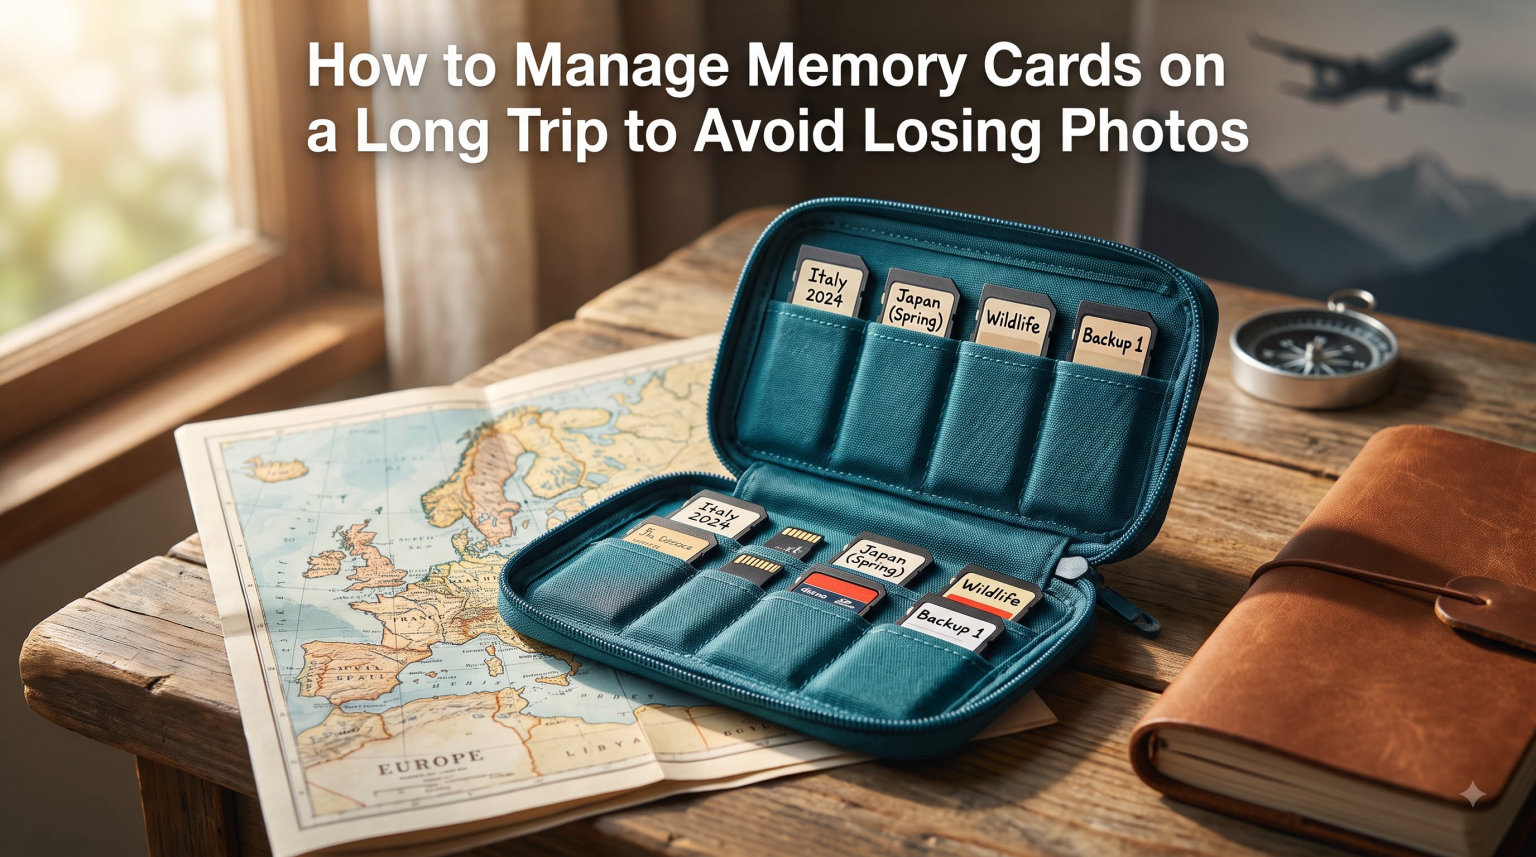
You get home from a three-week trip through Patagonia, unpack your camera bag, and reach for the memory card holding all 2,000 photos. The slot is empty. Somewhere between the hostel in El Chalten and the airport in Buenos Aires, it slipped out. Those shots of the granite spires at sunrise are gone forever.
That gut-punch feeling is exactly what this guide is designed to prevent. Learning how to manage memory cards on a long trip to avoid losing photos is the single most important skill in travel photography, more important than which lens you bring or how good your composition is. Gear can be replaced. A missed flight can be rebooked. Photos that only exist on one tiny piece of plastic cannot.
I have spent the last several years refining a memory card and backup system across trips to Iceland, Vietnam, and the Australian Outback. Along the way I have talked with professional photographers on photography forums, read through hundreds of trip reports, and learned (sometimes the hard way) what works and what fails. This guide pulls all of that together into a system you can copy for your own travels.
By the end of this article you will know exactly how many cards to bring, how to back them up every night, how to organize them so you never lose track, and what to do the moment something goes wrong. Everything here is written for 2026, with current gear considerations and updated best practices.
Table of Contents
TL;DR Quick Summary
If you only read one section, read this. Here is the entire memory card management system in a few lines:
- Bring one card per shooting day plus two spares for a trip longer than a week.
- Never format or delete a card until you are home and your photos exist in at least two other places.
- Follow the 3-2-1 backup rule: three copies, two different media types, one stored off-site.
- Back up every single night to at least one portable drive before you sleep.
- Label and color-code every card so you always know which ones are full and which are safe to reuse.
- Keep your cards physically on your body, never in checked luggage or a camera bag you set down.
Do those six things and you will eliminate roughly 95 percent of the ways people lose travel photos.
Why Losing Photos Hurts More Than Losing Gear
A lost lens is a bad day. A lost memory card is a lost experience. That is the core reason memory card management matters so much more than any other piece of travel photography gear.
Insurance can replace a stolen camera body within days. But no policy, no warranty, no amount of money can bring back the only copy of your child’s first time seeing the ocean, or the unrepeatable light on a mountain you may never climb again. Photographers on Reddit’s r/photography community share this pain constantly. One photographer described leaving an SD card on a train seat and realizing hours later that an entire week of a once-in-a-lifetime trip was simply gone.
The cruel irony is that almost every photo loss is preventable. Memory cards themselves are reliable. What fails is the human system around them: forgetting which card is backed up, putting all cards in one bag that gets stolen, or trusting a single drive that later dies. This guide is really about building a system that protects you from your own mistakes, not from faulty hardware.
How Many Memory Cards Do You Need for a Long Trip
The short answer: bring one memory card per day of shooting, plus two spares. For a two-week trip, that means roughly 16 cards. That sounds like a lot, but SD cards are cheaper than the photos they protect.
The One-Card-Per-Day Rule
The most widely recommended system on photography forums is the one-card-per-day rule. You use a fresh card each day, and once it is full you put it in your “shot” case and never touch it again until you are home. This means even if a card corrupts, you only lose one day, not the entire trip.
This rule works because it removes decision-making from the field. You are tired, the light is fading, and you do not want to be scrolling through images deciding what to delete to free up space. A fresh card each day eliminates that entirely.
What Size Memory Card Should You Buy
For most travelers shooting RAW on a modern camera, a 128GB card holds roughly 2,000 to 3,500 images, depending on megapixel count. That is enough for an active day of shooting. Here is a quick guide to capacity:
- 64GB: about 1,000 to 1,700 RAW files. Fine for casual shooting or JPG-only days.
- 128GB: about 2,000 to 3,500 RAW files. The sweet spot for a full day.
- 256GB: about 4,000 to 7,000 RAW files. Good for video-heavy days or multi-day stretches without backup.
- 512GB and up: tempting but risky. One card holding your entire trip is a single point of failure.
Many travelers ask whether one big card is better than several smaller ones. It is not. Several smaller cards spread your risk. If a 512GB card fails, you lose everything. If a 128GB card fails, you lose one day.
Buy Cards from Reputable Sources Only
Counterfeit memory cards are a real problem, especially when buying from third-party marketplaces. A fake card may report 256GB but actually hold only 32GB, silently overwriting your photos. Buy directly from the manufacturer or an authorized retailer, and avoid deals that seem too good to be true.
The 3-2-1 Backup Rule Explained for Travel Photographers
The 3-2-1 backup rule is the gold standard for data protection, adapted from IT professionals. For travel photography, it means keeping three copies of your photos, on two different types of storage media, with one copy stored in a different physical location.
Here is how that translates on the road. Copy one is the original memory card itself, which you keep untouched. Copy two is your first portable backup drive, say a portable SSD. Copy three is a second drive, or cloud storage, stored separately from the first two.
The “different location” part matters most. If both backup drives live in your camera bag and that bag is stolen, all three copies could vanish together. That is why experienced travelers keep one drive in their luggage and one in their daypack, or mail a backup drive home mid-trip as an off-site copy.
Some photographers consider this overkill. It is not overkill. It is the difference between a stressful evening and a life-changing loss. The cost of a second portable drive is tiny compared to the value of your photos.
How to Build a Daily Backup Workflow on the Road
A backup only works if it actually happens every night. Tiredness is the enemy. Build a workflow so simple and habitual that you can do it half-asleep.
Step 1: Get Your Gear Ready Before the Trip
Before you leave, label every memory card with a number (1, 2, 3, and so on) using a fine permanent marker or small adhesive labels. Set up a folder structure on each backup drive ahead of time, organized by trip and date. Decide where each piece of gear lives in your bag so setup takes two minutes, not twenty.
Step 2: Shoot with One Card Per Day
Start each day with a fresh, numbered card in your camera. When the card fills up or the day ends, swap in the next numbered card. Put the full card face-down in your card case to signal that it has been used but not yet backed up.
Step 3: Back Up Every Evening
At the end of each day, before you sleep, copy the day’s card to your backup drive. The exact method depends on your gear:
- With a laptop: plug in the card reader, copy files to your portable SSD, verify the file count matches, then eject.
- Without a laptop: use a wireless portable drive with a built-in SD slot, or a dedicated card-copying device that duplicates the card with one button press.
- With a phone: use a USB-C or Lightning SD card reader to copy files to your phone or a connected SSD.
After the copy is verified, turn the card face-up in your case to signal it is backed up. This visual system saves you from the most common travel mistake: forgetting which cards are safe.
Step 4: Verify the Backup
Copying is not the same as backing up. After every transfer, check that the number of files on the drive matches the number of files on the card. Open a few random images to confirm they are not corrupted. This takes two minutes and has saved photographers from discovering empty or broken files only after returning home.
Step 5: Keep Drives in Different Bags
Once your primary drive is updated, store it somewhere separate from your cards and your second drive. The classic approach is keeping your main drive in your luggage at the hotel and carrying your second drive in your daypack. That way a single theft or loss cannot take everything.
Color-Coding and Labeling Your Memory Cards
A color-coded system is the simplest way to never lose track of which cards are full, backed up, or still in rotation. Many professional photographers swear by this, and it takes about ten minutes to set up before a trip.
Here is a proven system. Use colored dots or small labels on each card case or the card itself. One color means empty and ready to shoot. A second color means full but not yet backed up. A third color means full and safely backed up. You can also write the date on each label so you know exactly which trip and day each card holds.
For physical organization, use a memory card wallet or a small hard case with individual slots. The goal is to keep cards in a fixed position so a missing card is instantly obvious. If slot number 7 is empty, you know immediately that card 7 is somewhere it should not be.
One detail that matters: label your cards facing inwards when they are in the case, with the contact pins protected. This prevents dust and static damage, and it gives you a consistent way to orient cards so you always grab the right one in low light.
SSD vs HDD: Which Backup Drive Is Best for Travel
For travel photography in 2026, a portable SSD is almost always the better choice over a traditional hard disk drive. SSDs have no moving parts, which means they survive drops, vibrations, and temperature swings that would kill an HDD.
Hard drives are cheaper per gigabyte, and they still work fine if you treat them gently. But travel is not gentle. Bumpy bus rides, packed backpacks, and sudden temperature changes are exactly the conditions that damage spinning platters. If you must use an HDD, keep it padded and never use it while in motion.
Here is a quick comparison to help you decide:
- Speed: SSDs copy files several times faster, which matters when you are tired and backing up a full day of RAW files.
- Durability: SSDs survive drops and shocks. HDDs do not.
- Size and weight: SSDs are smaller and lighter, often the size of a credit card.
- Cost: HDDs win on price per terabyte, but the gap is narrowing.
- Longevity: Both degrade over years, but SSDs are less prone to sudden mechanical failure.
If budget allows, get two SSDs for your trip. One serves as your primary backup, and the second is your redundancy copy stored in a separate bag. If budget is tight, one SSD plus your original memory cards still gives you two copies of everything.
How to Use Your Smartphone as a Backup Device
Your phone can absolutely serve as a backup device, and many budget-conscious travelers rely on this method. All you need is a card reader that connects to your phone’s charging port, either USB-C or Lightning depending on your device.
The workflow is straightforward. Plug the card reader into your phone, insert the day’s memory card, and use your phone’s file manager or a dedicated camera app to copy the files. From there, you can move them to cloud storage, an attached SSD, or keep them on the phone itself if you have enough free space.
This method shines when you are traveling light without a laptop. It is also a fast way to share a few edited photos to social media straight from the card. Many photographers on travel forums report using this successfully for weeks-long trips.
The main limitation is storage. A modern phone with 256GB of free space can hold a few days of RAW files, but not an entire multi-week trip. Pair your phone with a portable SSD for a complete backup solution that fits in a jacket pocket.
One warning: avoid deleting files from the card using your phone. Some phone file managers handle memory cards differently than a computer does, and accidental formatting is a real risk. Copy, verify, then leave the card alone.
Airport Security and TSA Tips for Memory Cards
Memory cards are safe to go through airport X-ray machines. The X-rays used for carry-on screening will not damage or erase the data on SD, CF, or microSD cards. You do not need to request a hand inspection for memory cards the way film photographers sometimes do.
That said, there are still smart things to do at the airport. Never pack your memory cards in checked luggage. Checked bags are screened with stronger CT scanners, and more importantly, they get lost far more often than carry-on bags. Keep all your cards in your personal item that stays with you at all times.
When going through security, keep your card case inside your bag rather than pulling it out into a bin. Small items in bins are easily left behind or grabbed by mistake. If you are carrying backup drives, treat them the same way: never in checked luggage, always in your personal bag.
For international travel, be aware that customs officers in some countries can ask to inspect electronic devices. Having your cards clearly labeled and organized makes this process smoother and reduces the chance of a card going missing during an inspection.
Protecting Cards from Water, Dust, and Impact
Memory cards are surprisingly tough, but water, dust, and static are their main enemies. A little prevention goes a long way, especially on adventure trips involving hiking, kayaking, or beach days.
Use a waterproof and dustproof memory card case. Hard cases with rubber seals protect against rain, splashes, and sand. Soft wallets are lighter but offer less environmental protection. For trips near water, a small waterproof case is cheap insurance.
Keep your cards away from magnets and strong static sources. Do not set them on top of speakers or near magnetic closures on bags. Static discharge can corrupt data, so avoid handling cards in very dry conditions without grounding yourself first.
Temperature extremes also matter. Leaving cards in a hot car or a freezing tent can stress the internal components. When moving between extreme temperatures, let your cards adjust gradually inside your bag rather than exposing them to sudden changes. If a card feels very cold, let it warm up before inserting it into your camera to avoid condensation.
What to Do in the First Hour After Losing a Memory Card
If you realize a memory card is missing, stop and retrace your steps immediately. The first hour is your best window for recovery, because the card is likely still where you left it.
Here is the exact sequence to follow. First, stop using your camera and check every slot, pocket, and compartment. Then mentally walk back through your last few hours and revisit those locations. Check the floor of any vehicle you were in, the table at your last meal, and the safe in your hotel room.
If the card is truly gone, do not panic about the photos if you followed the backup workflow. Your images should already exist on your backup drive from the night before. The lost card is just hardware at that point, and replaceable.
If the card was lost before you backed it up, recovery software can sometimes retrieve images from a card that was not physically destroyed but had files deleted or became corrupted. Do not write anything new to the card. Stop using it immediately, and run recovery software like the free tools available online once you have access to a computer. Professional data recovery services exist for physically damaged cards, though they are expensive.
Report the loss if it happened in a public place. Hotels, transit authorities, and tour operators often have lost-and-found systems, and a clearly labeled card with your contact information gives someone a way to return it.
Should You Format Memory Cards During a Trip
The short answer is no. Do not format your memory cards during a trip. Keep every card intact until you are home and have confirmed your photos exist in at least two separate, verified locations.
Formatting deletes the file directory, which makes the card appear empty even though the data may still be recoverable. The problem is that recovery is not guaranteed, and if you write new photos to a formatted card, the old data gets overwritten permanently.
Instead of formatting, simply swap in a fresh card when the current one is full. This is why bringing enough cards matters. If you run out of space, you have a supply problem, not a formatting problem.
Once you are home, format your cards in the camera you intend to use them in next, not on a computer. In-camera formatting sets up the card’s file system to match that specific camera, which reduces errors and keeps performance smooth.
Managing Multiple Cards from Multiple Cameras
Traveling with two or more cameras means your memory card management needs a slightly more structured approach. The key rule from experienced multi-camera shooters: never swap a memory card between camera bodies.
Each camera creates its own folder structure on the card. If you move a card from one camera to another, the second camera may create a new folder or, worse, overwrite existing data. Assign specific cards to specific cameras and keep them dedicated.
Label your cards by camera as well as by number. A simple system is to use different colored labels for each camera body, with sequential numbers within each color. Card “Blue 1” always goes in your primary body, and card “Red 1” always goes in your secondary body.
For backup, create separate folders on your drive for each camera, organized by date. This keeps your files sorted and makes it easy to find images later without guessing which camera captured a specific shot.
Cloud Backup Considerations When Traveling Abroad
Cloud backup sounds like the perfect safety net, but international travel introduces real limitations. Upload speeds in many countries are slow, hotel WiFi is often unreliable, and mobile data roaming can be expensive. Uploading a day’s worth of RAW files, which can easily reach 30GB or more, is often impractical on the road.
Cloud backup works best as a final layer once you are home, not as your primary on-the-road strategy. During your trip, focus on physical redundancy with cards and drives. When you return, upload everything to cloud storage for long-term safekeeping.
If you do want some cloud backup while traveling, consider uploading only small JPG previews rather than full RAW files. This gives you a lightweight, shareable version of your trip in the cloud as insurance, without waiting hours for uploads on hotel WiFi.
Choose a cloud service that supports automatic upload from your phone if you are using the smartphone backup method described earlier. This way, every photo you copy to your phone can quietly sync to the cloud in the background when you have a decent connection.
One final note: encrypt your cloud backups. If your account is ever compromised, encryption ensures your photos remain private. Most major cloud services offer this, but you may need to enable it manually in the settings.
Frequently Asked Questions
Can you store photos on SD cards long term?
You should not use SD cards as long-term storage. They are designed for temporary capture, not archival holding. Flash memory in SD cards slowly loses data over years, and cards can degrade or fail without warning. Move your photos to dedicated storage drives and cloud backups as soon as possible, and keep your cards clear for active shooting.
How to travel with SD card?
Keep your SD cards in a protective case in your personal carry-on bag, never in checked luggage. Label each card, use a color-coded system to track which are full and backed up, and avoid exposing them to magnets, extreme heat, or water. Airport X-ray machines for carry-on bags will not damage SD cards.
What is the safest way to store digital photos long term?
The safest approach is the 3-2-1 rule: keep three copies of every photo, on two different types of media, with one copy stored in a different physical location. Use a combination of external SSDs for active storage and cloud services for off-site redundancy. Check your drives periodically and migrate to newer storage every few years, since no medium lasts forever.
How many memory cards do I need for my trip?
Plan for one card per shooting day plus two spares. For a two-week trip, bring roughly 16 cards. Using a 128GB card per day gives you room for about 2,000 to 3,500 RAW files, which covers an active day of shooting. Spreading your photos across multiple smaller cards is far safer than relying on one large card.
Should I format memory cards during a trip?
No, do not format your memory cards during a trip. Keep every card intact until you are home and have verified your photos exist in at least two separate locations. Instead of formatting to free up space, swap in a fresh card. Format your cards in-camera only after you are safely back and your images are fully backed up.
What happens if you use a camera without a memory card?
Most cameras will still let you take photos, but those images are not saved anywhere because there is no card to write them to. Some cameras have a small internal buffer that temporarily holds a few shots, but they disappear when the camera turns off. Always confirm a card is inserted before you start shooting by checking your camera’s display for the remaining shots indicator.
Final Thoughts on Managing Memory Cards While Traveling
Learning how to manage memory cards on a long trip to avoid losing photos comes down to one principle: never let your photos exist in only one place. Every system in this guide, from the one-card-per-day rule to the 3-2-1 backup method to color-coding, exists to enforce that single idea.
The best time to set up your system is before you leave home. Label your cards, format your drives, test your card reader, and pack your backup bags. A few hours of preparation protects weeks of irreplaceable memories.
Travel light, shoot freely, and back up every night. Your future self, sitting at home with every photo safe and accounted for, will thank you.