
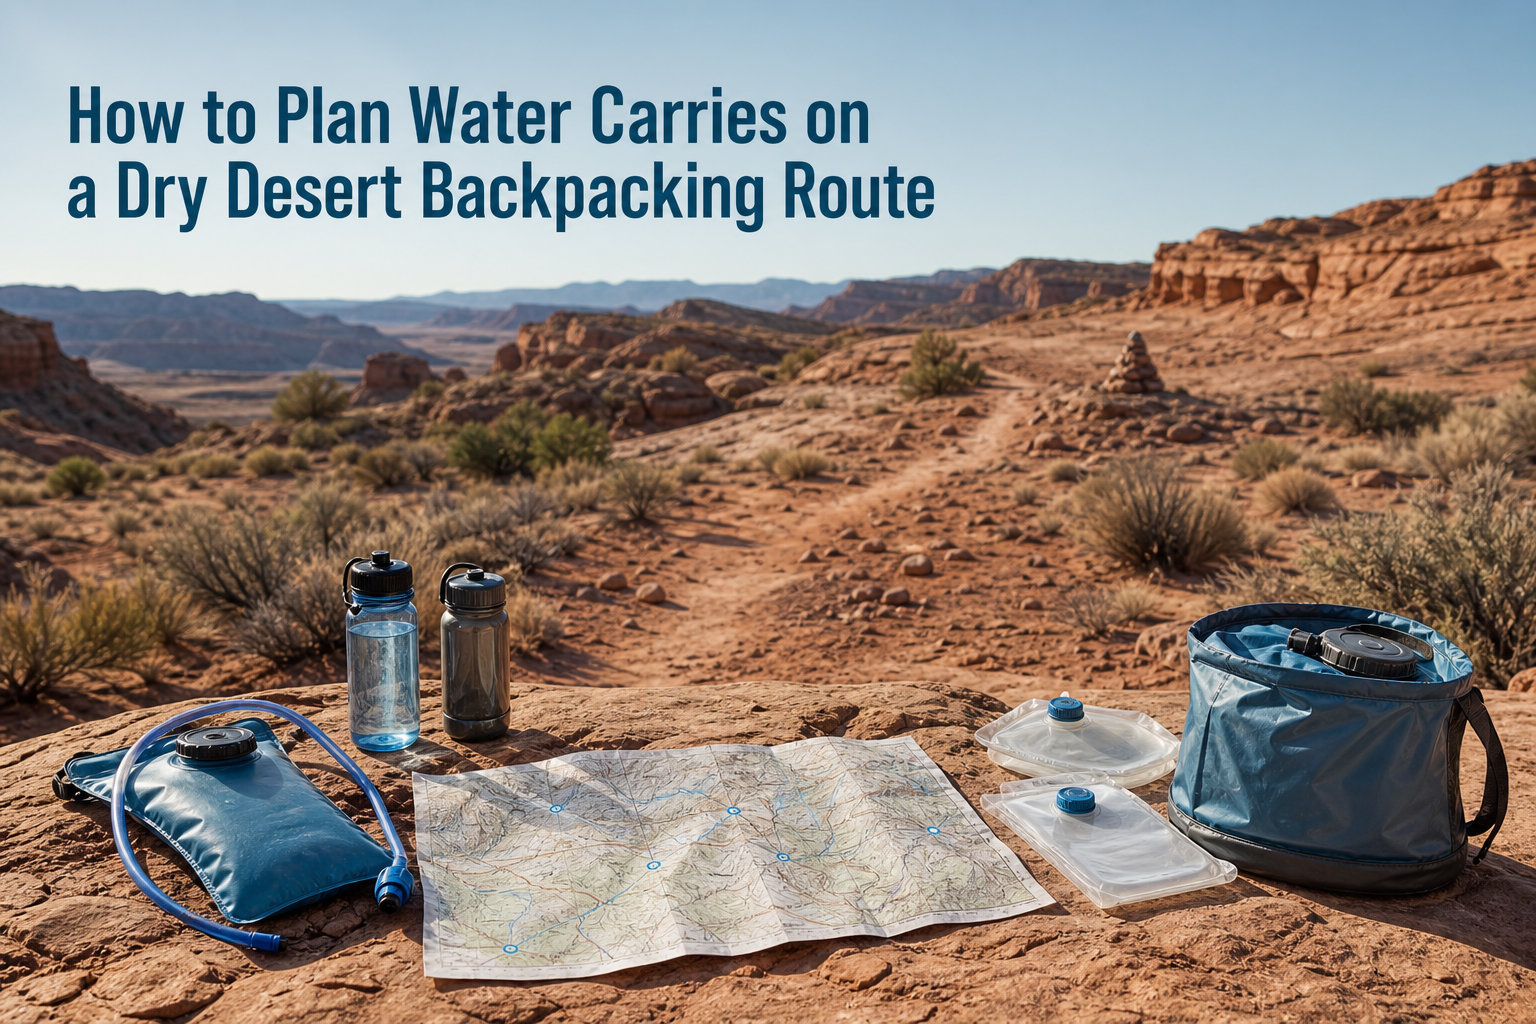
Learning how to plan water carries on a dry desert backpacking route is the single skill that separates a great trip from a medical emergency. I learned this the hard way on a five-day section of the Hayduke Trail, when a mapped spring turned out to be a damp patch of sand and I had to bail twelve miles to a stock tank.
After that trip, I rebuilt my planning process from the ground up. Our team has since walked more than 800 desert miles across the Arizona Trail, sections of the Grand Enchantment Trail, and canyon country in Utah, and we have refined a system that works in 2026. This guide is that system.
You will learn the core rule of thumb, the exact formula for calculating personal water needs, how to read water reports, which containers to bring, and what to do when the source you planned around is bone dry. By the end, you will be able to plan any desert route with confidence.
Table of Contents
Why Water Planning Is the Most Important Skill in Desert Backpacking
Desert environments kill hikers faster than any other terrain, and the killer is almost always water. In hot, dry air, your body loses fluid through sweat and respiration at rates that can exceed one liter per hour, and you often cannot tell how dehydrated you are until your judgment is already impaired.
A 200-pound hiker walking six flat miles in 95°F heat will burn through roughly 4 to 5 liters of water. Multiply that across a five-day stretch with a 25-mile dry gap and you start to see why planning is everything.
The desert is unforgiving for three reasons: sources are scarce, sources are unreliable, and the distance between them is long. A single dry year can turn a reliable spring into dust, and a single thunderstorm can turn a dirt road into an impassable wash. Your plan has to absorb all of that.
The 1 Liter Per 5 Mile Rule (and When to Break It)
The most common rule of thumb for desert water carry planning is one liter of water per five miles of trail. That number comes from years of collective trail experience and lines up with most published guidelines, including those in the wilderness first-aid literature.
It is a starting point, not a gospel. The rule assumes moderate temperatures, mostly flat terrain, and a roughly average-sized adult. Once you start hiking at elevation, in full sun, with a heavy pack, that number climbs fast.
I use these multipliers to adjust the rule for real conditions:
Add 30% for temperatures above 90°F (32°C)
Add 50% for temperatures above 100°F (38°C)
Add 20% for sustained climbs above 1,000 feet of gain per day
Add 25% for high-altitude desert (above 6,000 feet) where you breathe harder
Subtract 10% for cool-season hiking (November through February in the Southwest)
So a 20-mile dry stretch in 95°F heat, mostly flat, becomes not four liters but closer to five and a half. A 20-mile stretch at 7,500 feet in summer pushes closer to seven.
How to Calculate Your Personal Water Needs
To calculate water needs for a desert backpacking segment, use this formula. I walk every trip through this same set of math and it has kept me out of trouble on every long carry since.
Daily Water Need = (Miles x Base Rate) + (Heat Multiplier) + (Camp and Cooking Reserve)
Where:
Base Rate = 0.2 liters per mile (the 1 liter / 5 mile rule written as a multiplier)
Heat Multiplier = Base Rate x 0.3 for 90-100°F days, x 0.5 for 100°F+ days
Camp and Cooking Reserve = 1 liter for drinking overnight + 1 liter for rehydrating dinner + 0.5 liter for breakfast
Worked example: a 15-mile day, 98°F, on the Arizona Trail.
Base drinking need: 15 miles x 0.2 = 3.0 liters
Heat adjustment: 3.0 x 0.3 = 0.9 liters added
Camp and cooking reserve: 2.5 liters
Total = 6.4 liters for that day plus the next morning’s first drink
Round up to a full liter for safety. Six and a half liters is the minimum you leave a reliable source with for that segment.
Notice the formula has a built-in buffer. That buffer is not optional. If you skip it, you are planning for the best case, and the desert never gives you the best case.
Types of Desert Water Sources You Can Rely On
Desert water sources fall into five categories, and each one has a different reliability rating. Knowing the difference is half the battle of desert backpacking water strategy.
Springs and seeps are the gold standard when they are flowing. Check current reports within the last 30 days. They can fail fast in drought and can be slow to recover after a dry winter.
Cow troughs and stock tanks are large metal or concrete basins placed by ranchers for livestock. Many are fitted with float valves that keep them topped up from a piped source. These are the most reliable man-made sources in the desert, but they require filtering and almost always benefit from a pre-filter to knock down algae and sediment.
Potholes and tinajas are natural rock basins that catch rainfall. They can hold thousands of gallons after a storm and zero gallons after a dry month. Always check recent trip reports before relying on one.
Live streams and rivers exist in the desert but are usually seasonal. The Gila, the Colorado, and the Rio Grande are major exceptions, but even those can run muddy or low. Treat all surface water as if it carries Giardia and Cryptosporidium.
Cached water is water stashed by you, by previous hikers, or by the land manager in heavy-duty jugs. Caches are reliable if you trust the stash and the container, and you know the exact location. The downside is they are also targets for wildlife and curious visitors, so plan for them to be compromised.
Water Container Options and Weight Trade-offs
Choosing water containers is a weight game. One liter of water weighs 2.2 pounds, so a six-liter carry adds 13 pounds before you count your pack, food, or shelter. The container itself adds more weight on top of that, and a poor container choice can leave you with a soggy sleeping bag.
Hard bottles (1 liter) are durable, easy to fill from trickling sources, and let you meter your drinking. They are my default for the first two liters because they are bombproof.
Soft flasks (0.5 to 1 liter) collapse as you drink, so they do not slosh around in your pack. They are great for the in-between liters, but they are harder to fill from shallow pools.
Hydration bladders (2 to 3 liters) hold a lot of water in a slim shape and let you drink on the move. They are slower to refill and harder to gauge at a glance, which is why I prefer them as a third or fourth container rather than the first.
Collapsible bottles and bags (3 to 4 liters) like the Hydrapak Seeker or Platypus are the workhorses of long carries. They pack flat when empty and handle the bulk of your water when you need volume.
Five-gallon jugs belong in your cache, not on your back. They are heavy, awkward, and overkill for hiking, but they are perfect for stashing at a trailhead before a long dry stretch.
My standard kit for a 6-liter carry is two 1-liter hard bottles, one 1.5-liter soft flask, and one 3-liter collapsible bag. That mix balances accessibility, weight distribution, and refill speed at awkward desert sources.
Step-by-Step: Planning Water Carries on Your Route
Here is the process our team uses for every desert trip we plan. Follow these steps in order and you will have a defensible water plan before you leave the trailhead.
Step 1: Map every documented source on your route. Open a current guidebook, the Far Out (formerly Guthook) app, Gaia GPS, or CalTopo, and place a marker on every named spring, tank, river crossing, and cache. I aim for at least three sources per planned day.
Step 2: Cross-check reports from the last 60 days. A spring that flowed in March may be dry in June. Read recent trip reports on Reddit, Trail Journals, and the app comments. If nothing has been posted in the last two months, assume it is dry until proven otherwise.
Step 3: Measure the longest dry stretch between reliable sources. Use the map tool to draw the longest line between two reliable sources. Note the mileage and the elevation profile.
Step 4: Run the calculation for that stretch. Plug your longest dry segment into the formula from earlier. That number tells you the minimum carry you must leave the previous source with.
Step 5: Identify bail-out points along the carry. On a 15-mile dry stretch, mark every road crossing, ridge top with cell signal, and downhill route to a lower-elevation drainage. These are your outs if you get into trouble.
Step 6: Add a 25% buffer to your final carry number. Multiply your calculated need by 1.25. If you can carry that much water comfortably, you are safe. If you cannot, your stretch is too long and needs a cache.
Step 7: Pre-position a cache if needed. A 25-mile dry stretch on the Hayduke or the Grand Enchantment is normal. You cannot carry 10 liters of water and a backpack. The answer is a cache.
What to Do When a Water Source Is Dry
Every desert hiker eventually shows up at a marked source and finds dust. How you handle that moment decides whether your story becomes a trip report or a rescue.
First, do not panic. Panic makes you drink faster, and drinking faster burns through your reserves before you have made a decision. Stop, sit in the shade, and take inventory.
Next, look for the source within a quarter mile. Many springs have moved, have multiple seeps, or have a tinaja downstream. Check topo lines for drainages and walk them downhill.
If nothing is flowing, do the math. Calculate your current remaining water, the distance to the next source on your plan, and the distance to the nearest bail-out. If the bail-out is closer, walk to it. If not, you have enough water to make the next planned source under your calculated rate.
Slow your pace, hike in the shade, drink in sips, and stop filtering dust with your mouth. Wet your hat, soak your shirt at the next puddle even if it is not drinkable, and start signaling for help before you are out of water, not after.
A personal locator beacon (PLB) or satellite messenger is the single most valuable piece of safety gear for dry desert hiking. Cell service is rare, and a SPOT or Garmin inReach can summon help when you cannot.
Water Caching: When and How to Pre-Stash Supplies
Water caching is the practice of leaving jugs of water at a trailhead or turn-off before your trip. It is the cleanest solution for dry stretches longer than 20 miles because it shortens your carry distance without forcing you to leave the trail.
On multi-day desert routes, caches are not optional. They are how the route works. The Arizona Trail, the Hayduke, and the GET all rely on them.
To cache legally and safely:
Use opaque, food-grade containers in white or tan to reduce algae growth and visual impact
Label nothing that says “water” in big letters to deter casual vandalism
Place containers in shade where possible, ideally under a juniper or in a wash alcove
Use sturdy containers like Reliance jugs or heavy-duty water cubes
Cache only for as long as your trip requires, then remove what is left
Check land manager rules first. National Park caches usually require permits. Wilderness areas often prohibit them.
Time your cache drop for one to three days before you arrive. Water left longer develops algae, attracts wildlife, and risks theft. The shorter the window, the better.
Treating and Filtering Desert Water
Desert water is not safer than water anywhere else. Cow trough water can carry E. coli from livestock waste, potholes collect bird droppings, and even clear springs can host Giardia. Filtering or treating your water is non-negotiable.
Sawyer Squeeze is the most common filter on the desert trail. It weighs three ounces, removes bacteria and protozoa, and can be backflushed in the field. Pair it with a syringe for the cleanest results.
Gravity systems like the Platypus GravityWorks are great for camp, where you want to filter two to four liters while you set up the tent. They are slower to use on the move.
Chemical treatment with Aquatabs or Aquamira drops handles viruses, which standard hollow-fiber filters do not. If you are drawing from cow troughs near populated areas, a chemical backup is smart.
UV pens like the SteriPen work fast but require clear water and batteries. They are a backup, not a primary tool, in the desert.
Whatever you choose, practice with it at home. A first-time filter failure at a murky tank at 4 p.m. with 12 miles to camp is not the time to learn the backflush technique.
Electrolyte and Hydration Management
Drinking water is not enough. In the desert you lose electrolytes through sweat faster than you lose them in cool weather, and plain water alone can leave you cramping, headachy, and nauseous even when you are technically hydrated.
Carry one to two electrolyte tablets or a powdered mix per day. Nuun, LMNT, and SaltStick are common choices. Add them to one of your liters in the morning and one in the afternoon, and drink plain water for the rest.
Eat salty snacks alongside your water. Pretzels, jerky, and salted nuts do the same job as a tablet, and they also keep your calories up, which matters more than most desert hikers realize.
Watch for the warning signs of hyponatremia, which is drinking too much water without replacing sodium. Symptoms include nausea, headache, confusion, and swelling in the hands. If you start to feel off and you have been drinking a lot, eat something salty and slow your intake.
Seasonal and Weather Considerations
Season dictates everything about desert water availability. Spring snowmelt feeds the seeps and tinajas that disappear by midsummer. Summer monsoon storms refill potholes in hours and then leave them dry again in weeks. Fall is the most reliable shoulder season for flow in many ranges.
Plan your trip for the season that matches your water strategy. If you want to rely on natural sources, hit the desert in spring or fall. If you want to rely on caches and man-made tanks, summer is workable but punishing.
Check the seven-day forecast before every carry. A forecast high above 105°F is your cue to leave the trail at the nearest exit or shorten your day. A forecast of afternoon thunderstorms is your cue to fill every container at the last reliable source, because the next one may be dry in either direction for weeks.
Wind matters too. A dry wind strips moisture from your skin faster than still air at the same temperature, and you will not see it on a thermometer. Drink by clock, not by thirst.
A Real-World Example: A Five-Day Stretch on the Hayduke
To pull this all together, here is how I planned a real five-day segment of the Hayduke Trail in 2026. The segment ran about 62 miles with two long dry stretches, one of 19 miles and one of 23 miles.
For the 19-mile stretch, I calculated 19 x 0.2 = 3.8 liters base, plus 0.3 heat adjustment = 4.9 liters of drinking water, plus 2.5 liters for camp, plus a 25% buffer, for a total of 9.3 liters. That is a hard carry, but doable. I split it across two collapsible bottles in my pack and two hard bottles on my shoulder straps.
For the 23-mile stretch, the math came out to 11.6 liters. There is no way to carry that and a full pack. I cached six gallons of water at the dirt road access two days before I arrived, then carried the 5.6 liters I needed to reach my cache.
The cache worked because I checked land manager rules in advance, used opaque white Reliance jugs, and labeled them with my name and date. I removed everything on my way out.
That trip taught me the single biggest lesson in desert water planning: you do not carry your way through long dry stretches. You cache, you plan, and you adjust. The desert rewards hikers who treat water as the most precious resource on the route, because it is.
FAQs
How do backpackers get enough water in dry areas?
Backpackers get enough water in dry areas by planning around reliable sources such as springs, cow troughs, and caches, carrying enough between them based on the one liter per five mile rule, and adding a 25 percent safety buffer for heat, elevation, and emergencies.
How much water should I carry backpacking in the desert?
A typical desert hiker should carry one liter per five miles under mild conditions. In summer heat above 90 degrees, increase that by 30 to 50 percent, then add two to three liters for camp and cooking. Plan for at least six liters per day in peak season.
How do you plan water stops on a dry trail?
Map every documented source on your route, check recent trip reports, measure the longest dry gap, calculate your personal water needs for that gap using miles times 0.2 liters plus heat and camp reserves, and identify bail-out points along the way.
What happens if a water source is dry on the trail?
If a water source is dry, stop, rest in the shade, search the surrounding drainage for tinajas or seeps, calculate whether your remaining water can reach the next planned source, and head to the nearest bail-out if not. Carry a satellite messenger or PLB for emergencies.
How do you calculate water needs for backpacking?
Calculate water needs by multiplying trail miles by 0.2 liters for the base rate, adding 30 to 50 percent for hot temperatures, plus two to three liters for camp and cooking, then adding a 25 percent safety buffer to the final total.
How do you carry water when camping away from water sources?
Carry water to a dry camp using a mix of hard bottles for accessibility, soft flasks to save space, and collapsible bottles for bulk. Heavier carries require food-grade water jugs cached ahead of time at road access points.
Final Thoughts on Desert Water Planning
Learning how to plan water carries on a dry desert backpacking route is not something you do once and forget. Every season, every trail, and every hiker is different, and your plan has to flex with them.
The formulas and rules in this guide give you the starting point, but the real work is paying attention to recent reports, weather, and your own body. Walk shorter days in your first desert season. Cache aggressively on long routes. Carry a satellite messenger on every trip.
Do that, and you will come home with great stories instead of rescue reports. That is the whole point of learning how to plan water carries on a dry desert backpacking route, and it is what makes the desert such a rewarding place to walk in 2026.
1 thought on “How to Plan Water Carries on a Dry Desert Backpacking Route (September 2026)”