
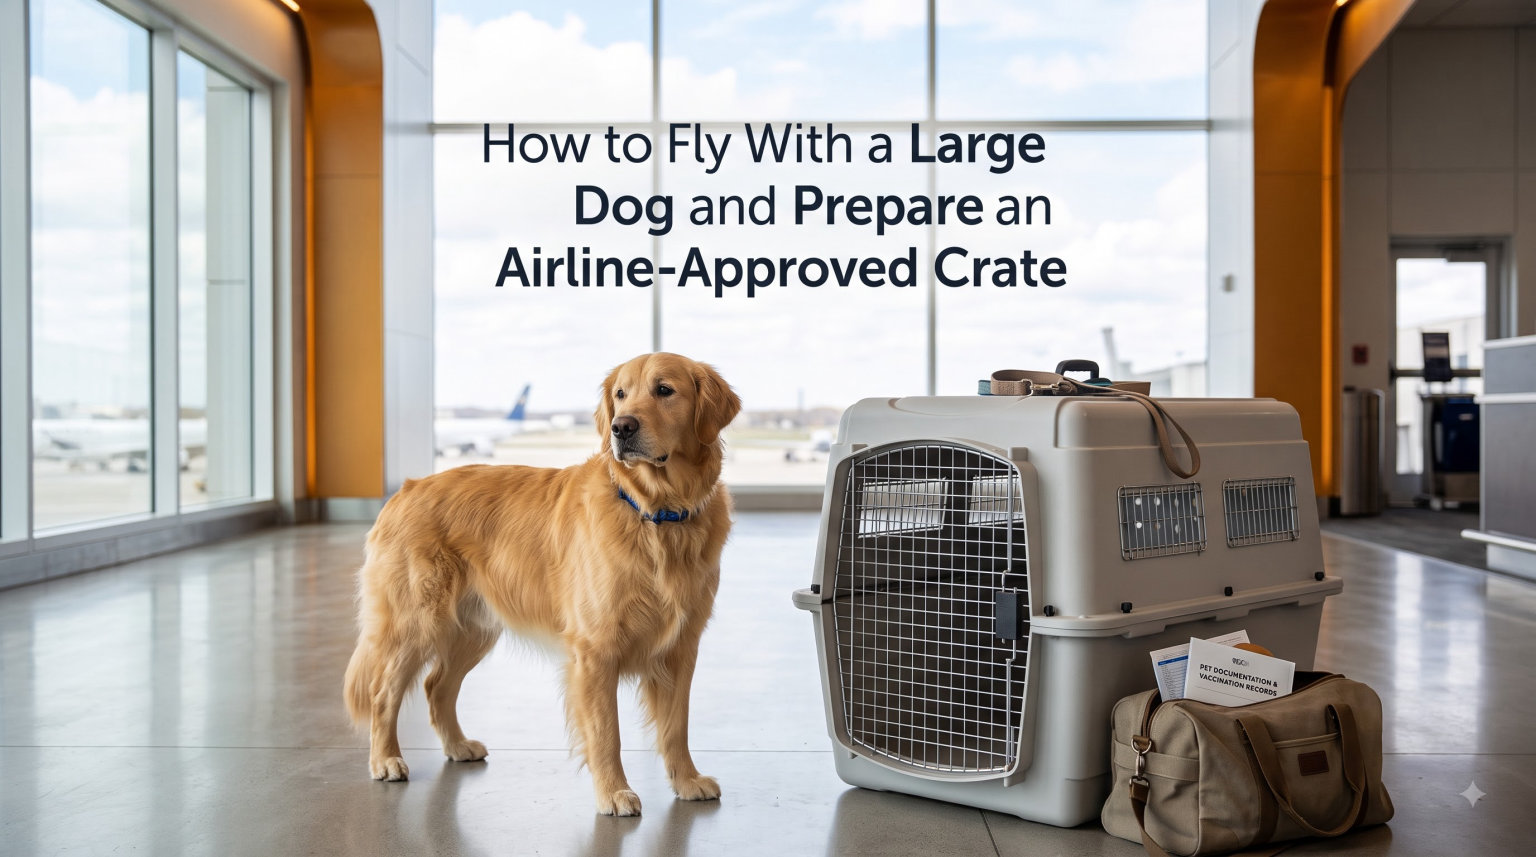
I learned the hard way when my friend tried to fly her 70-pound Labrador from Seattle to Boston in 2026. The airline rejected her crate 30 minutes before check-in because the door only had two plastic clips instead of metal bolts. She spent an extra three weeks driving cross-country with him instead. That single moment is why I wrote this guide on how to fly with a large dog and prepare an airline-approved crate that actually gets accepted at the cargo counter.
In this guide, I’ll walk you through the exact IATA requirements, how to choose the correct crate size for your dog, the step-by-step crate preparation process, the airline booking rules most people miss, and the veterinary paperwork that gets your dog cleared for takeoff. I’ve pulled together official IATA guidelines, USDA APHIS requirements, and real owner experiences from Reddit’s r/dogs and expat forums so you don’t repeat my friend’s mistake.
Table of Contents
Understanding IATA Requirements for Airline-Approved Dog Crates
An airline-approved dog crate is a rigid plastic shipping kennel that meets the International Air Transport Association’s (IATA) Live Animals and Perishable Charter Container Requirements. The crate must be rigid enough to contain your dog through loading, turbulence, and unloading, and it must allow safe handling by airline staff without opening the door.
Here are the core IATA construction requirements every large dog crate must meet:
Rigid plastic shell with no cracks, warping, or broken seams
Ventilation openings on at least three sides, covering 16% of each wall
Door with a central locking mechanism plus two extra side clamps
Waterproof floor with an absorbent material on top
Secure fasteners using metal bolts, not plastic clips or screws
Live animal labels and upright orientation arrows on two sides
Handle or grip points for staff to lift without tilting the crate
The most common reason crates get rejected at the cargo counter is the fastener system. Airlines won’t accept crates held together with standard plastic clips because they can pop open under pressure. You’ll need at least 12 metal bolts around the top and bottom seams. Most quality crates like the Petmate Sky Kennel, Gunner G1, and Vari Kennel Ultra come with the proper bolt hardware, but cheaper knockoffs do not.
Another frequent rejection point is the floor. The crate must have a waterproof plastic tray that prevents urine or water from leaking onto the cargo hold floor, plus an absorbent pad or bedding layered on top. I’ll cover exactly how to set this up in the step-by-step section below.
Why IATA Standards Matter for Your Dog’s Safety
IATA standards exist because airline cargo holds are pressurized but not climate-controlled to cabin standards. The crate needs enough ventilation to keep your dog breathing comfortably at altitude, sturdy walls to prevent collapse if other cargo shifts, and a secure door so handlers can stack adjacent containers without your dog escaping. Skipping any of these steps risks your dog’s safety and almost guarantees your crate will be turned away at check-in.
How to Choose the Right Crate Size for Your Large Dog
The correct crate size lets your dog stand up without crouching, turn around in a full circle, and lie down stretched out. IATA uses a simple three-measurement rule: the crate length must be at least the dog’s body length from nose to base of tail, the width must be at least twice the dog’s width, and the height must be at least the dog’s full standing height from floor to top of head.
Here’s a quick sizing chart I built based on IATA guidelines for common large breed weights:
| Dog Weight | Breed Examples | Recommended Crate Length | Common Model |
|---|---|---|---|
| 40 to 50 lbs | Border Collie, Australian Shepherd | 36 inch | Petmate Sky Kennel 36 |
| 50 to 70 lbs | Labrador, Golden Retriever, Boxer | 40 inch | Petmate Sky Kennel 40 |
| 70 to 90 lbs | German Shepherd, Standard Poodle | 48 inch | Petmate Sky Kennel 48 or PP90 |
| 90 to 110+ lbs | Great Dane, Mastiff, Bernese Mountain Dog | 54 inch | PP90 or custom XXL |
Standard Poodle owners on Reddit often recommend the Petmate PP90 for dogs in the 70 to 90 pound range because it gives extra turn-around space for tall, lean breeds. For giant breeds like Great Danes, you may need a custom-built crate since most off-the-shelf plastic kennels max out at around 54 inches long.
How to Measure Your Dog Correctly
Measure your dog while they are standing on a flat surface. Use a soft tape measure for the length from the tip of the nose to the base of the tail, not including the tail itself. Measure height from the floor to the top of the head while the dog is standing naturally, not stretching. Add 2 to 3 inches of buffer to each measurement so your dog isn’t pressed against the walls.
A common mistake is buying a crate based on your dog’s current weight rather than actual body measurements. A 70-pound German Shepherd with a long body may need a 48-inch crate, while a compact 70-pound Bulldog mix might fit in a 40-inch. Always measure twice and order once.
Step-by-Step Guide to Prepare an Airline-Approved Crate
Preparing an airline-approved crate takes about 45 minutes the first time, but you should do it at least 48 hours before your flight so you can spot any missing parts or hardware issues. I’ve broken it into eight clear steps below that mirror the order professional pet shippers use.
Step 1: Assemble the Crate Shell With Metal Bolts
Snap the top and bottom halves together according to the manufacturer’s instructions. Insert metal bolts through the pre-drilled holes around the top seam and bottom seam. Tighten each bolt by hand first, then finish with the included wrench or screwdriver. Every bolt hole must have a bolt. Plastic clips alone will get your crate rejected.
Step 2: Install the Waterproof Floor Tray
Slide the included plastic floor tray into the bottom half of the crate before adding any padding. The tray must sit flat with no raised edges that could trip your dog. Some airlines require the tray to be taped or bolted down to prevent sliding during turbulence.
Step 3: Add Absorbent Padding or Diaper Pads
Layer the waterproof tray with an absorbent puppy pad, old towel, or vet bedding. This protects the crate from urine and keeps your dog dry for the duration of the flight, including any layovers. Many experienced owners recommend layering two pads so you can swap a soiled one without opening the crate during a connection.
Step 4: Secure the Food and Water Bowls
IATA requires two bowls, one for food and one for water, attached to the inside of the crate door. Most approved crates come with stainless steel or plastic bowls that clip onto the door wire. Fill the water bowl only halfway if you are using a liquid bowl, or freeze water in a plastic bottle and place it inside the crate so handlers can pour water as it melts during long flights.
Step 5: Apply Live Animal Labels and Orientation Arrows
Your crate must have a green “LIVE ANIMALS” label and black upright orientation arrows on at least two opposite sides. Most crates include these stickers in the box. Apply them flat without wrinkles and consider taping over the edges with clear packing tape so they don’t peel off during handling.
Step 6: Reinforce the Door With Cable Ties
This is the step many owners skip. Thread two or three plastic cable ties through the door wire and around the crate frame so the door cannot be jostled open during loading. Cargo handlers will sometimes pop doors open by accident on heavy bags stacked next to your crate, and cable ties are the cheapest insurance you can buy. Cut the cable ties when you pick up your dog at the destination cargo facility.
Step 7: Add a Familiar Scent and Comfort Item
Before your dog enters the crate, rub your hands on the interior walls to transfer your scent. Place one small item of clothing you have worn, like an old t-shirt, in the crate alongside your dog. Reddit dog owners swear by this trick for reducing stress during the first 30 minutes of the flight when dogs typically panic.
Step 8: Do a Final Airline Compliance Check
Walk around the crate and confirm every bolt is tight, every label is in place, and the door closes securely. Check that no plastic clips are being used in place of bolts. Confirm the water and food bowls are attached and accessible from outside the crate so handlers can refill without opening the door. Take a photo of your finished setup and bring it with you to the airport in case any staff member questions the configuration.
Airline Policies and Booking Requirements for Large Dogs
Most US airlines require dogs over 20 pounds (combined with crate weight) to fly in the cargo hold as checked baggage or shipped cargo. You cannot bring a large dog in the cabin, no matter how well behaved. Booking pet cargo must be done by phone with the airline’s pet department, typically 7 to 14 days before departure, because each flight has a limited number of pet spots allowed.
Here are the major US airlines with active pet cargo programs in 2026:
United Airlines PetSafe: One of the few carriers still accepting large dogs, with embargo dates in summer and winter
American Airlines: Suspended pet cargo for several years but has restarted limited large dog service on specific routes
Alaska Airlines: Strong pet cargo program with seasonal restrictions based on ground temperature at departure and arrival airports
Delta Cargo: Accepts large dogs through their separate Cargo division with stricter booking windows
Airlines that have permanently stopped accepting large dogs in cargo include JetBlue and Southwest, so always confirm policy directly with the airline before booking your flight. International carriers like KLM and Lufthansa are often recommended by expat forum users for their consistent pet handling on long-haul flights.
Booking Tips That Save Your Spot
Call the airline pet desk the moment you know your travel dates. Pet cargo spots fill up quickly, especially during the summer relocation season (May through August) and the holidays. Ask for a direct flight only. Connections double the risk of a missed handoff, delayed pickup, or worse, your dog sitting on the tarmac in extreme weather during a plane change.
Breed Restrictions and Snub-Nosed Dogs
Many airlines ban snub-nosed breeds like Bulldogs, Pugs, Boxers, and Boston Terriers from cargo travel because of their breathing difficulties at altitude. If your dog falls into this category, you may need to look into ground transport services or pet-friendly ground shipping. Some airlines also restrict large dogs during summer when ground temperatures exceed safe limits for animals in a non-pressurised ramp.
Veterinary Health Certificates and Documentation
Every airline requires a USDA APHIS health certificate issued by a licensed veterinarian within 10 days of your travel date. This certificate confirms your dog is healthy, free of contagious disease, and fit to fly. If you are traveling internationally, the certificate must also be endorsed by your local USDA APHIS office, which adds an extra step.
Here’s the full documentation checklist for flying with a large dog:
USDA APHIS health certificate (form 7001 for domestic, 7001A for international endorsement)
Proof of current rabies vaccination
Proof of DHPP and bordetella vaccinations
International import permit from the destination country, if required
Microchip certificate for international travel
Three to four printed copies of every document for handoffs along the way
Schedule your vet appointment 7 to 10 days before departure so you have time to fix any paperwork issues. If your dog needs a booster or treatment, you’ll want a buffer. Some airlines also ask for a fitness-to-fly letter, especially for senior dogs or breeds with known respiratory issues.
Why the 10-Day Window Matters
The certificate must be issued no more than 10 days before the flight date, not before. Many first-time travelers mistakenly get the certificate too early and have to pay for a second vet visit. Mark your calendar for 7 to 8 days out and book the appointment then.
Crate Training Your Dog Before the Flight
Crate training is the single most important factor in how well your dog handles cargo travel. A dog that has never been inside the crate will panic, bark, and risk injury during loading. A dog that has spent weeks sleeping comfortably in the same crate will treat the flight like a long nap. Start training at least 4 to 8 weeks before your departure date.
Here is the training progression that works for most large breeds:
Week 1: Place the crate in your living room with the door open. Feed your dog meals inside the crate so they associate it with positive experiences.
Week 2: Close the door for short periods while you sit nearby. Gradually increase the time the door stays closed during meals.
Week 3: Add a favorite blanket or toy. Practice leaving the room for a minute, then five minutes, then fifteen.
Week 4: Take short car rides with the dog in the crate. Start with five-minute trips and build up to an hour.
Weeks 5 to 6: Play recordings of cargo hold sounds (available on YouTube) at low volume while the dog rests in the crate. Gradually increase the volume.
Weeks 7 to 8: Practice the full setup, including the cable ties, labels, and bowls. Take one longer car ride of 60 to 90 minutes.
Calming supplements like Adaptil, Zesty Paws, or veterinarian-prescribed mild sedatives can help anxious dogs, but never sedate your dog without vet approval. Sedation at altitude can cause breathing problems, especially in larger breeds, and most airlines will not board a visibly sedated animal.
Packing Checklist for Large Dog Air Travel
Pack a separate travel bag the night before so nothing gets forgotten in the rush to the airport. Here is the exact checklist our team uses when shipping a large dog, organized by where each item goes.
Inside the Crate
Absorbent puppy pads (at least two layered)
Vet bedding or old towel with owner scent
One small familiar toy (no squeakers or small parts)
Frozen water bottle in a sealed plastic bag
One small portion of food taped to the top of the crate in a labeled bag
Attached to the Crate Exterior
Two food and water bowls, clipped to the door
Spare water bowl in case of damage
Live animal labels on two opposite sides
Orientation arrows clearly visible
In Your Carry-On or Travel Bag
Three printed copies of the health certificate
Vaccination records and microchip paperwork
Airline pet cargo confirmation number
Leash and collar with up-to-date ID tags
Crate tool kit: extra bolts, screwdriver, zip ties, scissors
24 hours of food in case of delays
Portable water bowl and a bottle of water
Phone charger and the airline’s pet desk contact info
Pack everything the night before. The morning of the flight is too stressful to remember every detail. Several Reddit dog owners have shared stories of showing up at the cargo counter without their printed paperwork and being turned away despite having digital copies on their phone. Always bring paper backups.
Temperature, Weather Restrictions and Day-of-Flight Tips
Most airlines refuse to transport pets in cargo when the ground temperature at either the departure or arrival airport is below 45 degrees Fahrenheit or above 85 degrees Fahrenheit. These restrictions protect your dog from extreme heat or cold exposure during loading and unloading on the tarmac. Book early morning or late evening flights during summer to beat the heat, and midday flights during winter to avoid the cold.
Here are the day-of-flight tips I share with every owner:
Exercise your dog for at least 30 minutes before leaving for the airport to reduce anxiety and burn off energy.
Skip the large meal. Feed a small portion 4 to 6 hours before departure to prevent nausea.
Allow your dog to drink water up until check-in, then remove the bowl an hour before to avoid accidents in the crate.
Arrive at the airport at least 3 hours before departure if you are checking a large dog, because the pet cargo desk has its own line and inspection process.
Request early pickup at the destination cargo facility so your dog spends the least possible time waiting on a hot or cold ramp.
If your flight is delayed or canceled, contact the airline’s pet desk immediately. They will advise whether your dog can stay in the climate-controlled cargo holding area or whether you need to pick up your dog and rebook. Never leave a large dog in a parked car as a backup plan. Temperatures inside a car can become lethal within minutes, even in mild weather.
What Happens When You Land
Head straight to the airline’s cargo facility, usually located in a separate building near the cargo ramp. You’ll need your ID, the pet cargo confirmation number, and your photo to claim your dog. Once you have your dog back, take them outside immediately for a potty break and offer water. Most dogs are stressed but otherwise fine. Watch for excessive panting, vomiting, or refusal to drink for more than 4 hours, and contact a local emergency vet if any of these signs appear.
FAQs
Can you bring a 70 lb dog on a plane?
Yes, but only as checked cargo in an airline-approved crate. Most airlines do not allow dogs over 20 pounds in the cabin. You must book pet cargo with the airline 7 to 14 days in advance, provide a USDA health certificate within 10 days of travel, and use a rigid IATA-compliant crate that meets sizing requirements for your dog’s measurements.
How to prepare a dog crate for air travel?
Prepare an airline-approved crate in eight steps: assemble the shell with metal bolts, install the waterproof floor tray, layer absorbent pads, attach food and water bowls to the door, apply live animal labels and orientation arrows, reinforce the door with cable ties, add an owner-scented item for comfort, and do a final compliance check the night before the flight. Each step ensures your dog stays safe and that the crate passes airline inspection at check-in.
What makes a dog crate airline approved?
An airline-approved crate meets IATA Live Animals requirements: a rigid plastic shell, ventilation on at least three sides, a metal bolt fastener system, a waterproof floor with absorbent padding, a door with central locking plus side clamps, and live animal labels with orientation arrows. Plastic clips and soft-sided carriers are not accepted for cargo travel.
How to prepare a dog for a long haul flight?
Start crate training 4 to 8 weeks before departure. Feed your dog meals inside the crate, practice short closed-door sessions, take car rides in the crate, and play cargo hold sounds for desensitization. Avoid heavy meals 4 to 6 hours before takeoff, exercise your dog before check-in, and ask your vet about calming supplements if your dog is anxious. Never sedate your dog without veterinary approval because sedation at altitude can cause breathing problems.
Final Thoughts on Flying With a Large Dog in 2026
Knowing how to fly with a large dog and prepare an airline-approved crate comes down to three things: the right crate built to IATA standards, the right paperwork signed off by your vet within 10 days of travel, and the right training started weeks before departure. Skip any of these and you risk a rejected crate, a denied boarding, or a stressed dog on arrival.
Start by measuring your dog and ordering a proper IATA-compliant crate today. Book the vet appointment for 7 to 10 days before your flight. Call your airline’s pet desk as soon as your travel dates are confirmed. And give yourself at least 4 to 8 weeks to crate train your dog so the actual flight day feels routine. With these steps, your dog will travel as safely as any passenger on board, and you’ll have peace of mind from take-off to landing.