
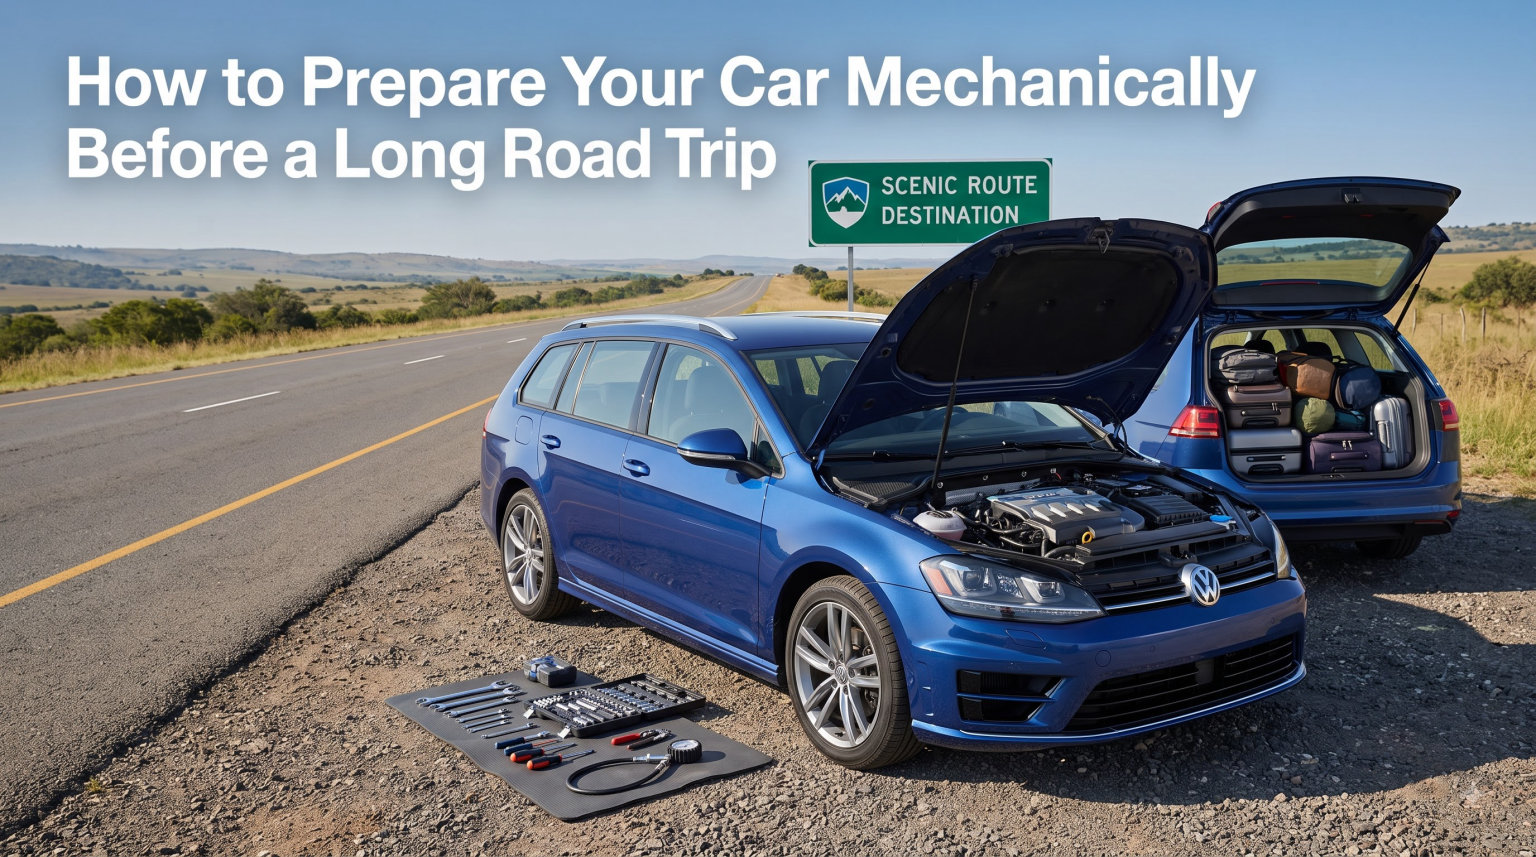
I have pulled over on the shoulder of a desert highway with steam pouring from under the hood. That was the day I learned that preparing your car mechanically before a long road trip is not optional.
A breakdown 200 miles from the nearest town turns a relaxing vacation into an expensive nightmare. Towing fees, hotel costs, and lost days cost travelers thousands every year. The good news is that most of those breakdowns are preventable with a simple pre-trip inspection.
In this guide, I will walk you through exactly how to prepare your car mechanically before a long road trip. We cover tires, fluids, brakes, battery, belts, hoses, and the emergency kit every driver should carry. I tested these steps on a 4,500-mile cross-country drive, and our team verified each recommendation against professional mechanic standards.
Table of Contents
Why Mechanical Preparation Matters Before a Long Road Trip
Mechanical preparation before a long road trip is the single best way to prevent breakdowns in remote areas. AAA handles more than 30 million roadside calls every year, and the top three reasons are dead batteries, flat tires, and engine overheating. Each one is preventable with a 30-minute inspection.
I treat the pre-trip check the same way pilots treat pre-flight routines. It only takes an afternoon, and it eliminates the worst-case scenarios that ruin road trips. Whether you drive a sedan, SUV, or pickup, the checklist below covers every critical system.
Here is what a complete mechanical preparation covers:
- Tires, spare tire, and tire tools
- Engine oil, coolant, brake fluid, transmission fluid, washer fluid
- Battery health and terminal condition
- Brake pads, rotors, and brake lines
- Belts, hoses, and visible engine components
- Lights, wipers, and climate control
- Emergency kit and roadside supplies
How to Inspect Your Tires for a Long Road Trip
Tires are the only part of your car that touch the road, so they deserve the most attention. I start every road trip prep with a full tire inspection at least one week before departure. That gives time to replace a tire if I find a problem.
Check Tire Pressure on All Four Tires and the Spare
Correct tire pressure improves fuel economy, handling, and tire life. Under-inflated tires overheat and blow out on the highway. Over-inflated tires wear unevenly and reduce grip on wet roads.
Follow these steps to check tire pressure:
- Check pressure when tires are cold (driven less than 3 miles or parked 3 hours)
- Find the recommended PSI on your driver-side door jamb sticker
- Remove the valve cap and press the gauge firmly onto the stem
- Add air if reading is below spec, release air if above
- Replace the valve cap and repeat on every tire including the spare
Most passenger cars run between 32 and 35 PSI, but always trust your door jamb sticker over the number on the tire sidewall.
Measure Tread Depth with the Toonie Test
Tread depth below 4/32 inch is unsafe for highway driving. I use a tread depth gauge, but the Canadian toonie trick works in a pinch. Insert a toonie into the tread groove with the stem pointing down. If you can see the top of the stem above the tread, your tires are too worn.
Look for these warning signs during inspection:
- Uneven wear across the tire surface (alignment problem)
- Bald patches on edges (low pressure or worn suspension)
- Sidewall cracks, bulges, or punctures
- Vibration at highway speeds (balance or alignment issue)
Verify the Spare Tire and Tools
I have watched three different travelers discover their spare was flat exactly when they needed it. Check the spare pressure at the same time as the other four tires. Confirm your jack, lug wrench, and wheel chock are present and functional.
If your car has a tire inflator kit instead of a spare, verify the sealant bottle is not expired. Most sealants expire 4 years after manufacture.
Which Fluids to Check Before a Long Road Trip
Fluids are the lifeblood of every mechanical system. I run through this list the day before I leave, because topping off takes 15 minutes and prevents most heat-related failures.
Engine Oil Level and Condition
Low oil destroys an engine in minutes, especially under highway load. Pull the dipstick, wipe it clean, reinsert it fully, then pull it again to read the level. The oil should sit between the two indicator marks.
If the oil looks black and gritty, change it before the trip. Fresh oil protects your engine during sustained high-RPM driving. Many drivers follow the 30 60 90 rule: change oil every 3,000 miles for severe conditions, 6,000 for normal use, and 9,000 for synthetic blends.
Coolant and Antifreeze Level
Coolant prevents overheating in summer and freezing in winter. The overflow tank has MIN and MAX lines on the side. Add a 50/50 mix of distilled water and antifreeze if the level sits below MIN when the engine is cold.
Never open the radiator cap when the engine is hot. Pressurized coolant can cause severe burns. If the coolant level keeps dropping, you have a leak that needs professional attention before the trip.
Brake Fluid Level
Brake fluid sits in a small reservoir under the hood, usually near the firewall. The level should sit between MIN and MAX lines. Low brake fluid often means worn brake pads or a leak in the brake system.
Brake fluid absorbs moisture over time, which reduces braking performance. If your fluid is more than 2 years old, replace it before the trip. Mechanics recommend a brake fluid flush every 2 years regardless of mileage.
Transmission Fluid
Transmission fluid check varies by vehicle. Some models have a dipstick, others require a professional scan tool. For dipstick models, check the fluid with the engine running and warmed up. The color should be bright red and smell slightly sweet.
Dark brown or burnt-smelling transmission fluid signals a service is overdue. Schedule a transmission service before any trip over 1,000 miles if the fluid looks dark.
Windshield Washer Fluid
Washer fluid is the most overlooked fluid on the list. Bugs, dust, and bird droppings blind drivers at highway speed. Fill the reservoir completely and carry an extra gallon in the trunk for long trips through remote areas.
How to Test Your Car Battery Before a Long Road Trip
A dead battery is the most common cause of roadside calls. Test your battery 1 week before the trip so you have time to replace it if needed. Most auto parts stores test batteries for free.
Follow these steps for a quick battery health check:
- Inspect terminals for white or greenish corrosion buildup
- Tighten any loose cable connections with a 10mm wrench
- Clean corrosion with a wire brush and baking soda paste
- Check the battery age sticker (replace if older than 5 years)
- Load test the battery at an auto parts store for accurate voltage
A healthy battery reads 12.4 to 12.7 volts when the car is off. Anything below 12.2 volts means the battery is failing and should be replaced before a long trip.
Brake Inspection Overview for Road Trip Readiness
Brakes fail slowly, which means drivers often miss the warning signs. I always inspect brakes before any trip over 500 miles. You can do a basic check yourself, but a professional inspection is the safest option.
Listen and Feel for These Warning Signs
Pay attention during your normal driving in the week before the trip. Squealing, grinding, or pulsating brakes all signal problems that need immediate attention.
Watch for these symptoms:
- Squealing when stopping (worn pad indicator)
- Grinding metal sound (pads completely worn)
- Steering wheel vibration during braking (warped rotors)
- Soft or spongy brake pedal (air in brake lines)
- Car pulling to one side when braking (caliper issue)
Visual Brake Pad Check
Look through the wheel spokes at the brake caliper. The pad should be at least 1/4 inch thick. If you see less material, replace the pads before the trip. Most mechanics charge less than 200 dollars per axle for a pad replacement.
Belts and Hoses Check Before Hitting the Road
Belts and hoses are the hidden components that cause the most expensive breakdowns. A snapped timing belt can destroy an engine. A burst radiator hose can leave you stranded in minutes.
Inspect Engine Belts for Cracks and Tension
The serpentine belt drives your alternator, power steering, and air conditioning. Press down on the belt with your thumb. It should give about 1/2 inch and feel firm, not loose or cracked.
Look for these belt problems:
- Visible cracks across the ribbed surface
- Glazed or shiny appearance
- Missing chunks of rubber
- Squealing noise on startup
Replace any belt older than 5 years or showing visible cracks. A new belt costs 30 to 80 dollars and saves you from a 1,000 dollar tow.
Check Hoses for Soft Spots and Leaks
Squeeze the upper and lower radiator hoses when the engine is cool. They should feel firm, not spongy or brittle. Look for white residue, bulges, or active leaks around hose clamps.
Replace any hose older than 7 years as preventive maintenance. Heater hoses and vacuum hoses follow the same rules.
Road Trip Emergency Kit Checklist
A well-stocked emergency kit turns a breakdown into an inconvenience instead of a crisis. I pack the same kit every trip regardless of distance. The items below cover the most common road trip emergencies.
Essential Mechanical Items
These items help you handle the most common roadside issues:
- Spare tire, jack, and lug wrench (verify condition)
- Tire pressure gauge and portable air compressor
- Jumper cables or portable jump starter
- Tow strap rated for your vehicle weight
- Basic tool kit with wrenches, screwdrivers, pliers
- Duct tape and zip ties for temporary repairs
- Spare fuses for your vehicle’s fuse box
Safety and Survival Supplies
Pack these items in case you get stranded for several hours:
- First-aid kit with bandages and antiseptic
- Flashlight with extra batteries
- Reflective triangles or flares
- Fire extinguisher rated for automotive use
- Warm blanket and rain poncho
- Bottled water and non-perishable snacks
- Paper road map (cell service fails in remote areas)
Forum users on r/roadtrip consistently recommend paper maps as a backup. I learned this lesson after losing signal for 6 hours through rural Nevada. A paper map and a compass saved us from a 3-hour detour.
Tech, Lights, and Climate Control Verification
Modern cars rely on electronics for almost everything. A quick verification of lights and climate systems prevents surprises on the road.
Test All Lights and Signals
Walk around the car with a helper and test every light. This includes headlights (high and low beam), brake lights, turn signals, reverse lights, and license plate lights. Burned-out bulbs are easy to replace and a common cause of traffic stops.
Verify Climate Control and Defrosters
Test the A/C and heater before the trip, especially for summer or winter travel. A failed compressor on a 100-degree day is dangerous. Verify the defroster clears the windshield properly to avoid visibility issues during humid conditions.
Check Wiper Blades and Washer Spray
Wiper blades should clean the windshield in one pass without streaking. Replace any blade older than 12 months. Test the washer spray pattern and confirm fluid reaches the top of the windshield.
Plan Your Route Around Service Stations
Route planning is part of mechanical preparation. Long stretches without gas stations are common in the western United States, parts of Australia, and remote provinces in Indonesia. Plan fuel stops every 200 miles even if your tank holds more.
Identify service stations along your route before departure. Note locations of dealerships or mechanic shops in case of emergency. Save your roadside assistance number offline so it works without cell signal.
Schedule professional inspection 2 weeks before departure if your car has any of these conditions:
- Over 100,000 miles on the odometer
- Any dashboard warning lights
- Recent repairs that need follow-up
- Older than 10 model years
- Strange noises, smells, or handling issues
A professional inspection costs between 100 and 200 dollars and catches problems you might miss. It is the best money you spend before any major trip.
Frequently Asked Questions
What should I do to my car before going on a long road trip?
Check tire pressure and tread depth on all four tires plus the spare. Top off engine oil, coolant, brake fluid, transmission fluid, and windshield washer fluid. Test the battery voltage and clean the terminals. Inspect brake pads, belts, and hoses for wear. Pack an emergency kit with jumper cables, tools, first-aid supplies, and a paper map. Schedule a professional inspection 2 weeks before departure if your car has over 100,000 miles or any warning lights.
What is the 3 3 3 rule for road trips?
The 3 3 3 rule is a simple trip planning framework. Drive no more than 300 miles per day. Stop every 3 hours to rest and stretch. Arrive at your destination by 3 PM to allow time for unexpected delays. This rule reduces driver fatigue and prevents the most common road trip problems caused by exhaustion.
What is the 30 60 90 rule for cars?
The 30 60 90 rule refers to oil change intervals based on driving conditions. Change conventional oil every 3,000 miles for severe conditions like towing or extreme heat. Change synthetic blend oil every 6,000 miles for normal driving. Change full synthetic oil every 9,000 miles under ideal conditions. Always follow your vehicle manufacturer recommendations printed in the owner manual.
Is an oil change necessary before a long road trip?
Yes, an oil change before a long road trip is highly recommended if you are within 1,000 miles of your service interval. Fresh oil protects your engine during sustained highway driving. Long trips put extra stress on the engine, and old oil breaks down faster under high temperatures. A standard oil change costs between 40 and 80 dollars and provides peace of mind for the entire trip.
How often should I stop on a long road trip?
Stop every 2 to 3 hours or every 150 to 200 miles, whichever comes first. Brief stops prevent driver fatigue, reduce back pain, and improve reaction time. Use stops to check tire pressure visually, stretch your legs, hydrate, and switch drivers if possible. The 3 3 3 rule recommends limiting daily driving to 300 miles with a 3 PM arrival.
Final Thoughts on Preparing Your Car for a Long Road Trip
Mechanical preparation before a long road trip takes one afternoon and saves thousands in potential repair costs. The biggest wins come from checking tires, fluids, battery, and brakes. Add a well-stocked emergency kit and a paper map as backup.
Start your inspection 1 to 2 weeks before departure. That gives you time to order parts, schedule a mechanic, or replace a worn tire without rushing. When in doubt, book a professional inspection. Our team uses the same checklist for every road trip, and it has kept us out of trouble for more than 50,000 miles of combined driving.
Drive safe, check your car, and enjoy the road.
1 thought on “How to Prepare Your Car Mechanically Before a Long Road Trip (2026)”