
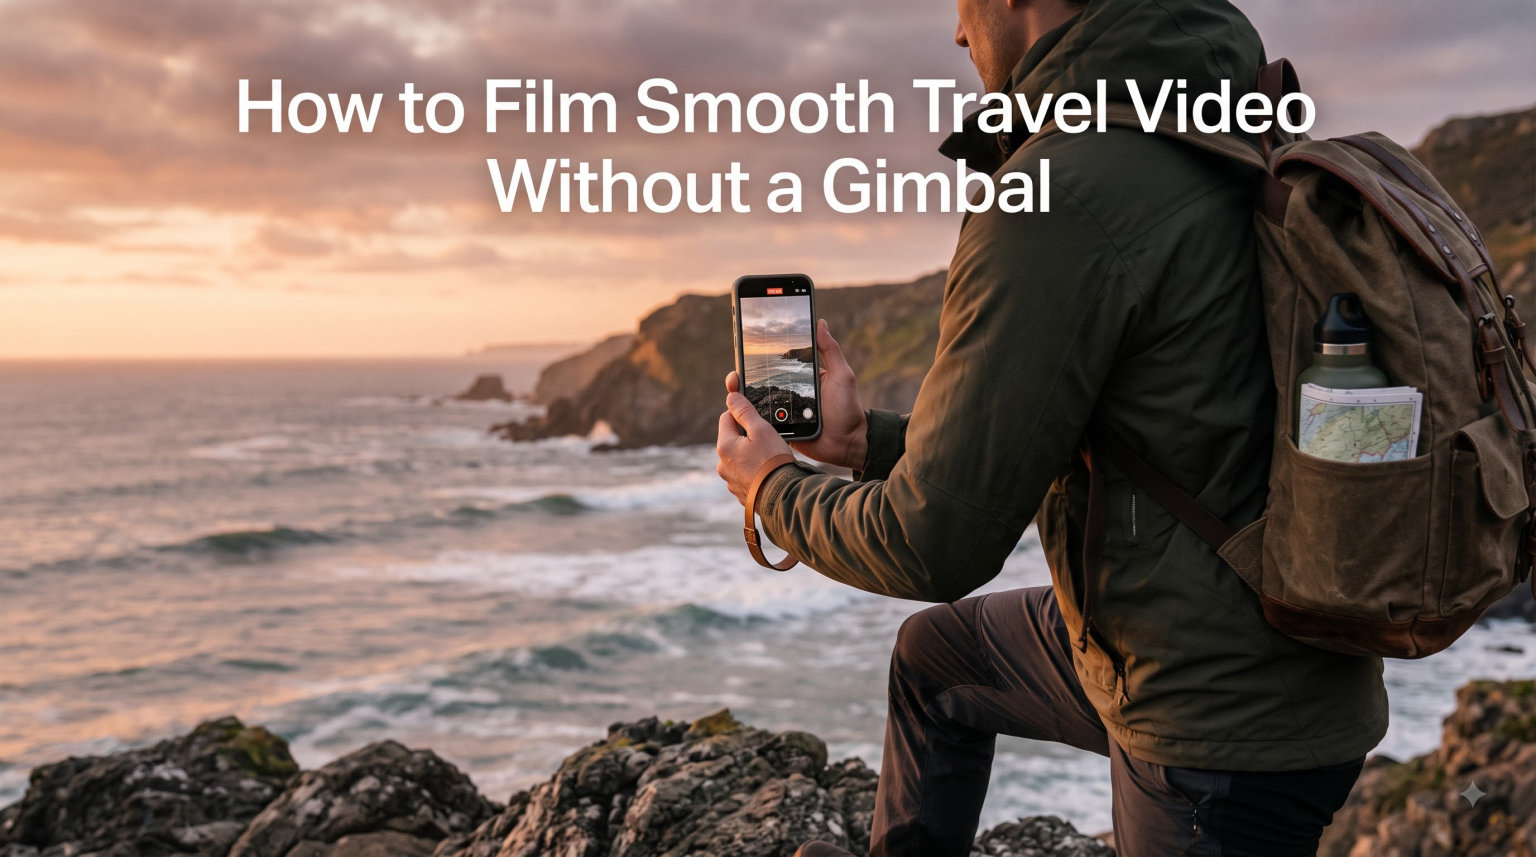
Carrying a gimbal on every trip sounds great until you are lugging it through a crowded market, sweating through a humid jungle trail, or watching its battery die halfway through a sunset shoot. The truth is, you can capture buttery-smooth travel footage using nothing more than your body, your surroundings, and a few techniques that professional documentary shooters have relied on for decades. This guide on how to film smooth travel video without a gimbal walks you through every method I have tested on the road, from handholding fundamentals to the ninja walk, DIY rigs, and camera settings that do the heavy lifting for you.
Learning these manual stabilization techniques does more than save weight in your bag. It gives you a more natural, documentary-style look that gimbals often flatten out. You move faster, draw less attention as a tourist, and never miss a shot waiting for a motorized stabilizer to balance. By the end of this article, you will have a complete toolkit of gimbal-free techniques that work whether you are shooting on a mirrorless camera, a DSLR, or just your phone.
Table of Contents
How to Film Smooth Travel Video Without a Gimbal: Six Core Techniques
The best way to film smooth travel video without a gimbal is to combine proper handholding technique, body-based movement, environmental support, and the right camera settings. No single trick does it all. Stack these six methods together and your handheld footage will rival stabilized gear.
1. Master Proper Handholding Technique
Handheld footage shakes because most people hold a camera the way they hold a phone, out in front with one hand. That position gives your footage every micro-tremor your body produces. The fix starts with grip.
Always use both hands. Wrap your left hand under the lens barrel for support, and grip the right side of the camera body firmly without clenching. This two-handed hold turns your arms into a braced structure instead of a wobbly extension.
Pull your elbows tight against your ribcage. This creates what filmmakers call three points of contact: both elbows on your torso and the camera pressed against your face if you are using a viewfinder. Three contact points dramatically reduce high-frequency shake, which is the jitter that makes footage look amateurish.
Adopt a slightly wider stance than normal, with your feet about shoulder-width apart. Bend your knees a touch to soften the impact of each step. Your legs become shock absorbers, absorbing the up-and-down motion that would otherwise travel straight into your shot.
2. Learn the Ninja Walk for Moving Shots
The ninja walk is the single most effective technique for capturing smooth footage while walking without a gimbal. It mimics how a Steadicam operator moves, bending the knees deeply and rolling through each step heel-to-toe so your upper body stays level.
Here is how to do it. Squat down slightly more than a normal walk. Plant your heel first, then roll your foot forward to the toe in one smooth motion. Keep your knees bent the entire time so your torso never bobs up and down. Imagine you are carrying a full cup of coffee and trying not to spill a drop.
Our team practiced this on cobblestone streets in Europe last summer, and the difference was night and day. Normal walking produces a visible vertical bounce with every step. The ninja walk flattens that bounce almost entirely, giving you a glide that looks motorized.
One forum tip worth sharing: shoot at 60fps rather than 30fps when you plan to use the ninja walk. The higher frame rate captures more samples per second, which smooths out any residual micro-shake. You can even slow the footage down slightly in post for a dreamy cinematic feel.
3. Use Your Environment as a Natural Stabilizer
Your surroundings are full of free stabilizers if you know where to look. Walls, railings, tabletops, and even the ground can anchor your camera and eliminate hand shake completely.
When shooting a static scene, press your camera against a wall, a tree trunk, or a stone pillar. The solid surface removes every vibration your body creates. This works especially well for time-lapses, long exposures at dusk, or when you want a locked-off architectural shot of a temple or landmark.
For low-angle shots, rest your camera on the ground with a small beanbag, a folded scarf, or even your backpack underneath. This turns a rough surface into a stable platform. I have captured stunning low cityscapes simply by setting my camera on a bench with a jacket under the lens.
Railings along balconies and bridges make excellent sliding surfaces. Rest your camera flat on the railing and push it gently along the metal for a smooth tracking shot. Just keep a strap on your wrist, because one slip sends your gear over the edge.
4. Build DIY Stabilization Rigs
You do not need a gimbal, but a few cheap DIY tools can dramatically improve handheld stability. Travel videographers on forums swear by these budget-friendly options.
A camera cage with side handles is the single best investment for gimbal-free shooting. The extra handles give you something to grip, and the added weight actually helps stabilize your footage by increasing the mass your body has to move. Heavier cameras resist small vibrations better than feather-light ones.
The string monopod is a classic DIY trick. Tie a length of strong cord to a quarter-inch bolt that screws into your camera’s tripod mount. Step on the other end of the string and pull the camera upward until the string is taut. This creates tension that resists horizontal shake, and the whole rig costs under five dollars.
A simple beanbag filled with rice or plastic pellets conforms to any surface and cradles your camera for rock-solid static shots. Throw one in your travel bag and you can set up a stable shot on a rock, a car hood, or an uneven wall in seconds.
5. Optimize Your Camera Settings for Stability
The right settings can do as much for stabilization as any physical technique. Three settings matter most: focal length, frame rate, and in-body stabilization.
Shoot wide. Wide-angle lenses inherently hide camera shake because they compress less of the frame into each pixel of movement. A 16mm or 24mm lens will look dramatically smoother handheld than a 50mm or 85mm lens. If you must zoom, get physically closer to your subject instead of using a long focal length.
Crank your frame rate up to 60fps for any shot involving movement. More frames per second means each frame captures a smaller slice of time, which reduces motion blur and jitter. If you are shooting fast action like running through a market, consider 120fps and slow it down in editing for ultra-smooth results.
Turn on your camera’s in-body image stabilization (IBIS) or optical image stabilization (OIS). Most modern cameras and phones have some form of electronic stabilization as well. Layer these tools together and they compensate for the majority of handheld shake automatically.
One counterintuitive tip from experienced shooters: if your footage looks jittery and robotic rather than smoothly handheld, try turning off in-camera stabilization and relying purely on physical technique. Sometimes the software fights against your body movements and creates a wobbling artifact called the jello effect.
6. Control Your Breathing and Body Movement
Your heartbeat and breathing create subtle but constant vibrations that transfer directly into handheld footage. Controlling them is the difference between good and great stabilization.
Learn to shoot on the exhale. Breathe in normally, then slowly exhale through your mouth while pressing record. At the bottom of your exhale, your body is at its most relaxed and stable. This is the same technique competitive rifle shooters use to steady their aim.
Move from your core, not your arms. When panning across a landscape, rotate your entire torso from the hips rather than swinging your arms. Your arms should stay locked in position while your body does the turning. This produces smooth, arcing movements instead of jerky wrist rotations.
Slow everything down. Fast movements always look shakier than slow ones, both in reality and on screen. Move at half the speed you think you need, and your footage will look twice as smooth.
Smartphone-Specific Stabilization Techniques
You can absolutely film smooth travel video without a gimbal using just your phone. Modern smartphones have powerful built-in stabilization that rivals dedicated gear, but you need to use it correctly.
First, turn on every stabilization feature your phone offers. On iPhone, enable Cinematic mode and Action mode if available. On Android, look for Super Steady, Ultra Steady, or Video Stabilization in your camera settings. These electronic stabilization tools use the phone’s gyroscope and crop the frame slightly to smooth out movement.
Hold your phone with both hands in landscape orientation, gripping it firmly on both sides. Pull your elbows to your ribs just like you would with a camera. The bigger contact surface of two-handed grip makes a massive difference compared to one-handed shooting.
Consider a small phone cage or a grip handle. These cheap accessories give you something to hold and let you attach a wrist strap for security. They also add a bit of weight, which, as we discussed, actually helps stabilize your footage.
Keep your phone level. Tilting the phone up or down while filming introduces rotation that electronic stabilization struggles to correct. Keep the back of the phone parallel to your subject and move your whole body to reframe.
Post-Production Stabilization: Your Safety Net
Even with perfect technique, some shots will still have minor shake. Post-production stabilization is the safety net that cleans up the last bit of wobble, and every travel videographer should know how to use it.
Adobe Premiere Pro’s Warp Stabilizer is the industry standard. Drop it on a clip, and it analyzes your footage and applies corrective warping to lock things down. Final Cut Pro, DaVinci Resolve, and most free editing apps include similar tools. The key is using a low smoothness setting, around five to ten percent, to avoid the wobbly, stretched look that over-stabilized footage produces.
Shoot wider than you need so stabilization software has room to crop. Electronic stabilization works by zooming into the frame slightly and shifting pixels to counteract movement. If you frame your shot tight, the crop will cut off heads and edges. Leave a border of extra space around your subject and crop intentionally later.
Never rely on post-production as your only stabilization method. Heavy software correction degrades image quality, introduces artifacts, and can make footage look rubbery. Use it to polish well-shot footage, not to rescue bad footage.
Common Mistakes That Ruin Handheld Footage
A handful of common errors undo all the good technique above. Avoid these and your success rate will jump immediately.
Zooming in with long lenses. The longer your focal length, the more every tiny movement gets magnified. That 200mm telephoto shot will shake no matter how steady your hands are. Stick to wide lenses for handheld work and save the long lens for a tripod.
Moving with your arms instead of your body. Panning with your wrists creates fast, jerky rotations that no amount of post-production can fully fix. Always move from your hips and torso.
Holding your breath. It sounds logical to freeze your body, but holding your breath creates tension that actually increases tremors. Exhale slowly instead.
Forgetting to lock focus and exposure. If your camera is hunting for focus or adjusting exposure mid-shot, the footage will look jumpy and unstable even if your hands are perfectly still. Lock both before you hit record.
Walking normally while filming. Standard walking bounces your body up and down with every step, and that bounce goes straight into your footage. Use the ninja walk or stop moving entirely and let your subjects move through the frame.
Over-relying on electronic stabilization. In-camera stabilization is helpful, but it cannot fix bad technique. Think of it as an assist, not a replacement for solid handholding fundamentals.
FAQs
How to get smooth footage without a gimbal?
Combine proper two-handed grip with three points of contact, use the ninja walk for moving shots, shoot with wide lenses at 60fps, and lean on your environment for support. Post-production tools like Warp Stabilizer clean up any remaining shake.
What can I use instead of a gimbal?
You can use a tripod or monopod, a camera cage with handles, a string monopod, a beanbag, your camera’s in-body image stabilization, and your surroundings like walls and railings. Proper handholding technique and the ninja walk replace a gimbal for most travel scenarios.
Do you need a gimbal for travel?
No, a gimbal is not necessary for travel video. Many professional travel filmmakers shoot entirely handheld using body mechanics and environmental stabilization. Skipping a gimbal means less weight, no batteries to charge, and a more natural documentary look.
Which phone is best for stabilised video without a gimbal?
Recent iPhone models with Action mode, Samsung Galaxy phones with Super Steady, and Google Pixel phones with electronic stabilization all produce smooth handheld footage. The phone matters less than your technique, so focus on two-handed grip and slow movement.
How do I stabilize my camera while walking?
Use the ninja walk technique: bend your knees, plant heel first, roll to your toe, and keep your upper body level. Hold the camera with both hands, pull your elbows tight, shoot at 60fps with a wide lens, and move slowly.
What is the ninja walk technique for video?
The ninja walk is a heel-to-toe walking method where you bend your knees deeply and roll through each step to keep your upper body from bouncing. It mimics Steadicam movement and is the most effective way to capture smooth footage while walking without a gimbal.
Putting It All Together
Filming smooth travel video without a gimbal is not about owning the right gear. It is about mastering your body, using your environment, and choosing settings that work in your favor. The two-handed grip gives you a stable base. The ninja walk gives you smooth movement. Wide lenses and higher frame rates hide what little shake remains. Post-production polish handles the final cleanup.
The real secret is practice. These techniques feel awkward at first, but after a few days of shooting they become second nature. Start with the fundamentals, be deliberate about your movement, and you will produce footage that looks like you carried a gimbal, even when your hands are all you brought.