
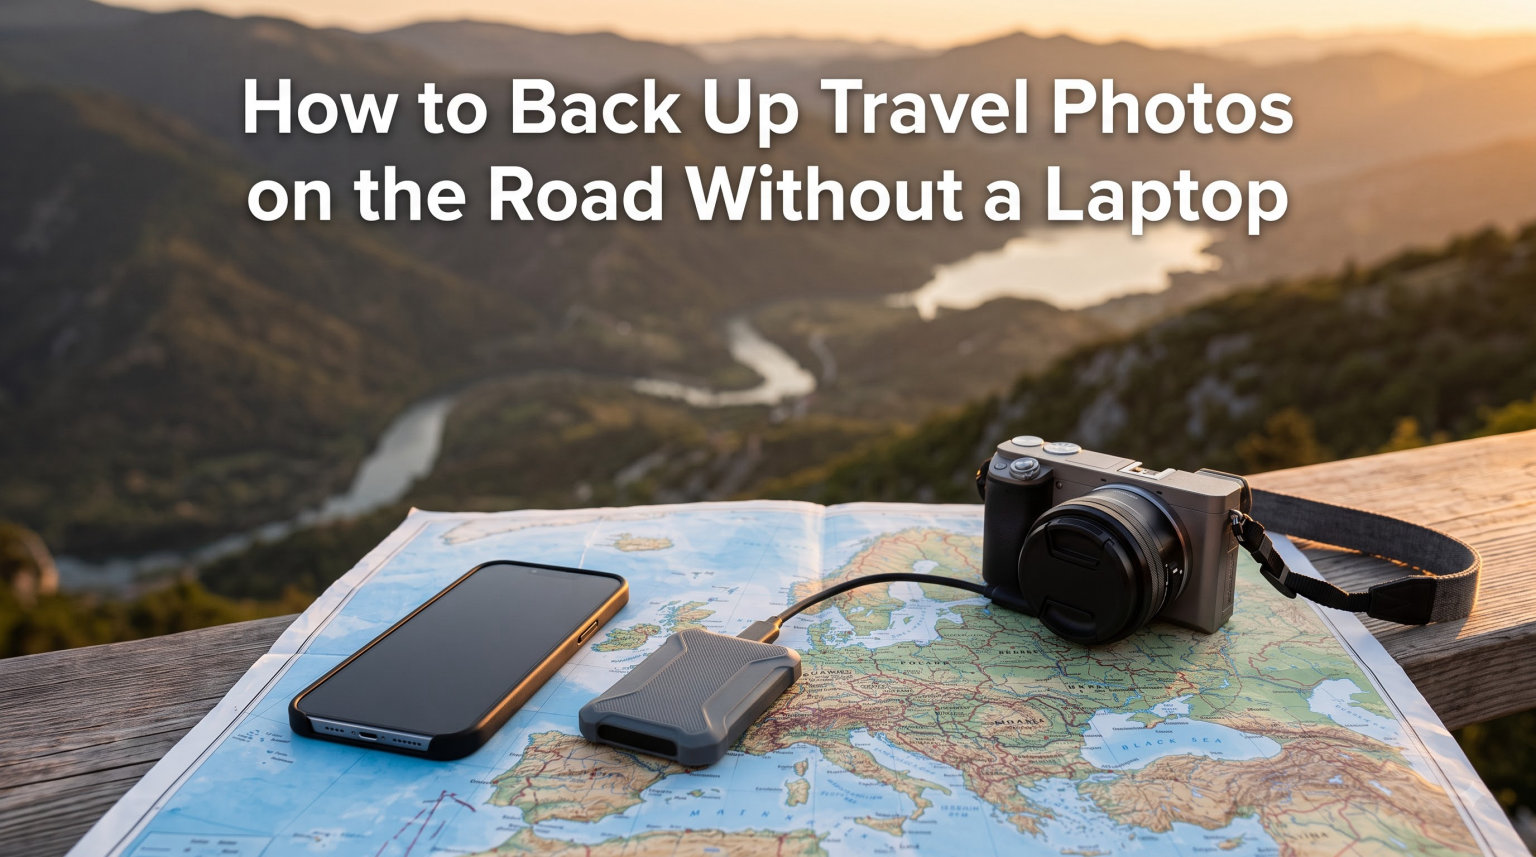
Losing a week of travel photos because a single memory card died is the kind of mistake you only make once. I learned this the hard way after a SD card corrupted on day six of a trip through Iceland, taking 800 RAW files with it. Since then, our team has spent years refining a travel photo backup workflow that needs no laptop, no cloud, and no fragile wireless drives. This guide shows you exactly how to back up travel photos on the road without a laptop using gear that fits in your pocket.
The method that works best is straightforward: your smartphone becomes the bridge between your camera’s SD card and a portable SSD. You plug in a USB-C hub with a built-in card reader, connect your SSD, and use your phone’s file manager app to copy everything over. The whole process takes about five minutes of setup and runs at roughly 1GB per minute with modern drives.
This approach costs less than a dedicated backup device, weighs a fraction of a laptop, and gives you full control over your files. No subscriptions, no internet required, and no worrying about whether a proprietary gadget will survive the trip. Let me walk you through every step, including the gear, the format settings that trip people up, and how to verify your photos actually copied safely.
Table of Contents
Why Backing Up Travel Photos Matters: The 321 Backup Rule
If your photos exist in only one place, they do not truly exist yet. A single SD card can fail from static electricity, water, physical damage, or simple file corruption with zero warning. I have seen cards that worked perfectly one day and read as empty the next, with no recovery possible.
Professional photographers follow something called the 321 backup rule, and you should too. The rule is simple: keep three copies of your photos, on two different types of storage, with at least one copy stored in a different physical location.
For travel photography, this usually breaks down like this. Copy one stays on your original memory card inside the camera. Copy two lives on your portable SSD that you carry in your bag. Copy three can be a second SD card if your camera has dual slots, or a cloud upload when you reach wifi at your hotel.
The key insight is that keeping all copies in the same bag defeats the purpose. If your bag gets stolen or falls in a river, every copy dies together. Split your backups between your daypack, your main luggage, and your pocket whenever possible.
This might sound paranoid until it happens to you. Wedding photographers I know who shoot in remote locations treat backup redundancy as non-negotiable because a lost card means a lost client and a damaged reputation. The same logic applies to once-in-a-lifetime travel memories that cannot be recreated.
What You Need: The Minimal Gear Setup
The beauty of this method is how little gear it requires. Here is the complete list of what you need to back up photos on the road without a laptop:
A smartphone or tablet running iOS 13+ or Android with USB OTG support. This is your file management hub. Most phones from the last several years work perfectly.
A USB-C hub with a built-in SD card reader. Look for one with USB-C Power Delivery passthrough so you can charge your phone while transferring files. Hubs with UHS-II card readers will give you faster transfer speeds.
A portable SSD formatted to ExFAT. Popular options include the Samsung T7, SanDisk Extreme Portable, and Crucial X6. Any 1TB or larger drive gives you plenty of room for a multi-week trip of RAW files.
A power bank rated for at least 18W output with Power Delivery. This powers the hub and SSD during transfer, since phones cannot supply enough juice on their own.
Your camera’s SD cards. Keep at least two or three cards so you can rotate them and maintain redundancy.
That is the entire kit. It weighs under a pound total and takes up less space than a paperback book. Compare that to lugging a laptop, charger, and external drive through airports and up mountain trails.
One note on the SSD choice: avoid older spinning hard drives (HDDs). They are slower, more fragile, and more sensitive to movement during transfers. Portable SSDs have no moving parts, survive drops better, and transfer files significantly faster.
How to Back Up Travel Photos on the Road Without a Laptop: Step-by-Step
This is the core process. Once you do it two or three times, it becomes second nature and takes about ten minutes per SD card. The steps below work for both iPhone and Android, with minor differences noted where they matter.
Step 1: Connect the USB-C hub to your power bank. Plug the hub’s USB-C input into your power bank using a Power Delivery cable. This keeps the hub and connected devices drawing power from the bank instead of your phone battery. Without this step, your phone will drain fast and may throttle the transfer.
Step 2: Plug your phone into the hub. Connect your phone to the hub’s USB-C output (or use a USB-C to Lightning adapter for older iPhones). Your phone should recognize the connected devices within a few seconds.
Step 3: Insert your SD card into the hub’s card reader. The card should click into place gently. Do not force it. If your camera uses CFexpress cards instead of SD, you will need a hub with a CFexpress slot or a dedicated CFexpress reader.
Step 4: Connect your portable SSD to the hub. Use a USB-C cable to plug the SSD into one of the hub’s USB ports. Wait for your phone to recognize the drive. On iPhone, the Files app will show it under Locations. On Android, it appears in the Files app or your file manager of choice.
Step 5: Open your phone’s file manager app. On iPhone, use the built-in Files app. On Android, Google Files or Solid Explorer both work well. You should see both the SD card and the SSD listed as available storage locations.
Step 6: Create a destination folder on the SSD. Go to your SSD in the file manager and create a folder for the current trip and date. For example: “Iceland-2026 / Day-06 / Card-01.” Consistent naming now saves you hours of confusion later when you are sorting through thousands of files at home.
Step 7: Select all files on the SD card and copy them to the SSD folder. On iPhone, tap Select, choose all, tap Copy, then open your SSD folder and tap Paste. On Android, long-press to select, then copy and paste. For large batches, the transfer will show a progress indicator.
Step 8: Wait for the transfer to complete, then verify. Do not disconnect anything until the progress bar finishes completely. Transfer speeds average about 1GB per minute with a good SSD, so a full 64GB card takes roughly an hour. A 128GB card takes about two hours. Plan your transfers for downtime at your hotel or during a long transit.
Step 9: Safely eject both devices. Use your phone’s eject option for the SD card and SSD before physically unplugging anything. This prevents file corruption from incomplete writes. We will cover the exact verification steps in detail later in this guide.
Why ExFAT Format Matters (And How to Check It)
ExFAT is the single most important technical detail in this entire process. If your SSD is not formatted to ExFAT, your phone will likely refuse to write to it, or worse, it will appear to work and then corrupt your files silently.
ExFAT is a file system designed specifically for cross-platform compatibility. Windows, Mac, iOS, and Android can all read and write to ExFAT drives without any special software. Older formats like NTFS are read-only on Mac and many phones. FAT32 works everywhere but has a crippling 4GB file size limit, which means a single high-resolution video or a burst of RAW files could fail mid-transfer.
To check your SSD’s format on a Mac, connect the drive and open Disk Utility. Click on the drive name and look at the format field in the details panel. On Windows, right-click the drive in File Explorer, select Properties, and check the File system line.
If your drive is not ExFAT, you will need to reformat it before your trip. Do this at home where you have a computer. Reformatting erases everything on the drive, so back up any existing data first. On Mac, use Disk Utility and select ExFAT from the format dropdown. On Windows, right-click the drive, select Format, and choose ExFAT.
Format your SSD before you leave home. Trying to troubleshoot format issues from a hostel bed with no laptop is a headache you want to avoid entirely.
Power Requirements and Solutions
The most common question our team gets is why the transfer fails or runs painfully slow. The answer is almost always power. A portable SSD and a USB hub together draw more current than a phone can provide through its charging port.
Without external power, your phone tries to power both the card reader and the SSD from its own battery. This causes three problems. The phone battery drains rapidly, the SSD may throttle to slower speeds to reduce power draw, and in some cases the transfer will stall or fail entirely when the phone cuts power to protect itself.
The solution is a USB-C hub with Power Delivery passthrough. This feature lets you connect a power bank to the hub, which then powers the connected devices while simultaneously passing data through to your phone. The power bank handles the heavy lifting, and your phone battery stays untouched.
For the power bank itself, look for one rated for at least 18W output with USB-C Power Delivery. A 10,000mAh bank can handle several full SD card transfers before needing a recharge. If you are on an extended trip with limited charging opportunities, consider a 20,000mAh bank to give yourself a comfortable buffer.
I always start transfers with a fully charged power bank and phone. Mid-transfer battery death is one of the most common causes of corrupted files, and it is completely avoidable with a little planning.
Dual Card Slot Strategy for Redundancy
If your camera has dual card slots, you have a powerful redundancy tool built right in. Many photographers do not use dual slots to their full potential because they set both cards to overflow mode, which means the second card only starts recording when the first fills up. That gives you zero redundancy.
Instead, set your camera to write every photo to both cards simultaneously. This is called backup mode or mirror mode depending on your camera brand. Every shot gets written to card one and card two at the same time, giving you an instant duplicate of every frame.
With this setup, your backup workflow becomes a three-copy system. Copy one is on your primary SD card. Copy two is on your mirrored SD card. Copy three is on your portable SSD after your nightly transfer. Even if one card fails completely, you have two other copies of everything.
The extra layer of security is keeping your two camera cards in different physical places. Store one card in your camera and the other in your hotel safe or a separate bag pocket. If your camera bag gets lost or stolen, the second card with identical files survives in a different location.
This strategy costs nothing extra if you already own a dual-slot camera. You just need a second card of the same capacity and a settings change that takes thirty seconds.
File Organization Tips for the Field
Good file organization on the road saves you hours of sorting when you get home. The system I use is simple, consistent, and works whether you are on a weekend trip or a three-month expedition.
Create a main folder for each trip on your SSD before you leave. Inside that folder, create subfolders for each day of the trip, named by date. When you transfer each night, copy the full contents of the card into that day’s folder. Do not rename individual files during transfer, as this slows the process and risks errors.
For RAW versus JPEG handling, the good news is that file managers copy both formats identically. The smartphone method handles RAW files just fine. The common myth that phones cannot process RAW files is misleading. Your phone is not editing the files, it is simply copying them byte for byte. RAW files like CR3, NEF, and ARW transfer without any issues.
Video files work the same way, but they are much larger. A single 4K video clip can be several gigabytes. If you shoot a lot of video, budget extra SSD space and transfer time. A card full of video can take two to three times longer to back up than a card full of stills.
What happens when your SSD fills up mid-trip? This is a scenario most guides skip. The simplest solution is to carry a second SSD as a backup drive. When the first fills, swap it out and continue. Alternatively, if you have wifi access, you can upload your best selects to a cloud service to free space before continuing to shoot.
Never delete files from your SD card to free space until you have verified the backup transfer completed successfully. Formatting a card before confirming the backup is the most common way travelers lose photos permanently.
How to Verify Your Transfer Worked (And Safely Eject)
Verifying that your files copied correctly is the step most travelers skip, and it is the step that matters most. A transfer that looks complete can still have missing or corrupted files if the connection was interrupted.
The quickest verification method is to compare file counts. Before transferring, note how many files are on your SD card. After transferring, check that the destination folder on your SSD contains the same number of files. If the counts match, you have a strong indication the transfer was complete.
For a deeper check, compare the total file size. Select all files on the SD card and note the combined size. Then select all files in the destination folder and compare. The sizes should match exactly or differ by only a few bytes due to file system overhead.
If you want to be thorough, open a few random RAW or JPEG files from the SSD copy on your phone. If they display correctly, the files are intact. A corrupted file will either fail to open or show visual glitches like banding and color shifts.
Once you have verified the transfer, safely eject the devices. On iPhone, tap the eject icon next to the SD card and SSD names in the Files app under Locations. On Android, use the unmount or eject option in your file manager. Wait a few seconds after ejecting before physically unplugging cables.
Never pull the SD card or SSD out while a transfer is in progress, even if the progress bar appears stuck. Give it time, or cancel the transfer through the app first. Force-disconnecting during a write operation is a leading cause of file corruption on both the source card and the destination drive.
Troubleshooting Common Backup Issues
Even with the right gear, things occasionally go wrong. Here are the most common issues and how to fix them in the field.
The SSD does not appear in your file manager. First, check that the SSD is receiving power through the hub. Try unplugging and reconnecting the drive. If it still does not appear, the drive may not be ExFAT formatted. Some phones also struggle with certain SSD models, so test your specific combination before your trip.
Transfer speeds are painfully slow. This usually points to a power issue. Make sure your power bank is connected and delivering Power Delivery to the hub. Slow speeds can also come from using a UHS-I card reader instead of UHS-II, or from a low-quality USB cable. Use the cable that came with your SSD rather than a random one from your bag.
The transfer stops partway through. A stalled transfer often means the phone or power bank ran low on battery. Check your charge levels and start again. If the transfer consistently fails at the same file, that specific file may be corrupted on the SD card. Try transferring everything except that file, then attempt the problem file separately.
Your file manager app crashes during transfer. This happens most often with very large batches of files. Try breaking the transfer into smaller chunks of a few hundred files at a time. On Android, switching to a different file manager app can resolve persistent crashes. Solid Explorer and FX File Explorer are reliable alternatives to the default options.
The SD card is not recognized. Remove and reinsert the card. Check for dust or debris in the card reader slot. If the card works in your camera but not the hub, the card reader may be incompatible with that card type. Some UHS-II cards require a matching UHS-II reader to function properly.
FAQs
How do I backup photos while traveling without computer internet?
Use a USB-C hub with a built-in SD card reader connected to your smartphone and a portable SSD. Plug in a power bank for delivery, insert your camera’s SD card, connect the SSD, and use your phone’s Files app to copy photos directly from card to drive. No internet connection is needed for this process.
Can you transfer pictures from camera directly to portable hard drive without computer?
Not directly from camera to drive alone, but you can use your smartphone as the bridge. Connect a USB-C hub with card reader to your phone, insert the SD card and the SSD, then copy files using your phone’s file manager. The phone manages the transfer between the two devices.
What is the 321 backup rule for photos?
The 321 rule means keeping three copies of your photos, on two different types of storage media, with at least one copy stored in a different physical location. For travel, this typically means one copy on your camera’s SD card, one on your portable SSD, and one on a second card or in cloud storage.
How long does it take to backup an SD card to a portable SSD?
With a modern portable SSD and a powered USB-C hub, transfer speeds average about 1GB per minute. A full 64GB card takes roughly one hour, and a 128GB card takes about two hours. Video-heavy cards may take longer due to larger individual file sizes.
Do I need ExFAT format for my backup SSD?
Yes, ExFAT is strongly recommended. It is the only format that offers full read and write compatibility across iOS, Android, Mac, and Windows without file size limits. FAT32 has a 4GB file limit, and NTFS is read-only on many phones and Macs.
Can I backup RAW files using the smartphone method?
Yes, RAW files transfer without issues. Your phone is copying the files, not editing them, so formats like CR3, NEF, ARW, and DNG move byte for byte just like JPEGs. The phone does not need to process or render the RAW data during transfer.
Wrapping Up: Your Travel Backup Plan
Learning how to back up travel photos on the road without a laptop comes down to four things: the right gear, the ExFAT format, consistent nightly transfers, and verification after every copy. Once you build this habit, it becomes as automatic as charging your phone each night.
The smartphone plus USB hub plus portable SSD method gives you professional-grade backup redundancy for less than the cost of a dedicated backup device, and it fits in your pocket. Pair it with dual card slots if your camera supports them, follow the 321 backup rule, and you will never lose a travel photo to a single point of failure again.
Start with a test run at home before your next trip. Format your SSD to ExFAT, practice the transfer steps with a few sample files, and confirm everything works with your specific phone and hub combination. Ten minutes of preparation now saves you from the worst feeling a photographer can experience on the road.