
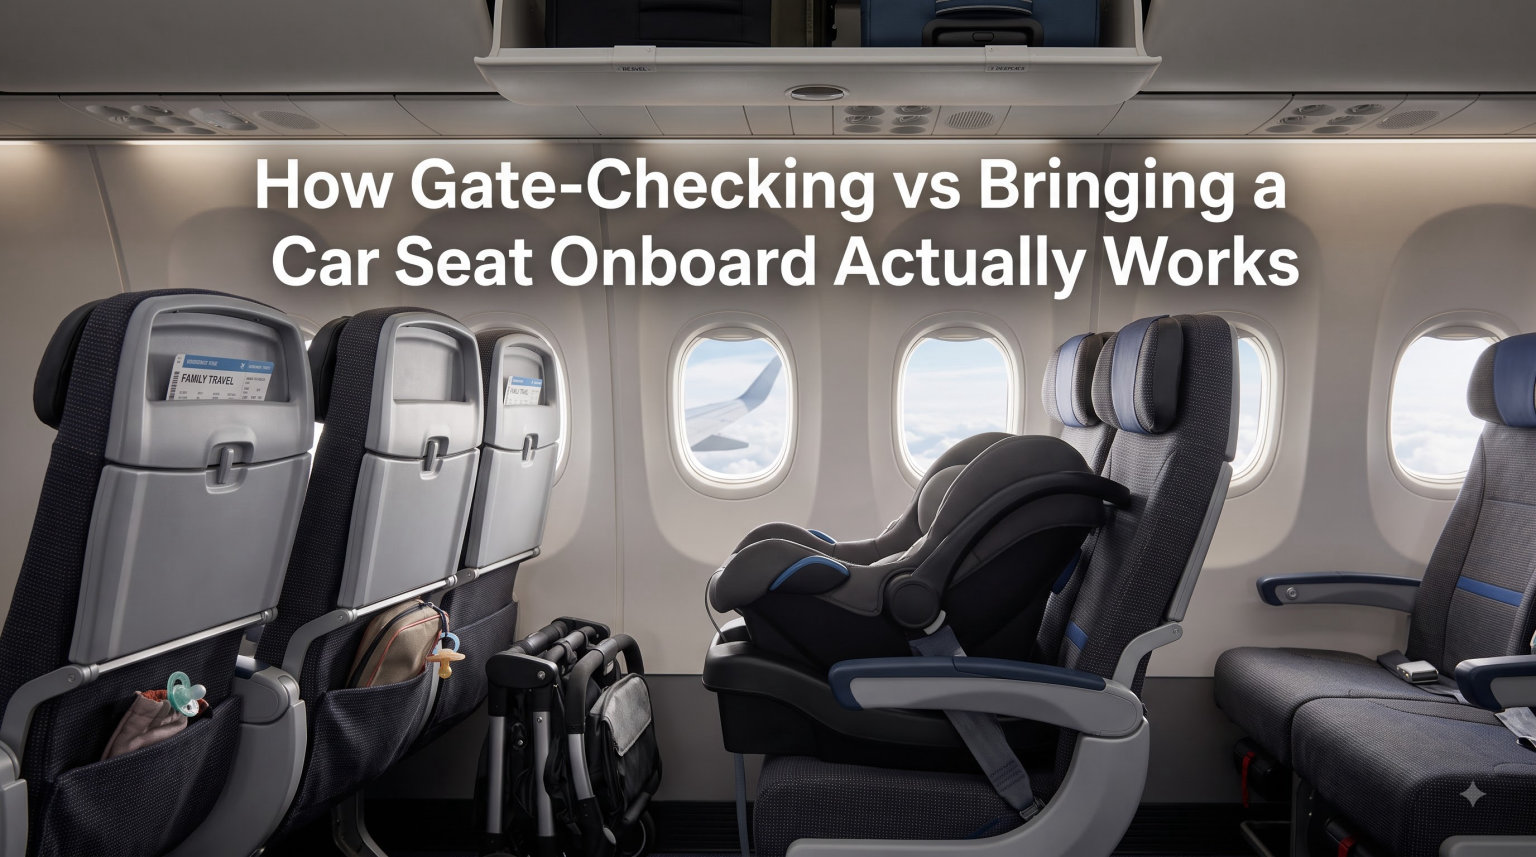
Flying with a car seat is one of those parenting tasks that sounds simple until you are standing at the airport with a toddler, a diaper bag, and 20 pounds of safety gear. You have two main options: gate-check the seat or bring it on the plane with you. Understanding how gate-checking vs bringing a car seat onboard actually works can save you time, money, and a lot of stress before you even reach your gate.
I have flown with car seats on dozens of domestic and international flights over the years, and I have tried every approach possible. Gate-checking, counter-checking, lugging a convertible seat down the jet bridge, and even buying a dedicated travel car seat. Each method has trade-offs that depend on your child’s age, your ticket type, and how much gear you are willing to manage.
This guide breaks down both options in detail. You will learn the exact step-by-step process for each method, the FAA safety requirements you need to know, how major airlines handle car seats differently, and practical tips for protecting your investment. Whether you are a first-time flying parent or a seasoned traveler looking for a better strategy, you will find clear answers here.
By the end, you will know exactly which option fits your trip and how to execute it without surprises at the gate.
Table of Contents
What Is Gate-Checking a Car Seat?
Gate-checking a car seat means you carry it through the airport, keep it with you until you reach the boarding gate, and then hand it over to airline staff right before you step onto the plane. The seat gets a special tag at the gate, and baggage handlers load it into the cargo hold. When you land, the seat is returned to you on the jet bridge or at the aircraft door, not at baggage claim.
This is different from checking a car seat at the ticket counter, where you would drop it off before security and pick it up at baggage claim with your suitcases. Gate-checking keeps the seat in your possession for as long as possible, which means less time in the baggage system and a lower risk of damage or loss.
Most airlines allow you to gate-check a car seat free of charge, even if you are traveling with a lap baby who does not have their own seat. You simply ask the gate agent for a gate-check tag, attach it to the seat, and leave the seat at the end of the jet bridge before boarding. It is one of the most popular options for parents flying with infants and toddlers.
The key thing to remember is that a gate-checked car seat does not come on the plane with you. Your child will sit on your lap or in the airline seat without their car seat during the flight.
What Does Bringing a Car Seat Onboard Mean?
Bringing a car seat onboard means you carry it onto the plane, install it in an empty seat, and your child sits in it during the flight. This requires your child to have their own purchased ticket, since the car seat occupies a passenger seat. The seat must be FAA-approved for aircraft use, which is marked with a sticker or label on the car seat itself.
Once installed, the car seat functions exactly like it does in a car. Your child is strapped in with the harness, protected during turbulence, and secured for taxi, takeoff, and landing. Most airlines require the car seat to be installed in a window seat so it does not block other passengers from reaching the aisle.
This option is widely considered the safest way for a child under 2 to fly. The FAA strongly recommends that children ride in an approved car seat during flights, and child passenger safety technicians consistently echo this guidance. The car seat provides crash protection during turbulence and hard landings that a lap-held child does not have.
The trade-off is cost and logistics. You need to buy a seat for your child, carry the car seat through the airport, and install it on the plane, which takes a few minutes and some physical effort in a narrow aircraft aisle.
Step-by-Step: How to Gate-Check a Car Seat
Gate-checking is straightforward once you know the process. Here is exactly what to do from arrival at the airport to picking up your seat at your destination.
Step 1: Check In and Go Through Security
Check in for your flight online or at a kiosk. You do not need to declare your car seat at the ticket counter if you plan to gate-check it. Carry the car seat through security along with your other belongings. TSA agents are familiar with car seats and will screen them separately, similar to a stroller or large bag.
You can typically keep your child in the car seat or stroller through the security line and remove them just before the seat goes through the X-ray machine. Some checkpoints allow you to carry the child through the metal detector while the seat is screened.
Step 2: Ask the Gate Agent for a Gate-Check Tag
When you arrive at your departure gate, approach the gate agent and ask for a gate-check tag for your car seat. The agent will print a brightly colored tag, usually bright orange or green, that gets attached to the car seat handle or frame. This tag identifies the seat as a gate-checked item that should be returned at the jet bridge, not sent to baggage claim.
Do this as soon as you reach the gate, not when boarding starts. Gate agents are busiest during boarding, and asking early ensures you get the tag without a rush.
Step 3: Attach the Tag and Board the Plane
Securely attach the tag to your car seat. Most parents loop it through the carry handle or a fixed part of the frame. If you are also gate-checking a stroller, ask for a separate tag for that item.
When your boarding group is called, walk down the jet bridge with the car seat. Just before you step onto the plane, leave the car seat at the designated spot along the jet bridge wall. Airline staff will collect it and load it into the cargo hold.
Step 4: Collect Your Car Seat on Arrival
When you land and deplane, the car seat will be waiting for you on the jet bridge or at the bottom of the stairs for smaller aircraft. Look for it leaning against the wall near where you exited the plane. You simply pick it up and continue to your destination.
If the seat is not on the jet bridge, check with a gate agent immediately. Occasionally items end up at baggage claim by mistake, and agents can usually track them down quickly.
Step-by-Step: How to Bring a Car Seat Onboard
Bringing a car seat on the plane requires a bit more preparation, but it gives your child the safest ride available. Here is the process from start to finish.
Step 1: Buy a Ticket and Confirm Your Seat Assignment
Purchase a separate ticket for your child. When selecting seats, choose a window seat for the car seat, since airlines prohibit car seats in aisle seats and exit rows. The window position ensures the seat does not block anyone from evacuating.
Call the airline or check their website to confirm that car seats are allowed on your specific aircraft type. Most carriers are fine with this, but a few regional jets have restrictions.
Step 2: Verify Your Car Seat Is FAA-Approved
Check your car seat for an FAA approval label. It is usually printed on a sticker on the side or back of the seat and says something like “This restraint is certified for use in motor vehicles and aircraft.” If your seat does not have this label, the airline will not let you use it on the plane.
Most rear-facing infant seats and convertible car seats are FAA-approved. Booster seats that rely on a shoulder belt are generally not approved for aircraft use, since airplane seats only have lap belts.
Step 3: Ask for Early Boarding
Most airlines offer pre-boarding for families traveling with car seats and young children. Take advantage of this. Installing a car seat in a narrow aircraft aisle is much easier when the plane is empty and you are not blocking other passengers.
Ask the gate agent about family boarding when you check in. Some airlines automatically announce it, while others require you to request it.
Step 4: Install the Car Seat Using the Airplane Lap Belt
Place the car seat in the window seat facing the correct direction for your child’s age and weight. Lift the armrest to give yourself more room. Thread the airplane lap belt through the belt path on the car seat, the same path you would use in a car. Buckle the belt and pull it tight to secure the seat firmly.
For rear-facing seats, make sure the seat reclines to the correct angle. Some car seats have a built-in level indicator to help with this. For forward-facing seats, use the tether if the airplane has one available, though most do not.
Once the seat is installed, buckle your child in using the harness and make sure the straps are snug. You are now ready for takeoff.
Step 5: Remove the Seat at Your Destination
When you land, unbuckle the lap belt, remove the car seat from the aircraft seat, and carry it off the plane. You will use it in your rental car, taxi, or relative’s vehicle at your destination, so keep it accessible in your carry-on gear.
Gate-Checking vs Bringing Onboard: Which Is Better?
This is the question every parent asks, and the honest answer is that it depends on your situation. Here is how the two options compare across the factors that matter most.
Safety
Bringing the car seat onboard wins on safety, without question. The FAA and child passenger safety experts agree that a child secured in an FAA-approved car seat is far better protected during turbulence and emergencies than a lap-held child. If safety is your top priority, buy a seat and install the car seat on the plane.
Gate-checking does not provide any in-flight protection for your child, since the seat rides in cargo. It also exposes the seat itself to potential damage from handling.
Convenience
Gate-checking is more convenient for parents traveling solo or managing multiple children. You do not need to buy an extra ticket, install the seat on the plane, or carry it down a narrow aisle. You simply tag it at the gate and pick it up on arrival.
Bringing the seat onboard requires more effort, especially with a heavy convertible seat. However, it eliminates any risk of the seat being lost or damaged in cargo, which saves stress at your destination.
Damage Risk
Gate-checked car seats are generally handled more carefully than counter-checked luggage, since they are loaded last and returned first. However, cosmetic damage like scuffs, torn fabric, and cracked plastic does happen. Parents on travel forums frequently report minor damage after gate-checking.
Bringing the seat onboard eliminates cargo damage risk entirely. The seat stays with you the entire flight, which is why safety experts prefer this option for protecting both your child and your equipment.
Cost
Both gate-checking and bringing the car seat onboard are free of charge on virtually every airline. The real cost difference is the airline ticket. Bringing the car seat onboard requires purchasing a seat for your child, which can add hundreds of dollars to your trip.
If budget is a concern and your child is under 2, gate-checking lets you fly with a lap baby at no extra cost while still having the car seat available at your destination.
Quick Comparison Summary
- Gate-checking: Free, convenient, no ticket needed, some damage risk, no in-flight child protection.
- Bringing onboard: Requires purchased ticket, safest option, no damage risk, more physical effort, keeps child secured during flight.
Safety Considerations and FAA Requirements
The FAA does not require children under 2 to have their own seat or use a car seat on domestic flights. Parents are allowed to hold lap children on most US carriers. However, the FAA strongly recommends that children ride in an approved child restraint system during flights because turbulence can cause serious injury to an unrestrained child.
Turbulence is the leading cause of non-fatal injuries to passengers and crew in airline accidents. A child held on a lap can be launched from a parent’s arms during severe turbulence, and even moderate bumps can cause injuries when an adult’s full weight presses against a child during sudden movements.
Any car seat used on a plane must carry an FAA approval label. This label confirms the seat has been tested and certified for aircraft use with a lap belt only. Car seats that require a top tether for installation can still be used on aircraft, but the tether is typically not connected since most airplane seats do not have tether anchors.
Car seats cannot be installed in exit rows or in the rows directly adjacent to exit rows. They must go in a window seat to avoid blocking evacuation paths. Each aircraft can only accommodate a limited number of car seats, so it is wise to inform the airline in advance.
For international flights, the rules may differ. Some countries and airlines follow different standards, and your FAA-approved car seat may not be recognized by a foreign carrier. Always check with your specific airline before an international trip.
How to Protect Your Car Seat When Flying
Whether you gate-check or counter-check, protecting your car seat from damage is essential. A compromised car seat is not safe for your child, and replacing one mid-vacation is expensive and stressful. Here are the best strategies parents and safety experts recommend.
Use a Padded Car Seat Travel Bag
A dedicated travel bag is the single most effective way to protect your car seat. Look for a bag with thick padding, a waterproof exterior, and backpack straps for hands-free carrying through the airport. Padded bags cushion the seat against impacts and keep straps and buckles from snagging on conveyor equipment.
J.L. Childress and other brands make popular options that fit most convertible and infant car seats. Many parents on Reddit and travel forums consider a travel bag non-negotiable for gate-checking.
Wrap Straps and Loose Parts
Before bagging or tagging the seat, tuck all loose harness straps inside the seat shell and secure them with a rubber band or clip. This prevents straps from getting caught on baggage machinery or torn during handling. Remove any detachable cup holders, mirrors, or accessories and pack them separately.
Consider a Gate-Check Bag for Shorter Protection
Lighter-weight gate-check bags are less padded but still provide a barrier against dirt, rain, and minor scuffs. These are a good middle ground if you want some protection without the bulk of a full travel bag. They fold up small enough to fit in a diaper bag when not in use.
Take Photos Before and After
Snap clear photos of your car seat before you hand it over at the gate. If the seat comes back damaged, these photos serve as proof when you file a claim with the airline. Document any existing scratches or wear so you can distinguish old damage from new.
Consider a Dedicated Travel Car Seat
If you fly frequently, buying a lightweight, inexpensive car seat just for travel can be a smart investment. You avoid risking your primary seat, and lighter models are much easier to carry through the airport and install on the plane. Many parents keep a dedicated travel seat for flights and leave their everyday seat in the car at home.
Airline Policies at a Glance
Most major US airlines follow similar rules for car seats, but there are differences worth knowing before you book. Here is a quick overview of how the biggest carriers handle gate-checking and onboard car seats.
Southwest Airlines: Allows gate-checking of car seats free of charge. Car seats are also welcome on board in a window seat if you purchase a ticket for your child. Southwest offers family boarding between groups A and B, giving you extra time to install.
American Airlines: Permits gate-checking and onboard use of FAA-approved car seats. The seat must go in a window seat and cannot be in an exit row. American allows one stroller and one car seat per child free of charge.
Delta Air Lines: Gate-checking and onboard car seats are both free. Delta requires the car seat to have an FAA approval label and to be installed in a window seat. Early boarding is available for families.
United Airlines: Allows gate-checking and onboard use with a purchased seat. United recommends notifying them in advance if you plan to use a car seat on board, since each flight has a limit on the number of car seats allowed.
Allegiant and Breeze: Both budget carriers permit gate-checking of car seats. Check their specific size and weight policies, as ultra-low-cost carriers sometimes have tighter restrictions on oversized items.
Always verify the current policy on your airline’s website before your trip. Policies can change, and codeshare flights may follow the operating carrier’s rules rather than the marketing carrier’s.
International Travel Considerations
Flying internationally with a car seat adds a layer of complexity. Foreign airlines may not recognize FAA-approved seats, and some countries have their own certification standards that differ from US requirements. Research the specific airline and destination before you fly.
European airlines often follow ECE R44 or R129 standards rather than FAA approval. If you are flying a European carrier, check whether your US car seat will be accepted on board. In many cases, foreign airlines will accept FAA-labeled seats, but it is not guaranteed.
Gate-checking is typically available on international flights, and the process is similar to domestic travel. However, on some wide-body aircraft, gate-checked items may be returned at the jet bridge or at a designated oversized baggage area, so ask the gate agent where to collect yours.
If you are renting a car at your destination, consider whether renting a car seat locally is an option. Some parents prefer to bring their own seat for safety and cleanliness reasons, while others find rental seats adequate and appreciate the lighter load through the airport.
For very long international flights, the safety benefit of having your child in a car seat becomes even more significant. Extended periods of turbulence over oceans make a secured child much safer than a lap-held one.
What to Do If Your Car Seat Is Damaged
If your car seat comes back from gate-checking with visible damage, take action immediately. Do not use a damaged car seat for your child, since even small cracks can compromise its crash protection.
Report It Before You Leave the Airport
Find the airline’s baggage service office or speak to a gate agent before you leave the airport. Filing a report on the spot is much more effective than trying to claim damage days later. The agent will document the damage and give you a reference number for your claim.
File a Formal Claim
Submit a written claim through the airline’s website or customer service portal using your reference number. Include your photos from before and after the flight, your boarding pass, and the gate-check tag receipt. Most airlines have a deadline for damage claims, often within 7 days for domestic flights and 21 days for international flights.
Get a Replacement Seat Quickly
If you need a car seat to get home or to your hotel, some airlines will reimburse you for an emergency replacement purchased locally. Keep your receipts. Alternatively, check if the airline can loan you a seat from their lost-and-found inventory.
Know When to Replace
Any visible crack, bent frame, or torn harness on a car seat means it should be replaced. Car seats are designed for a single impact, and hidden damage from rough handling can reduce their effectiveness in a crash. When in doubt, replace the seat and submit the cost to the airline.
Frequently Asked Questions
Is it better to gate check or check a car seat?
Gate-checking is generally better than checking a car seat at the counter because the seat stays with you longer, is handled less, and is returned to you at the jet bridge rather than at baggage claim. This reduces the risk of damage and loss. However, the best option overall is bringing the car seat on board, since that keeps both your child and the seat fully protected during the flight.
Do car seats get damaged when the gate is checked?
Yes, car seats can sustain damage when gate-checked, though it is less common than with counter-checked luggage. Typical damage includes scuffs, torn fabric, cracked plastic, and bent handles. Using a padded car seat travel bag significantly reduces this risk. Most parents report their seats survive gate-checking in good condition, but cosmetic damage does occur, and parents should inspect the seat carefully on arrival.
How to protect car seat when gate checking?
Use a padded car seat travel bag with backpack straps for maximum protection. Tuck all loose straps inside the seat and secure them. Remove detachable accessories like cup holders and pack them separately. Take photos of the seat before handing it over at the gate so you have proof of its condition if damage occurs. A lighter gate-check bag is better than nothing if a full padded bag is too bulky.
Can I check my child’s car seat at the gate?
Yes, you can check your child’s car seat at the gate on virtually every major airline. Simply ask the gate agent for a gate-check tag before boarding begins. Attach the tag to the seat, leave the car seat at the jet bridge entrance when you board, and collect it at the jet bridge when you arrive at your destination. This service is free of charge on nearly all carriers.
Can I bring a car seat and stroller on the plane?
You can bring a car seat on the plane if your child has a purchased seat and the car seat is FAA-approved. Strollers cannot be brought on board and must be gate-checked. Many parents gate-check both the stroller and car seat together when their child is a lap baby, then pick up both items at the jet bridge on arrival.
Do airlines charge for gate-checking a car seat?
No, airlines do not charge for gate-checking a car seat. Nearly every major US carrier, including Southwest, American, Delta, and United, allows one car seat per child to be gate-checked free of charge. This is also true for strollers. Budget carriers like Allegiant and Breeze follow the same policy, though it is always wise to confirm before your flight.
Conclusion
Understanding how gate-checking vs bringing a car seat onboard actually work comes down to balancing safety, convenience, and budget. Gate-checking is free, easy, and lets you fly with a lap child while still having your car seat ready at your destination. Bringing the seat on board costs a plane ticket but gives your child the safest possible flight and eliminates any risk of damage to your equipment.
If you can afford the extra ticket, bringing the car seat on the plane is the best choice for safety and peace of mind. If budget or logistics make that impractical, gate-checking with a padded travel bag is a solid alternative that most parents use successfully every day.
Whichever option you choose, prepare ahead. Verify your airline’s policy, pack a travel bag for protection, and arrive at the gate with time to spare. A little planning turns a stressful part of family travel into a routine you can handle confidently on every trip.