
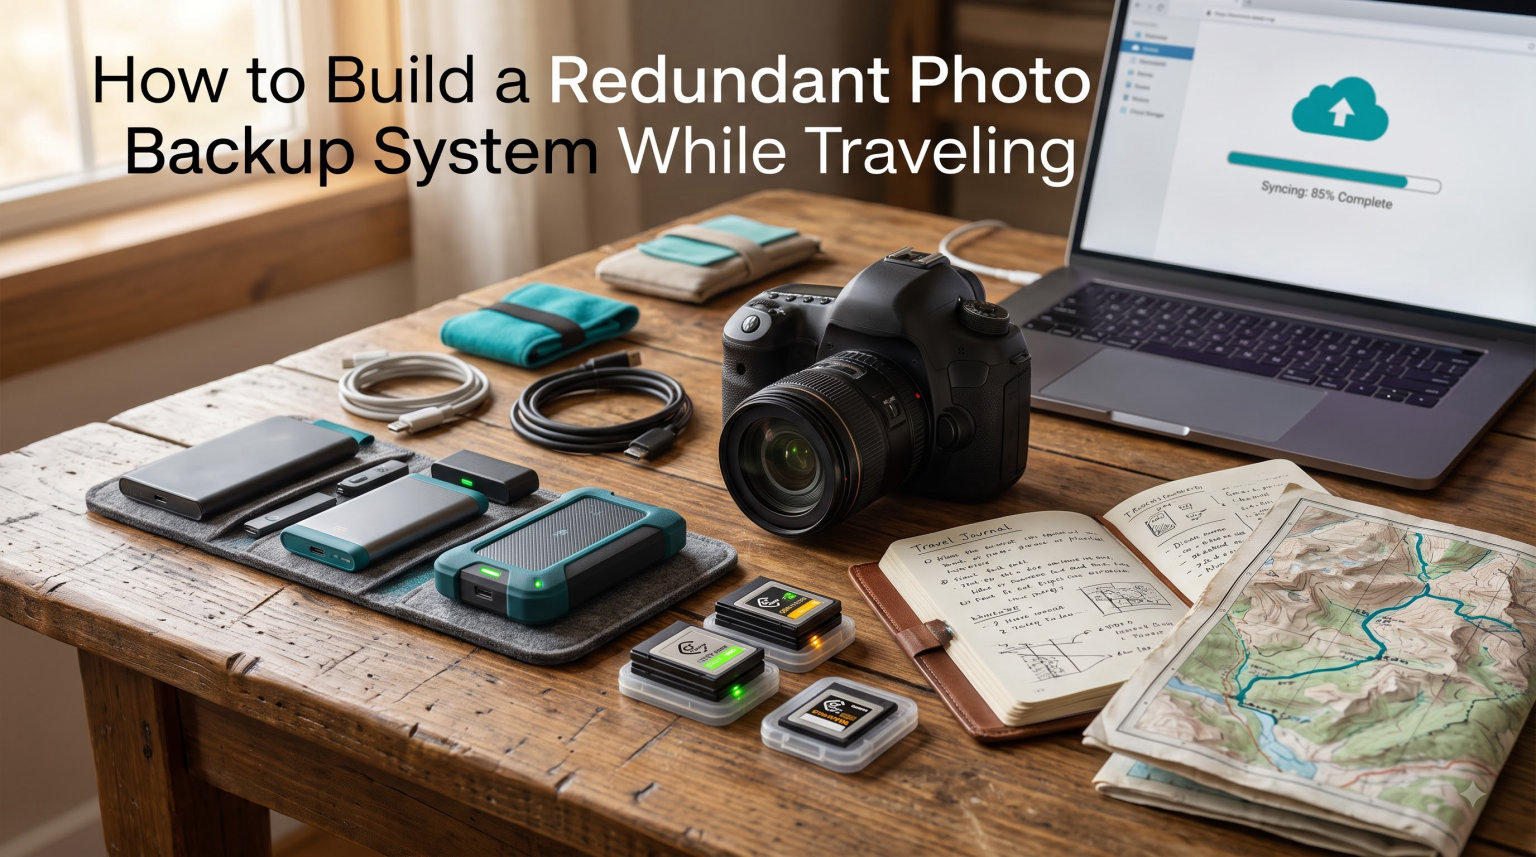
Losing a week of travel photos because one SD card died is the kind of mistake you only make once. I learned that the hard way on a trip to Patagonia in 2026, where a single corrupted card wiped out three days of mountain landscapes that I will never get back. That experience sent me down a deep rabbit hole into backup strategies, and it completely changed how I handle photo storage on the road.
If you are reading this, you are probably doing the same thing I did back then: searching for a reliable way to protect irreplaceable images while traveling. The good news is that learning how to build a redundant photo backup system while traveling is not complicated once you understand the core principles. You do not need expensive enterprise gear or a degree in data management.
This guide breaks down everything from the 3-2-1 backup rule to no-laptop solutions, smartphone-based workflows, and what to do when you are hundreds of miles from the nearest Wi-Fi signal. Whether you are shooting wildlife in Africa or street scenes in Tokyo, by the end you will have a battle-tested plan that keeps your photos safe across multiple layers of protection.
Table of Contents
Why Photo Backup Matters More Than Any Other Travel Gear
Think about everything you packed for your last trip. Your camera, lenses, tripod, filters, and batteries all have one thing in common: they can be replaced. Your photos cannot.
A stolen bag, a dropped hard drive, a memory card that suddenly stops reading, or even an accidental format command can erase hours or weeks of work in a single moment. Travel photographers on forums like Reddit’s r/photography consistently rank data loss as their number one fear, above equipment theft.
The reason is simple mathematics. When you are traveling, your risk factors multiply. You carry gear in unfamiliar places, you shoot in extreme conditions, and you are often far from your home computer where you would normally offload everything. Every day on the road is another day where something can go wrong.
Forum discussions reveal that the most common pain points for travelers are laptop weight and bulk, unreliable internet in remote areas, SD card capacity limits on long trips, and the paralyzing fear of losing everything if a single device fails. Slow transfer speeds when backing up large RAW files add another layer of frustration.
A redundant backup system addresses every one of these problems. It spreads your photos across multiple storage locations so that no single failure can destroy your work. The upfront effort of setting it up is small compared to the devastation of losing images you traveled halfway around the world to capture.
Understanding the 3-2-1 Backup Rule
The 3-2-1 backup rule is the single most important principle in data protection, and it forms the backbone of any solid travel photo backup system. Photography forums and professionals repeat it constantly because it works.
Here is what each number means in plain terms:
3 stands for three total copies of your photos. One copy lives on your original memory card, and two additional copies exist on separate backup devices.
2 means those copies should be stored on two different types of storage media. For example, one copy on a portable SSD and another on a cloud service or a second hard drive from a different manufacturer.
1 means at least one copy should be kept off-site, meaning in a different physical location. While traveling, this usually means keeping one backup drive in your camera bag and another in your luggage, your hotel safe, or uploaded to the cloud.
The beauty of the 3-2-1 rule is its flexibility. A budget traveler might achieve it with multiple SD cards and a single portable drive. A professional photographer might use two SSDs, a cloud sync over VPN, and a NAS at home receiving automatic uploads. The principle stays the same even as the gear scales up.
The key mistake people make is stopping at two copies. Two copies means if one fails while you are copying to the other, you are left with nothing. Three copies gives you a safety net that has saved countless photographers from disaster.
How to Build a Redundant Photo Backup System While Traveling: Step-by-Step
Building a reliable backup system comes down to six clear steps. Work through them in order, and you will have layered protection before your next trip begins.
Step 1: Build Your Memory Card Strategy
Your memory cards are the first link in your backup chain, and how you manage them sets the tone for everything that follows. The golden rule from experienced travel photographers is simple: never put all your photos on a single card.
Instead of buying one massive 1TB card, buy several smaller cards in the 128GB to 256GB range. This is called the parking lot strategy. You fill a card, remove it from the camera, label it, and store it in a separate protective case. That card becomes a permanent backup copy until you return home.
Photographers on dpreview forums strongly recommend never formatting a card until you are safely back home with multiple confirmed backups. Treat every filled card as an untouchable archive while traveling.
Develop a labeling system that works for you. Some photographers use numbered stickers on card cases. Others color-code with tape. The goal is to know at a glance which cards are full, which are empty, and which need to be backed up that evening.
Carry your memory cards in a hard case, not loose in a pocket. Pelican-style cases are popular because they are waterproof, crushproof, and small enough to fit in any bag. Keep your filled cards in a different bag compartment or even a different piece of luggage from your camera body.
One more tip from the forums: rotate between at least two cards during a shoot. If one card fails mid-session, you lose only half your work from that day instead of everything.
Step 2: Set Up Your Primary Backup Drive
Your primary backup is the first place your photos go after leaving the memory card. For most travelers, this means a portable solid-state drive, or SSD.
SSDs are the clear winner over traditional hard disk drives for travel. They have no moving parts, which means they survive drops, vibrations, and temperature changes far better than spinning disk drives. They are also dramatically faster, which matters when you are offloading 50GB of RAW files after a long day of shooting.
Popular choices among travel photographers include the Samsung T7 series and SanDisk Extreme Portable SSDs. Forum users consistently recommend carrying two identical drives rather than one large one, keeping each in a separate bag. If your main bag gets stolen, your backup drive in your carry-on still has everything.
When planning capacity, calculate your daily shooting volume and multiply by the number of travel days, then double it. A wildlife photographer shooting burst-mode RAW files might generate 40GB per day. A ten-day trip means 400GB minimum, so two 1TB drives give you comfortable headroom plus redundancy.
Transfer speed is another factor. USB 3.2 Gen 2 drives hit around 1,000 MB per second, which turns an hour-long backup session into a few minutes. Slower USB 3.0 drives can make daily backups feel like a chore, which leads to skipping them entirely.
Set up a consistent folder structure on your drive from day one. A simple format like YEAR-MONTH-DAY plus location keeps everything organized and makes it easy to verify that each day’s photos copied successfully before you format anything.
Step 3: Create a Secondary Backup Copy
Your primary drive is not enough on its own. Drives fail, get lost, or get damaged. The secondary backup is your insurance policy.
The simplest approach is a second portable drive. After backing up to your primary SSD, copy everything to the second drive and store it somewhere physically separate. Many photographers keep one drive in their camera backpack and the other in their main luggage or hotel safe.
Cloud backup is your third layer and your off-site copy. Services like Google Drive, Dropbox, and dedicated photo platforms like SmugMug can sync your images automatically when you have internet access. The challenge while traveling is bandwidth, especially in developing countries or remote locations.
Be strategic about cloud uploads. Many photographers upload only their JPEG exports or a curated selection of their best shots rather than every single RAW file. This keeps file sizes manageable and ensures that even a slow hotel Wi-Fi connection can push your most important images to safety overnight.
If you shoot video, cloud backup becomes much harder due to file sizes. For video-heavy trips, prioritize local redundancy with multiple drives and save cloud syncs for when you return home to a fast connection.
The forum consensus is clear: aim for three copies minimum at all times. Two local drives plus your original memory cards gets you there even without internet. Add cloud sync when you can, but never depend on it as your only backup while traveling.
Step 4: Set Up No-Laptop Backup Solutions
Not everyone wants to travel with a laptop. They add weight, attract theft, and create a single point of failure in your backup chain. Fortunately, several no-laptop solutions exist that photographers on forums have tested in the field.
Portable wireless hard drives like the WD My Passport Wireless let you insert an SD card directly and copy files without any computer. Some even have built-in Wi-Fi hotspots so you can preview images on your phone. Forum users report mixed reliability with these devices, so test yours thoroughly before a major trip.
Dedicated backup devices like the GNARBOX and similar products are designed specifically for photographers. They feature card slots, internal storage, and companion phone apps for viewing and managing files. Users praise the convenience when they work but warn about reliability issues, so always carry traditional backup drives as well.
A more advanced no-laptop approach uses a portable NAS or mini-server. Photographers who have adopted setups like the UnifiDrive UT2 combine it with a travel router and RAID 1 configuration for true redundancy without a computer. This is a higher-cost solution but offers professional-grade data protection in a compact package.
For the simplest no-laptop workflow, a USB-C OTG card reader connected directly to a smartphone can handle basic copying. This works best for smaller volumes and when you mainly want to offload a day’s shooting quickly before bed.
Whatever no-laptop solution you choose, verify every copy before erasing the source card. Without a laptop to run checksum verification, you need to manually confirm file counts and spot-check a few images on your phone.
Step 5: Use Your Smartphone as a Backup Hub
Your smartphone is already in your pocket, and it can serve as a surprisingly capable backup management tool. This approach is gaining traction among travel photographers who want to travel light.
Start with an OTG, or On-The-Go, card reader that connects to your phone’s charging port. Plug in your camera’s SD card, and your phone sees it as external storage. From there, you can copy files to a connected portable SSD, browse images to cull your best shots, or upload selects to the cloud.
Android users have more flexibility here because many Android phones support external drives and large file transfers more naturally than iPhones. However, recent iPhone models with USB-C have closed much of that gap.
The smartphone workflow shines for culling. Instead of waiting until you get home to sort through thousands of frames, you can review your day’s shooting on your phone screen, star your favorites, and flag obvious rejects. This saves hours of post-trip editing time.
Several apps make this process smoother. File managers that support OTG storage let you copy entire folders with a few taps. Photo editing apps can handle quick RAW previews. Cloud apps can queue uploads for when you hit Wi-Fi.
The limitation is battery life and storage space on the phone itself. Use your phone as a transfer bridge rather than permanent storage. Copy from card to SSD through the phone, then clear the phone’s temporary files.
Step 6: Establish a Daily Backup Routine
A backup system only works if you actually use it consistently. The key is building a routine that becomes automatic, like brushing your teeth at the end of the day.
Forum photographers who have been at this for years all describe similar evening rituals. After dinner, before relaxing, you offload the day’s photos. This takes discipline, especially when you are exhausted from a long day of shooting.
Here is a reliable daily workflow that experienced travelers recommend:
First, remove the filled memory card from your camera and insert a fresh one for tomorrow. Second, connect the filled card to your primary SSD and copy all files. Third, copy those same files to your secondary drive. Fourth, if you have internet, queue your best shots for cloud upload. Fifth, verify the copy by checking file counts on both drives.
Only after all five steps are complete should you consider the day’s photos safe. Never format a card the same day you backed it up. Sleep on it. If a file corruption issue appears overnight, you still have the original card.
Keep a small checklist on your phone if it helps. The first few days of a trip, you might forget a step. By the end of week one, the routine becomes muscle memory.
One pro tip from the forums: label your drives and cases with tape indicating the current date range of their contents. At a glance, you can confirm both drives contain the same date range, which catches copy errors early.
Backup Methods Compared: Which Approach Fits Your Trip
Different travelers need different solutions. A weekend trip to a nearby city does not require the same setup as a three-week expedition in remote Alaska. Here is how the main approaches compare so you can choose what fits your situation and budget.
The Budget Approach works well for casual travelers and short trips. Use multiple SD cards as your primary backup layer, never formatting until you return home. Add a single portable SSD for nightly offloads. Total investment stays minimal, and the card-as-backup strategy means you always have at least two copies. This works for trips under two weeks where you are never far from civilization.
The Standard Approach is what most serious hobbyists and semi-professionals use. Two portable SSDs stored in separate bags, a laptop or tablet for managing transfers, and cloud upload of your best images whenever Wi-Fi is available. This gives you four copies at any given time: original card, two drives, and cloud. It covers nearly every failure scenario short of a catastrophic event affecting all your luggage simultaneously.
The Pro Approach adds layers for photographers whose livelihood depends on their images. This might include a ruggedized portable drive for harsh environments, a mini-NAS with RAID 1 for real-time redundancy, a VPN connection to sync files to a home server overnight, and checksum verification software to confirm every byte transferred correctly. Forum users building tiered SSD and HDD NAS systems in the 24 to 48TB range report setups costing around one thousand dollars, but for working professionals, that is cheap insurance.
The Ultralight Approach eliminates the laptop entirely. You carry an OTG card reader, a smartphone, and a single portable SSD. Copy from card to SSD through your phone each evening, cull your best shots on the phone screen, and upload selects to cloud storage. This is ideal for backpackers, hikers, and anyone counting every ounce of weight. The trade-off is more manual verification work and slower transfer speeds.
The Off-Grid Approach is for photographers heading to places with no internet for extended periods. Multiple high-capacity memory cards form your first layer. Two rugged SSDs provide local redundancy. A portable power bank keeps your backup devices running when wall outlets are unavailable. Cloud sync happens in batches when you occasionally reach civilization. This approach prioritizes local copies above all else.
For international travel specifically, factor in a few additional considerations. Power adapters and voltage differences affect how and where you charge your devices. Some countries have unreliable or monitored Wi-Fi, making a VPN like Tailscale essential for secure file transfers. Customs inspections in certain countries may inspect or confiscate electronic devices, so keep your most critical backup drive on your person, not in checked luggage.
Tips for International and Off-Grid Travel
Traveling internationally or to remote locations adds complexity to your backup system. Here are the field-tested strategies that experienced photographers rely on.
Use a VPN like Tailscale for secure remote sync when you do find internet access. Public Wi-Fi networks in hotels, cafes, and airports are inherently insecure. A VPN encrypts your connection so that even if someone intercepts your traffic, they cannot access your photo files as they sync to your home server or cloud storage.
Manage your power carefully. A portable power bank with USB-C output can run a card reader and charge a phone simultaneously, letting you complete backups even without wall power. For extended off-grid trips, consider a small solar charger for trickle-charging devices during the day.
Keep drives in different physical locations at all times. One in your camera bag, one in your main luggage, and memory cards in a third location. If you are flying, never put all your backup drives in checked baggage. Luggage gets lost, and checked bags are more likely to be inspected or stolen.
Be mindful of extreme temperatures. SSDs handle heat and cold better than traditional hard drives, but no storage device likes being left in a hot car or freezing tent. Store your drives in insulated pockets when conditions get harsh.
Troubleshooting Common Backup Failures
Even the best system hits snags. Knowing how to respond keeps a small problem from becoming a disaster.
If a memory card stops reading, stop using it immediately and switch to a spare. Do not reformat or attempt recovery software while traveling unless you are certain of what you are doing. Card recovery tools can sometimes make corruption worse. Keep the bad card safe and run recovery software when you get home.
If a backup drive fails to mount, try a different cable and a different port before panicking. Many apparent drive failures are actually cable failures. Carry a spare USB-C cable in your kit for exactly this reason.
If cloud sync stalls due to slow internet, pause it and resume overnight when network traffic is lower. Prioritize uploading only your highest-value images rather than every file. A curated cloud backup is better than an incomplete one that never finishes.
If you realize you formatted a card before confirming a complete backup, stop using that card immediately. Do not shoot new photos onto it. Professional recovery software can often retrieve files from a formatted card, but only if nothing new has been written over them.
FAQs
What is the 3-2-1 backup rule for photos?
The 3-2-1 backup rule means keeping three total copies of your photos, on two different types of storage media, with at least one copy stored off-site. For travel photographers, this typically means your original memory card, a primary portable SSD, and either a second drive in a separate bag or a cloud backup.
How do I backup photos while traveling without a computer or internet?
You can back up photos without a laptop by using a wireless portable hard drive with a built-in SD card slot, a dedicated backup device like a GNARBOX, an OTG card reader connected to your smartphone with a portable SSD, or multiple memory cards used as permanent archives. The key is maintaining at least two copies on different devices at all times.
Is it better to use multiple SD cards or a portable hard drive while traveling?
Use both. Multiple SD cards serve as your first backup layer since filled cards act as permanent archives until you return home. A portable hard drive or SSD provides your second copy and lets you free up space if needed. Relying on only one method leaves you vulnerable to a single point of failure.
How do professional photographers back up photos on the road?
Most professionals use two portable SSDs kept in separate bags, nightly offloads from memory cards to both drives, cloud uploads of selects when internet is available, and some add a portable NAS with RAID 1 or a VPN connection to a home server for real-time off-site redundancy. They never format a card until all backups are verified.
Conclusion
Learning how to build a redundant photo backup system while traveling comes down to one core principle: never trust a single copy of anything. The 3-2-1 rule gives you the framework, and the six steps in this guide give you the practical workflow to execute it in the real world.
Start with what you have. Multiple memory cards and one portable SSD gets you three copies on day one. Add a second drive, explore no-laptop solutions, and layer in cloud sync as your needs and budget grow. The system you build should match your travel style, not the other way around.
Your photos are the only piece of travel gear that is truly irreplaceable. Protect them like it matters, because it does. Build your backup system before your next trip, test it at home first, and travel with the confidence that no single failure can take your memories with it.