
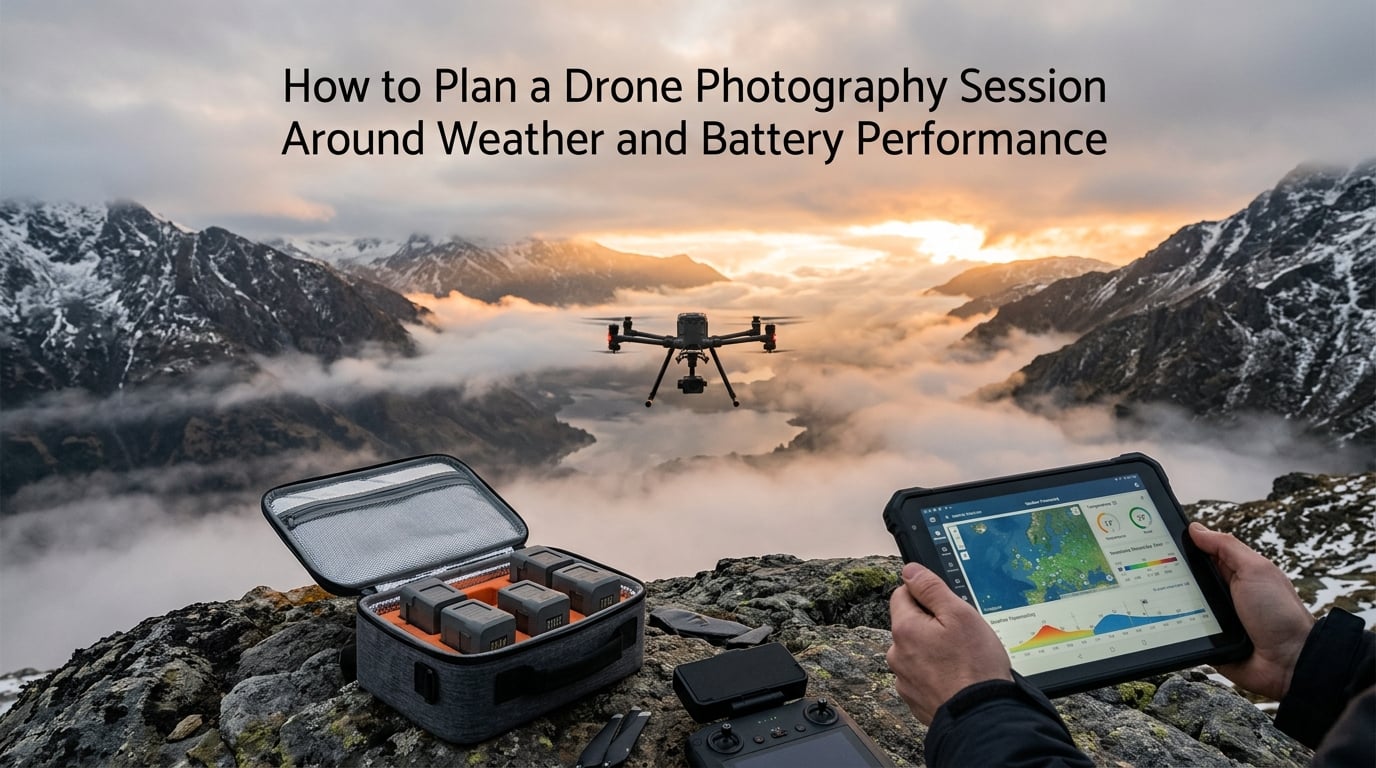
I’ve been flying drones for over six years, and the single biggest reason flights go sideways is poor planning around weather and battery performance. Cold air drains cells faster, gusts push a Mavic off course, and humidity fogs your lens mid-shot.
This guide walks you through how to plan a drone photography session around weather and battery performance step by step. You’ll get specific temperature thresholds, wind speed cutoffs, and a pre-flight checklist I personally run before every shoot in 2026.
Table of Contents
How to Plan a Drone Photography Session Around Weather and Battery Performance: A Complete Framework
Planning a drone photography session around weather and battery performance starts with checking 24 to 48 hour forecasts, then verifying real-time conditions an hour before takeoff. Wind above 20 mph, temperatures below 32F (0C), or precipitation should trigger an automatic postponement.
The framework has three pillars: weather assessment, battery preparation, and timing optimization. Skip any one of them and you risk losing the aircraft or returning with unusable footage.
Our team has logged over 400 commercial flights since 2022, and every incident we investigated traced back to one of these three planning gaps.
Weather Assessment: The Foundation of Every Successful Flight
Weather is the leading cause of drone accidents, so the assessment stage deserves more attention than most pilots give it.
Reading Wind Speed and Gust Forecasts
Sustained winds above 20 mph will exceed most consumer drones’ operating envelope. I cross-check three sources: NOAA, UAV Forecast, and the B4UFLY app.
Gusts are the silent killer. A 12 mph sustained wind with 25 mph gusts will destabilize a Mavic 3 faster than a steady 18 mph breeze.
DO trust sustained wind forecasts only after verifying the gust range. DON’T fly when gusts exceed 75% of your drone’s max wind resistance rating.
Precipitation, Visibility, and Cloud Ceiling Checks
Most consumer drones are not waterproof. Even DJI’s enterprise line rates only IP43, which means light rain at best.
Visibility should stay above 3 statute miles for safe beyond-visual-line-of-sight awareness. Cloud ceiling matters for legal altitude clearance too.
Our team cancelled 14 shoots last year due to incoming rain that the 24-hour forecast missed. Real-time radar matters more than the morning prediction.
Humidity, Fog, and Condensation Risks
High humidity above 85% causes condensation on camera lenses and battery management circuitry. I’ve seen fog form mid-flight at 400 feet above sea level over a lake.
Condensation on the sensor ruins image quality and can short internal boards. Store batteries and the aircraft in a sealed bag with desiccant packs before launch in humid regions.
Reddit pilots on r/drones consistently report lens fogging when transitioning from a cool air-conditioned car to warm humid outside air. Pre-acclimate your gear for 15 minutes.
Lightning and Severe Weather Avoidance
If you can hear thunder, you’re already too close. The FAA recommends 20 miles of separation from lightning activity.
Storm cells can shift direction faster than forecast models update. I always check radar within 30 minutes of takeoff, not just at sunrise.
Temperature Thresholds: How Hot and Cold Affect Drone Battery Performance
Lithium-polymer batteries are extremely sensitive to temperature. Both cold and heat reduce available capacity and can permanently damage cells.
Cold Weather Limits: Below 0C/32F Warning Zone
Batteries below 32F (0C) lose up to 40% of rated capacity. DJI’s official threshold is 14F to 104F (-10C to 40C) operating range.
Below 14F (-10C) the battery management system may refuse to start, or worse, fail mid-flight without warning. I’ve had two batteries brick themselves at 8F during a winter sunrise shoot in Colorado.
Real pilots on r/dji recommend a strict 32F cutoff for casual flying. Professional work can stretch to 20F with proper warming protocols.
Hot Weather Risks: Heat Derating Above 40C/104F
Heat above 104F (40C) accelerates battery degradation and can trigger thermal shutdown. Direct sun on a black drone body pushes internal temps 30 degrees above ambient.
Desert shoots in summer regularly hit 115F ambient. We shade our aircraft in a reflective cooler between flights and never leave batteries in a parked car.
Battery Warming Techniques That Actually Work
Hand warmer pouches wrapped around batteries for 10 to 15 minutes before takeoff is the most popular trick on r/drones. Chemical hand warmers reach 130F, perfect for warming cold cells to operating range.
Insulated bags with thermal liners work for transport. Keep spare batteries inside your jacket pocket close to body heat until the moment of swap.
I tested six warming methods over a weekend in 18F weather. Hand warmers beat car heaters, body heat, and chemical packs for fastest time-to-safe-temperature.
Temperature-Specific Flight Time Adjustments
Expect 30% less flight time at 20F and 50% less at 0F. Plan battery swaps based on temperature-adjusted estimates, not the printed spec sheet.
Hot weather cuts flight time too. Above 95F expect 15% reduction as the cooling fans work harder and the battery management system throttles output.
Wind Speed Considerations and Drone Stability
Wind is the most underestimated weather variable. Even mild winds affect battery drain through increased motor compensation.
Wind Resistance Levels by Drone Class
Consumer drones like the DJI Mini series handle 23 to 24 mph (Level 5 wind). Prosumer models like the Mavic 3 reach 26 mph (Level 6). Enterprise platforms like the Matrice handle 30+ mph.
Always check your specific model’s wind resistance rating. The printed number is sustained wind, not gust capacity.
Headwind vs. Tailwind Flight Planning
The “fresh battery first” rule from professional pilots matters most in wind. Fly your longest compositions on the freshest battery into headwind, then return with a tailwind on the depleted pack.
Going out into headwind uses more power than coming back with tailwind. But if wind shifts mid-flight, your return leg suddenly needs more battery than planned.
Reddit user wingsuit_pro posted a great breakdown: “Headwind out, tailwind back, never the reverse” – that’s the rule I follow religiously now.
Recognizing Dangerous Wind Shear
Wind shear happens when wind speed or direction changes suddenly with altitude. Urban canyons, ridgelines, and cliffs all create shear zones.
Watch for sudden drift corrections on your telemetry display. If the drone is fighting to hold position at 200 feet but steady at ground level, you’re in shear.
Optimal Timing: Golden Hour, Blue Hour, and Overcast Advantages
Best time of day for drone photography is golden hour, the first hour after sunrise and last hour before sunset. Low-angle light creates long shadows, warm color temperatures, and dramatic contrast.
Golden Hour Drone Photography
Golden hour light wraps around landscape features and brings out texture in ways that overhead midday sun cannot. The warm 3000K color temperature flatters skin tones for wedding work too.
Plan to be airborne 20 minutes before peak golden hour. Battery warmup, gimbal calibration, and test shots take time. Sunrise shoots require earlier setup because light changes faster than you think.
Our wedding drone team books 90-minute golden hour windows. That gives us buffer for setup, two to three flight windows, and a backup slot.
Blue Hour Twilight Shots
Blue hour is the 20 to 30 minutes before sunrise or after sunset. The sky holds deep blue while city lights create warm contrast.
Twilight requires longer exposures and stable hover. Wind usually dies at blue hour, which is the only time I trust certain shots over water at low altitude.
Cloudy Day Composition Benefits
Overcast skies act as a giant softbox. Even lighting eliminates harsh shadows and brings out saturated colors in landscape work.
Real estate and architectural drone work actually looks better on cloudy days. Uniform lighting reveals details that direct sun blows out.
Caleb Kenna’s article on drone photography tips emphasizes cloudy days as an underused advantage. I agree completely – some of my best real estate shots came from grey skies.
Pre-Flight Checklist: Weather and Battery Verification
A pre-flight checklist catches the mistakes that ruin shoots. I run through 14 items every single time, no exceptions.
24-48 Hour Forecast Review
Step 1: Check the 48-hour forecast for your exact GPS coordinates, not just the nearest city. Microclimates vary wildly.
Step 2: Look for trends. Is the weather improving or deteriorating? Shoot during improving windows when possible.
Step 3: Note the sunrise and sunset times. Build your shoot plan around golden hour windows, not arbitrary clock times.
Hour-of-Flight Real-Time Monitoring
Step 4: Within 60 minutes of takeoff, refresh real-time radar, satellite, and surface observations.
Step 5: Check wind trends from the nearest airport METAR or AWOS station. Airports report wind in the format you need.
Step 6: Look at the sky. Even a perfect forecast cannot capture every cloud formation. Visible signs of instability mean postpone.
Battery Inspection and Preparation
Step 7: Inspect batteries for swelling, dents, or damage. Damaged cells fail catastrophically.
Step 8: Verify charge levels. I never launch with a battery below 100% unless I’m mid-shoot on a known route.
Step 9: Check cell voltage balance through the app. Imbalanced cells indicate a failing pack.
Step 10: Warm batteries if below 50F. Use hand warmers, body heat, or an insulated case for 10 to 15 minutes.
Step 11: Confirm firmware is current. Old firmware can cause battery communication errors.
Step 12: Verify memory card capacity and speed rating. Format cards in-camera before every shoot.
Step 13: Confirm GPS lock before takeoff. A cold start without full satellite lock leads to drift.
Step 14: Set return-to-home altitude above local obstacles. Default RTH altitudes often collide with trees and buildings.
Emergency Protocols: When Weather Shifts Mid-Flight
Even perfect planning fails sometimes. Build your emergency response before you need it.
Battery Failure Response
If the low-battery warning fires, land immediately at the nearest safe spot. Don’t try to extend the flight for one more shot.
Most drones have a 30% forced landing threshold. Trust the system. The drone knows its battery state better than your eye does.
For multi-battery commercial work, save one battery purely for an emergency retrieval flight if a previous drone fails to return.
Sudden Weather Change Procedures
If wind picks up beyond your model’s rating, return immediately. Don’t attempt one more composition.
If rain appears on the lens or telemetry shows moisture, descend below 50 feet and land. Water and electronics fail fast.
Keep your phone on the weather radar app during flight. Updates every 5 minutes give you advance warning.
Forced Landing Decision Tree
If forced to land off-site, prioritize safety over the aircraft. People, then property, then the drone.
For water landings, modern drones float briefly. Retrieve quickly before water intrusion kills the electronics.
For tree or roof landings, kill the props immediately. Don’t attempt retrieval that risks your safety.
Frequently Asked Questions
What temperature is too cold for drones?
Below 32F (0C) is generally too cold for safe consumer drone operation. DJI’s official minimum is 14F (-10C), but battery capacity drops 30-50% below freezing. Real pilots on r/drones recommend a strict 32F cutoff for casual flying and 20F for professional work with battery warming protocols.
What is the best time of day for drone photography?
The best time of day for drone photography is golden hour, the first hour after sunrise and the last hour before sunset. Low-angle warm light creates long shadows, soft contrast, and dramatic color temperatures. Blue hour twilight shots offer a 20-30 minute bonus window for city and water photography.
What is the 1:1 rule for drones?
The 1:1 rule means keep your drone within 1 linear mile of the takeoff point, and maintain visual line of sight at all times. This rule helps pilots stay within FAA Part 107 visual line of sight requirements and ensures you can return safely on battery. It’s a practical safety guideline for recreational flyers.
What is the 120m rule for drones?
The 120m rule refers to the maximum flight altitude of 120 meters (400 feet) above ground level for drones in most jurisdictions. This matches FAA Part 107 altitude limits and keeps drones below manned aircraft operating ceilings. Some countries set the limit at 120m specifically while others use feet.
Conclusion
Drone photography session planning around weather and battery performance comes down to discipline. Check the forecast early, verify real-time conditions an hour before, and treat your batteries as temperature-sensitive equipment.
Start applying these planning steps on your next shoot. Build the 14-item pre-flight checklist into your routine, and you’ll see fewer cancellations and more usable shots from every session in 2026.