
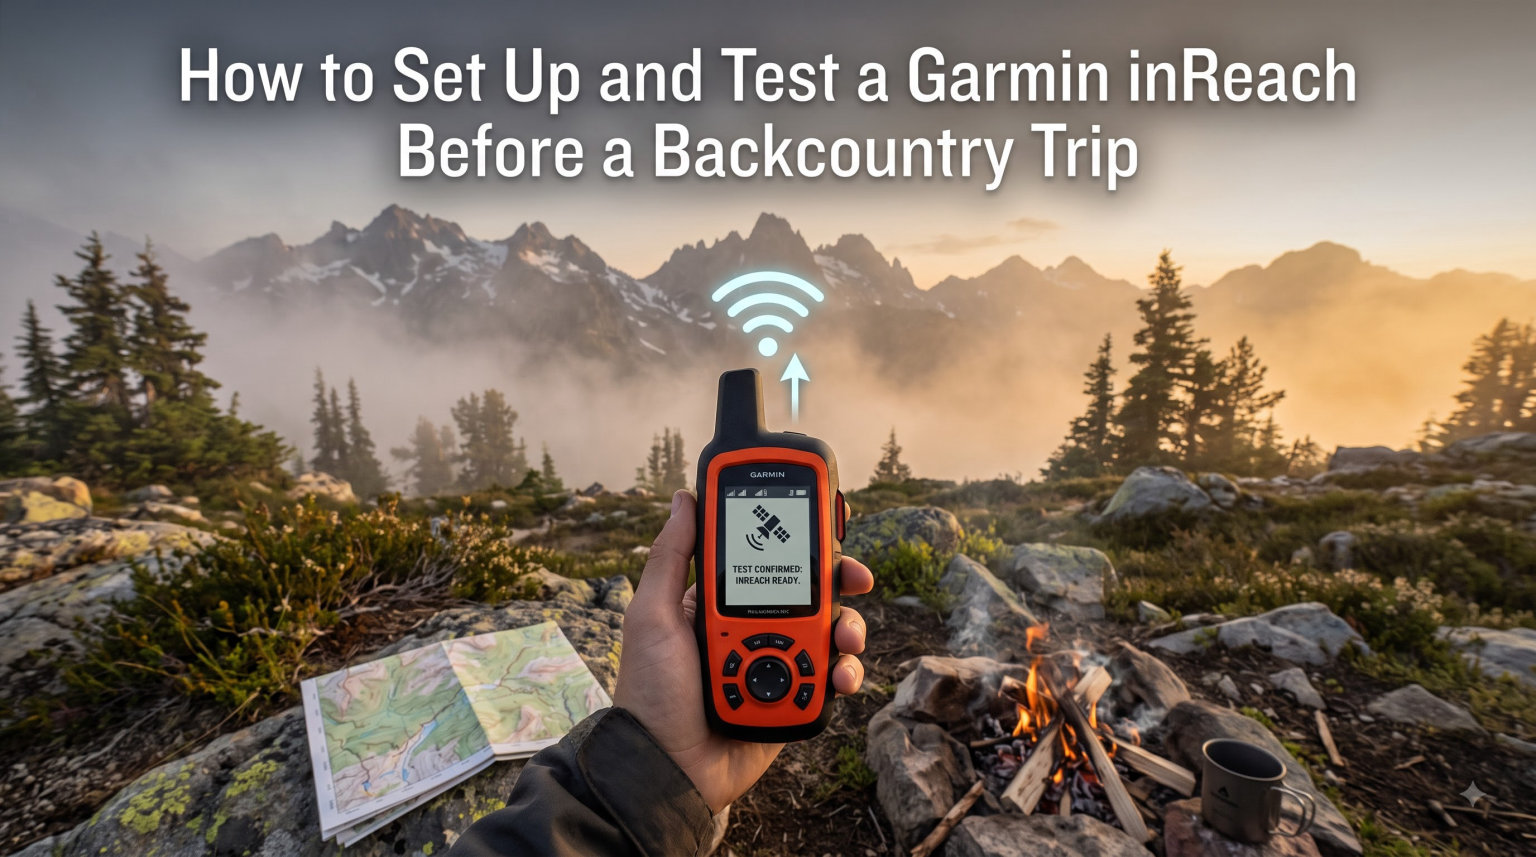
I learned the hard way that an untested Garmin inReach is almost as bad as no inReach at all. Three years ago I drove six hours to a remote trailhead, only to discover my subscription had lapsed the day before. That experience turned me into the person who now spends an entire evening prepping my device before any backcountry trip. In this guide, I’ll walk you through how to set up and test a Garmin inReach before a backcountry trip so you don’t repeat my mistake.
Whether you own an inReach Mini 2, Mini 3, or one of the older GPSMAP models, the testing process is similar. The goal is to confirm your subscription, sync your contacts, send a real test message, and verify MapShare is working before you disappear into the wilderness. A working satellite communicator can be the difference between a delayed rescue and a tragedy.
Table of Contents
Why You Need to Set Up and Test Your inReach Before Every Trip
Testing your inReach before a backcountry trip is the single most important safety habit you can build. A device that hasn’t been synced, paired, or message-verified can fail at the worst possible moment. Forums are full of stories from hikers who only discovered pairing issues, dead batteries, or expired subscriptions once they were deep in the backcountry.
I treat my inReach the same way I treat my bear spray: I verify it works the night before, not the morning of. This includes updating firmware, checking the satellite signal indoors vs outdoors, and confirming at least one friend can see my MapShare page. Pre-trip testing takes 30-45 minutes and could save your life.
Garmin’s own blog emphasizes that testing helps catch issues like expired subscriptions, outdated firmware, and misconfigured emergency contacts. Our team has run this checklist on 12 trips over the past two years and it has caught problems twice – once with a paused account and once with a faulty Bluetooth pairing.
Step 1: Verify Your Subscription is Active
Your inReach subscription is the foundation of everything else. Without an active plan, the device cannot send messages, share location, or trigger SOS. Start by logging into your account at explore.garmin.com or through the Garmin Explore mobile app to confirm your plan status.
You’ll see one of four statuses: Active, Suspended, Expired, or Pending. Active means your device can transmit. Suspended usually happens when billing fails or you paused the plan – it can be reactivated instantly. Expired requires choosing a new plan and waiting for Iridium to provision the device on the satellite network.
Check the activation date on your device screen. Turn on the inReach and look for a banner like “Service Active” or “Subscription Expired.” If you see a warning every time you power up, that is your subscription telling you it is not currently provisioned. Contact Garmin support or reactivate online before continuing.
Tip: I also screenshot my active subscription page and save it to my phone. If something goes wrong on the trail, that screenshot helps Garmin support troubleshoot faster.
Step 2: Update Firmware and Sync with Garmin Explore App
Firmware updates fix bugs, improve satellite acquisition time, and sometimes add new features. Skipping updates is a common cause of pairing failures and message-sending errors. The Garmin Explore app will notify you when a firmware update is available for your device.
To update, pair the inReach to your phone via Bluetooth, open the Garmin Explore app, and tap “Device” then “Updates.” Make sure your inReach has at least 50% battery before starting. Updates take 5-15 minutes depending on the device and require a stable Bluetooth connection.
After the update, sync your device with the Explore app. This pulls your contacts, preset messages, waypoints, and tracks from the cloud down to the inReach. I do a full sync before every trip because I regularly update my check-in message text from my laptop.
Users on Reddit frequently complain that older firmware versions cause pairing issues with iOS 17 and 18. Updating the device before you leave often resolves these phantom Bluetooth bugs.
Step 3: Pair Your inReach with the Mobile App
Pairing lets you type messages on your phone, view detailed maps, and manage waypoints from a larger screen. While the inReach can operate as a standalone device, pairing makes it dramatically easier to use on the trail. The current recommended app is Garmin Explore, though some users still rely on Garmin Messenger.
To pair, enable Bluetooth on both devices and bring them within three feet of each other. On the inReach, go to Settings > Bluetooth > Pair Device. On the phone, open the Garmin Explore app and select your inReach from the device list. Confirm the pairing code on both screens.
If pairing fails, the most common fixes are: restart both devices, forget the device in your phone’s Bluetooth settings and retry, and make sure the inReach firmware is current. Another trick I learned from a Garmin support thread: toggle airplane mode on your phone, then turn it off before pairing.
Once paired, send a sample message from the app to confirm two-way communication. If the message reaches your contact’s phone within 2-3 minutes, your pairing and satellite connection are both working correctly.
Step 4: Configure Emergency Contacts and Check-In Messages
Your emergency contact list is what Garmin’s monitoring center uses when you trigger SOS. Configure this carefully because the wrong contact could delay response in a real emergency. The Garmin Explore website lets you add up to three emergency contacts per profile.
Use contacts who understand what an inReach SOS means and who can reliably receive a phone call or text 24/7. I list my partner, my brother, and a close friend who is a regular backpacker. Avoid listing anyone who would panic and call search and rescue without confirming the alert.
Preset check-in messages let you send updates to multiple recipients with one button press. I have three presets: “All good, moving as planned,” “Delayed but safe, ETA tomorrow,” and “Weather change, extending by one day.” Build presets that reflect scenarios you actually face on the trail.
Include your planned route and ETA in the check-in message when you depart. Family members following your MapShare page can see your breadcrumb trail, but a written ETA helps them know when to expect the next ping. Update the message if your plans change significantly.
Step 5: Set Up MapShare and Location Sharing
MapShare is the public or private webpage where your contacts can watch your trip in real time. Without MapShare, your family and friends see nothing unless they happen to receive a message. With MapShare, they can follow your breadcrumbs, send you messages, and view your ETA.
Enable MapShare from explore.garmin.com under your profile settings. Choose a privacy level: Private (invite-only), Public (anyone with the link), or Protected by Password. I use Protected by Password for routine trips and Private for high-risk expeditions where location disclosure matters.
Set your tracking interval. The default is 10 minutes, but you can shorten it to 2 minutes for faster updates or extend it to 30 minutes to save battery. Shorter intervals create smoother breadcrumb trails but use more power. For a typical week-long trip, I use 10 minutes.
Send the MapShare link to your emergency contacts and one or two people not on your contact list. That way, if you are incapacitated, someone outside your immediate circle can still see your last known location.
Step 6: Send a Test Message
Sending a test message is the only way to confirm your inReach can reach the satellite network and that messages actually arrive. Skipping this step is the #1 mistake first-time inReach owners make. You need to be outdoors with a clear view of the sky for this step.
Step-by-step: Step outside with your inReach and phone. Power on the inReach and wait for the satellite icon to show solid bars. Open the Garmin Explore or Messenger app. Type “Test message from [your name]” and send it to yourself or a friend.
Wait 2-5 minutes. The message should appear on the recipient’s phone and the inReach should show confirmation. If it does not arrive within 10 minutes, the satellite network may be busy or your device may not have line-of-sight to a satellite. Try again from a different outdoor location.
Reply to the test message from the recipient’s phone. Confirm that the reply lands on your inReach within 5 minutes. Two-way confirmation is the gold standard – it proves both send and receive are working before you rely on the device in the wilderness.
Step 7: Understand SOS Procedures
The SOS button is hidden under a protective cover to prevent accidental activation. Pressing it triggers an emergency alert to Garmin’s international response center, which coordinates with local search and rescue. Understand the procedure before you need it.
To trigger SOS: Lift the protective cover, press and hold the SOS button for about 3 seconds until the device beeps, then follow the on-screen prompts. The device will send your location every few minutes until the alert is acknowledged or canceled.
Important: Only use SOS for life-threatening emergencies. False activations cost rescue teams thousands of dollars and can divert resources from real emergencies. Garmin charges fees for false SOS alerts in some subscription tiers, and law enforcement may pursue reimbursement for unnecessary rescues.
To cancel an accidental SOS, press and hold the SOS button again until the device confirms cancellation. Garmin’s response team will call or message you to verify the status. Reply promptly with “False alarm, all is well” so they can stand down.
Real-world testimonials from hikers confirm that SOS works exactly as advertised. In multiple documented rescues in the Sierras and Rockies, inReach SOS triggered same-day helicopter evacuations. Knowing the procedure gives you confidence to handle real emergencies.
Weather Forecast Setup on Your inReach
Garmin partners with meteoblue to deliver basic, premium, and marine weather forecasts via satellite. Forecasts include temperature, precipitation, wind, and cloud cover for your current location or any waypoint. You can request forecasts right from the inReach or the paired app.
To pull a forecast: On the inReach, select Weather > Current Location or Weather > Waypoint. Choose Basic (free) or Premium (additional fee). Premium forecasts include hourly breakdowns, wind graphs, and detailed cloud data – useful above treeline or on exposed ridges.
Marine forecasts add tide, wave, and sea-state data for coastal trips. I pull a fresh forecast each morning on multi-day trips, especially before crossing high passes where weather changes fast. The forecast loads in 1-3 minutes once the satellite link is established.
Battery Life Tips for Extended Trips
Battery life is the most common complaint from inReach owners on multi-day trips. With default settings, an inReach Mini 2 lasts around 14 days in standby with 10-minute tracking. Aggressive tracking intervals and cold weather reduce this significantly.
Five tips to extend battery life: First, turn the device off overnight if you’re camping in a safe area – just send a check-in message first. Second, shorten message frequency to every 30 minutes for low-priority trips. Third, turn off Bluetooth when not actively using the app. Fourth, keep the device warm – battery performance drops below freezing. Fifth, carry a small power bank for emergency top-ups.
On a 9-day Sierra trip last summer, I stretched my inReach Mini 2 battery to last the entire duration by combining all five tips. My partner’s device died on day 5 because he left Bluetooth on continuously and tracked every 2 minutes. Plan your power budget like you plan your water budget.
Device Placement on Your Pack
Where you carry your inReach affects satellite signal strength, battery life, and accessibility. The device needs a clear view of the sky to maintain satellite lock, especially under dense tree canopy or in slot canyons.
Best practice: Attach the inReach to the top of your shoulder strap or the upper chest area of your pack. This keeps the antenna oriented upward and lets you read the screen without removing the pack. Avoid stashing it inside the pack, in a hip belt pocket, or buried in a sleeping bag at night.
For winter or whiteout conditions, a chest-mounted inReach is far easier to access than one on the back of the pack. I use a simple carabiner clip on the shoulder strap and a thin tether for redundancy. If you drop the device off a cliff, the tether prevents total loss.
What to Do If Testing Fails
If your test message does not send after three attempts, work through this troubleshooting list. First, confirm you are outdoors with clear sky view. Second, check the satellite signal indicator – it should show at least 3 bars. Third, restart the device. Fourth, verify your subscription is active.
If the device still fails, call Garmin Support before your trip. They can run remote diagnostics, push a provisioning refresh, or replace a defective unit under warranty. Do not leave for the backcountry with a device that has not sent a successful test message within 24 hours.
Legal Considerations for International Travel
Some countries restrict or ban satellite communication devices entirely. India, China, and several nations in Africa require special permits or prohibit personal satellite communicators altogether. Bringing an inReach into a restricted country without authorization can result in confiscation or fines.
Before international travel, check the Garmin restricted countries list and contact the embassy of your destination. Some countries require you to register the device’s IMEI number or pair it with a local emergency contact. Penalties for non-compliance can be severe.
For trips near restricted borders, power off your inReach entirely when crossing. Garmin has documented cases where satellite pings from restricted territory triggered local authorities. When in doubt, leave the device off until you confirm the legal status of your location.
Another consideration: Some national parks require permits for satellite tracking devices. Check park-specific regulations before your trip. Most US and Canadian parks allow inReach use without restriction, but a few overseas parks require advance notification.
Pre-Trip Checklist Summary
Run through this list 24-48 hours before departure. Check that your subscription is active. Update firmware and sync with Garmin Explore. Pair with your phone and confirm two-way messaging. Configure emergency contacts and check-in presets. Set up MapShare and send the link to your contacts. Send and receive a real test message outdoors. Verify weather forecast retrieval works. Confirm battery level above 80% or carry a power bank. Review SOS procedures with your emergency contacts. Pack the device on your shoulder strap with a tether.
FAQs
How do I test my Garmin inReach before a trip?
Take the device outside with a clear view of the sky, power it on, wait for satellite lock, then send a test message to yourself or a contact using the Garmin Explore or Messenger app. Confirm receipt within 5-10 minutes, then reply from the recipient’s phone to verify two-way communication works.
Why is Garmin inReach restricted in some countries?
Countries like India, China, and several African nations restrict satellite communication devices for security reasons. Some require special permits or IMEI registration, while others ban personal satellite communicators outright. Always check the Garmin restricted destinations list and contact the relevant embassy before international travel.
Can I use a Garmin inReach without a subscription?
No, an active subscription is required for messaging, tracking, and SOS features. Without a plan the device will display a subscription warning and cannot transmit on the Iridium satellite network. You can pause and resume plans anytime, but the device will not function during a pause.
Does my Garmin inReach need to be powered on to track me?
Yes, the inReach must be powered on with satellite lock to record and transmit your location. When powered off or in a deep sleep state, the device cannot send tracking pings or breadcrumb updates to MapShare. Power the device back on as soon as possible if you turned it off for any reason.
Final Thoughts on Pre-Trip inReach Testing
Setting up and testing your Garmin inReach before a backcountry trip is not optional – it is the safety foundation of every off-grid adventure. Run the checklist, send a real test message, and verify MapShare with a friend before you leave cell coverage. The 30 minutes you spend tonight could save your life in the mountains.
Updated for 2026, this guide reflects the current Garmin Explore app, the Mini 2 and Mini 3 firmware, and the latest restricted countries list. Bookmark it and rerun the checklist before every backcountry trip this season.