
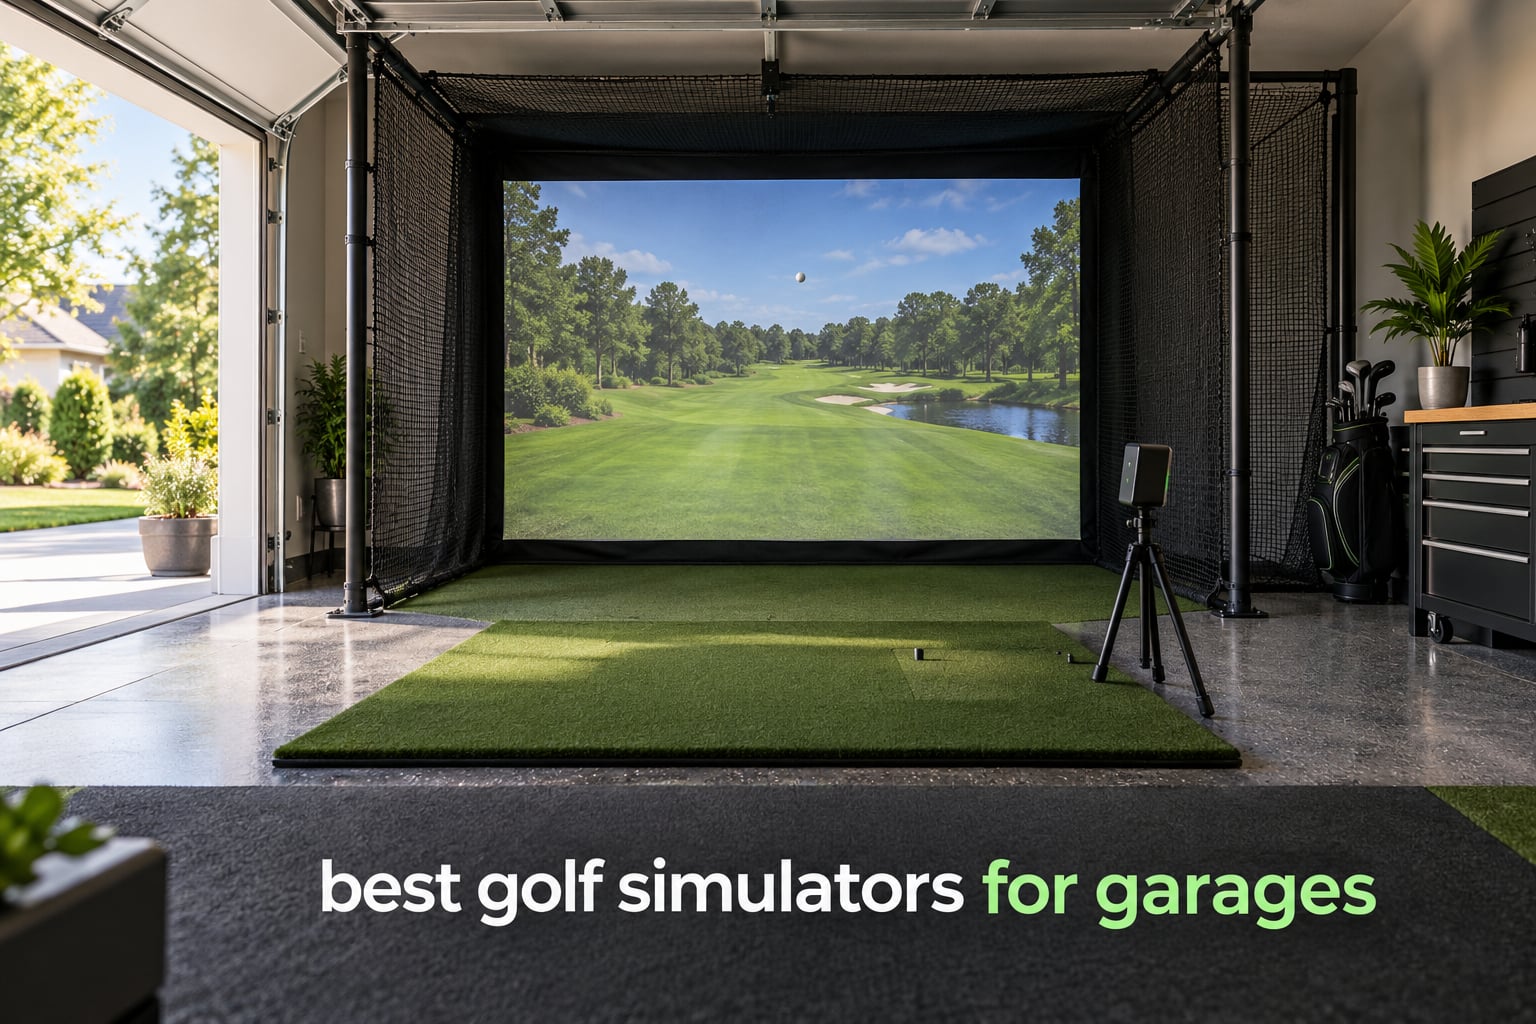
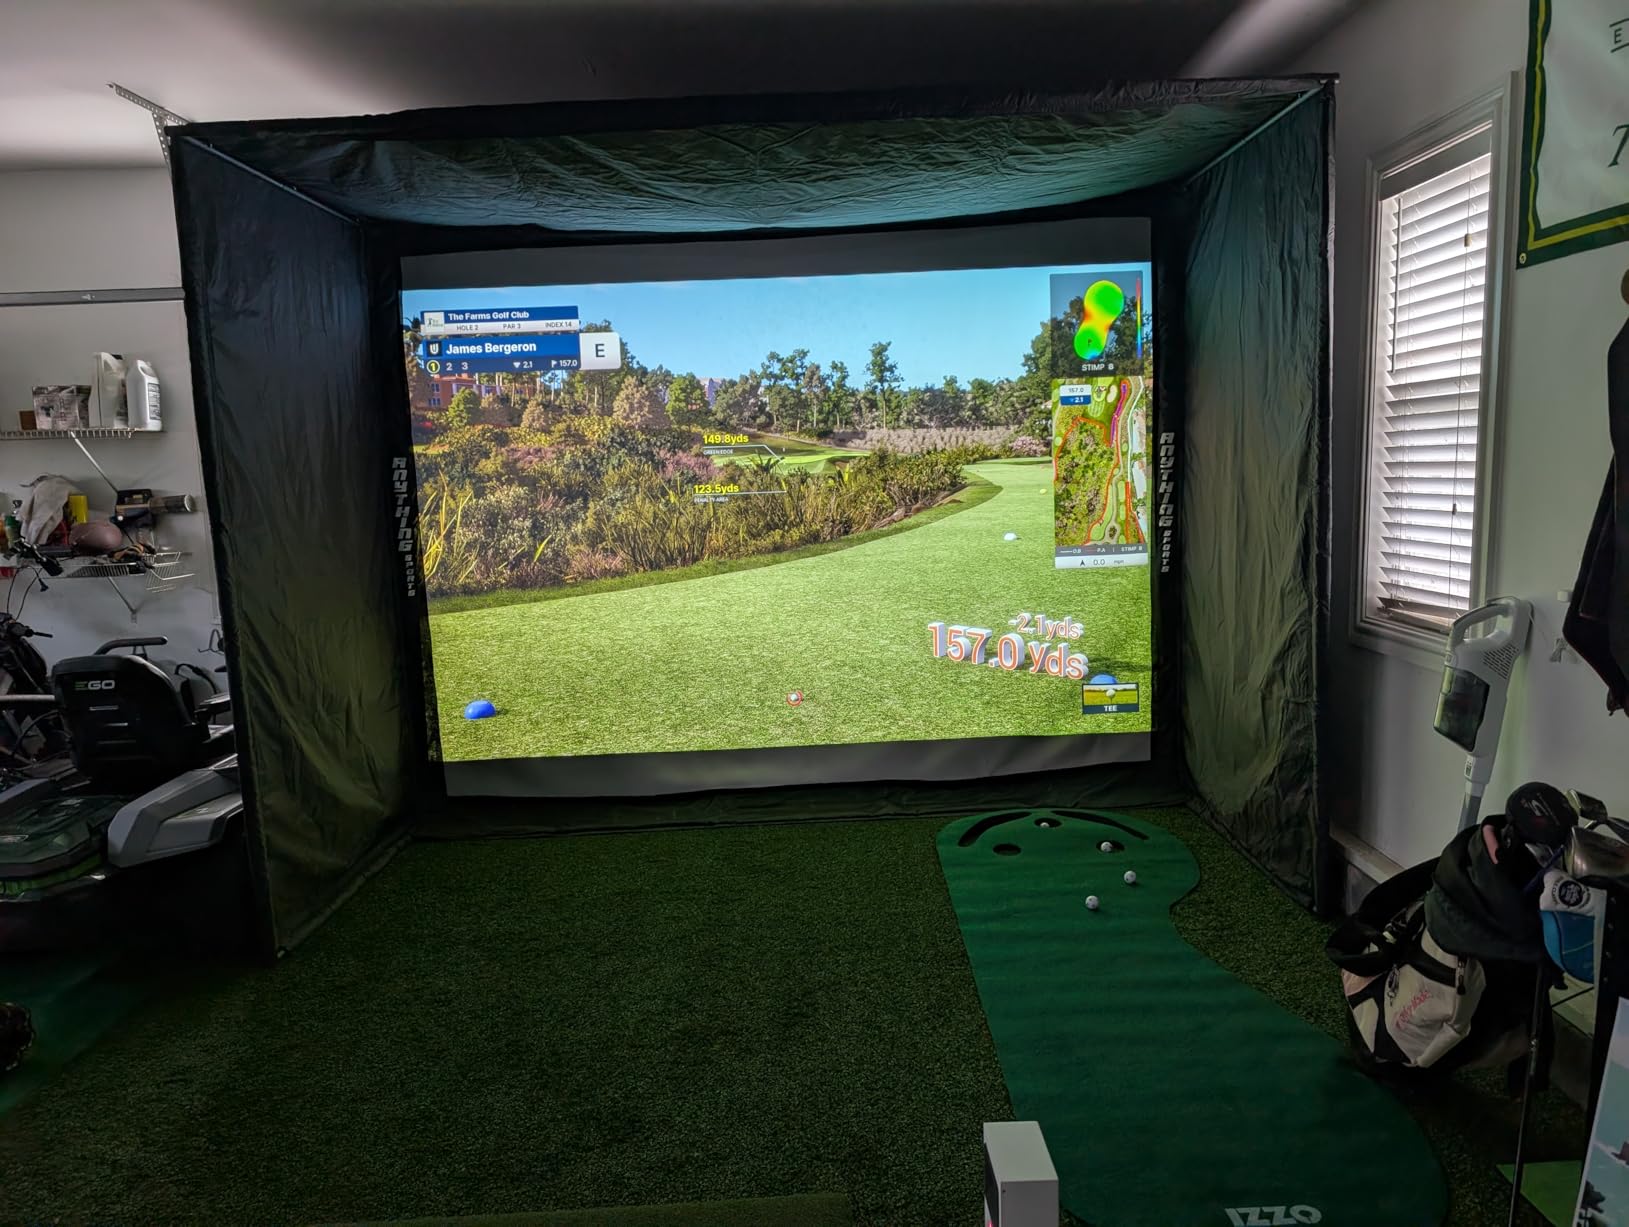
The best golf simulators for garages, in our view, start with the enclosure rather than the electronics. The ANYTHING SPORTS complete enclosure package is the one we would put in a single-car bay, because the blackout cage, the 4K-ready impact screen, the projector mount and the side shank nets all arrive in one box, and there is an 8 ft 4 in wide version that clears a standard garage door opening.
That matters because a garage simulator is about 50 percent simulator and 50 percent real estate. Owners on r/Golfsimulator and the MyGolfSpy forum keep arriving at the same conclusion: the room and its dimensions decide whether you still enjoy the setup six months later, far more than the generation of hardware sitting inside it.
So before the rankings, the three numbers that gate everything. Measure your height to the lowest obstruction, not the ceiling, because door tracks, light fixtures and ceiling joists sit lower than the drywall. Plan on at least 9 ft there, and 10 ft if you are over 6 ft tall. Give yourself 10 ft of width if you hit alone, 12 ft if both hand positions share the bay, and 15 ft of depth as a real floor with 18 to 20 ft noticeably better for projection.
A garage golf simulator is five components working together: an impact screen or net, an enclosure around it, a launch monitor, a short-throw projector, and a hitting mat. Nine of the ten systems below cover one or more of those layers, and several are launch monitors that pair with any enclosure you already own. We spent the last several weeks comparing frame materials, screen layers, tracking methods, mounting options and the ongoing software terms attached to each one.
One more thing before we start. If you are still kitting out your bag and shoes, our guides to the best golf shoes and the best golf bags are worth a look, and for travelling to play rather than practise at home, see our picks for luggage for golf travel.
Table of Contents
Top 3 Best Golf Simulators for Garages in 2026

ANYTHING SPORTS Complete Enclosure Package
- Blackout cage with 4K-ready impact screen
- Projector mount and bar included
- Side shank nets with sand-bag weights
- 8 ft 4 in option fits a standard garage door opening

Garmin Approach R50
- Three-camera tracking system
- 10 inch built-in touchscreen
- Barometer-adjusted carry distance
- HDMI output for a garage projector

GoSports Enclosure Kit 10×8 ft
- Commercial grade impact screen
- True blackout side and back panels
- Ten
- twelve and fourteen foot widths
- Numbered quick-install hardware
Best Golf Simulators for Garages in 2026 Quick Comparison
Every system below, with the details that decide whether it belongs in your specific bay.
| Product | Specifications | Action |
|---|---|---|
| ANYTHING SPORTS Complete Enclosure Package |
|
Check Latest Price |
| Garmin Approach R50 |
|
Check Latest Price |
| GoSports Enclosure Kit 10×8 ft |
|
Check Latest Price |
 Garmin Approach R10 Garmin Approach R10 |
|
Check Latest Price |
 Uneekor EYE MINI CORE Uneekor EYE MINI CORE |
|
Check Latest Price |
 SkyTrak ST MAX SkyTrak ST MAX |
|
Check Latest Price |
 Rapsodo MLM2PRO Rapsodo MLM2PRO |
|
Check Latest Price |
 Durbles Enclosure Kit 10×8 ft Durbles Enclosure Kit 10×8 ft |
|
Check Latest Price |
 Diandian Enclosure 10 x 8 x 5 ft Diandian Enclosure 10 x 8 x 5 ft |
|
Check Latest Price |
 Uneekor EYE MINI LITE Uneekor EYE MINI LITE |
|
Check Latest Price |
1. ANYTHING SPORTS Complete Enclosure Package: Best Overall for Garages
Complete Golf Simulator Enclosure Package – 4K-Ready Impact Screen with Blackout Cage, Projector Mount, Frame Poles, Side Shank Nets | Indoor & Garage Practice | Easy Setup | 12-Month Warranty
Metal cage 11 x 8 ft 4 x 5 ft
4K-ready impact screen
Projector mount and bar included
Pros
- Frame
- screen
- cage
- projector mount and side nets arrive in one box
- 8 ft 4 in width option clears a standard garage door opening
- Metal frame holds up after more than a year of regular hitting
- Tool-free assembly needs no special tools
Cons
- Instructions are widely criticised as unclear against the diagrams
- Corner pads are thin covers rather than real impact padding
- Top rear crossbar can send wedges back toward the hitter
This is the package we keep coming back to for a garage, and the reason is unglamorous: it removes decisions. You get the metal pole frame, the blackout cage, the impact screen, the projector mount bar and the side shank nets with their sand-bag weights in a single order, so nothing gets missed on install day.
We sized it against a standard bay rather than a showroom. The 11 x 8 ft 4 x 5 ft cage fits a typical single-car garage with room to walk around it, and the smaller 8 ft 4 in wide version was clearly designed for people whose door opening is the constraint rather than the ceiling.
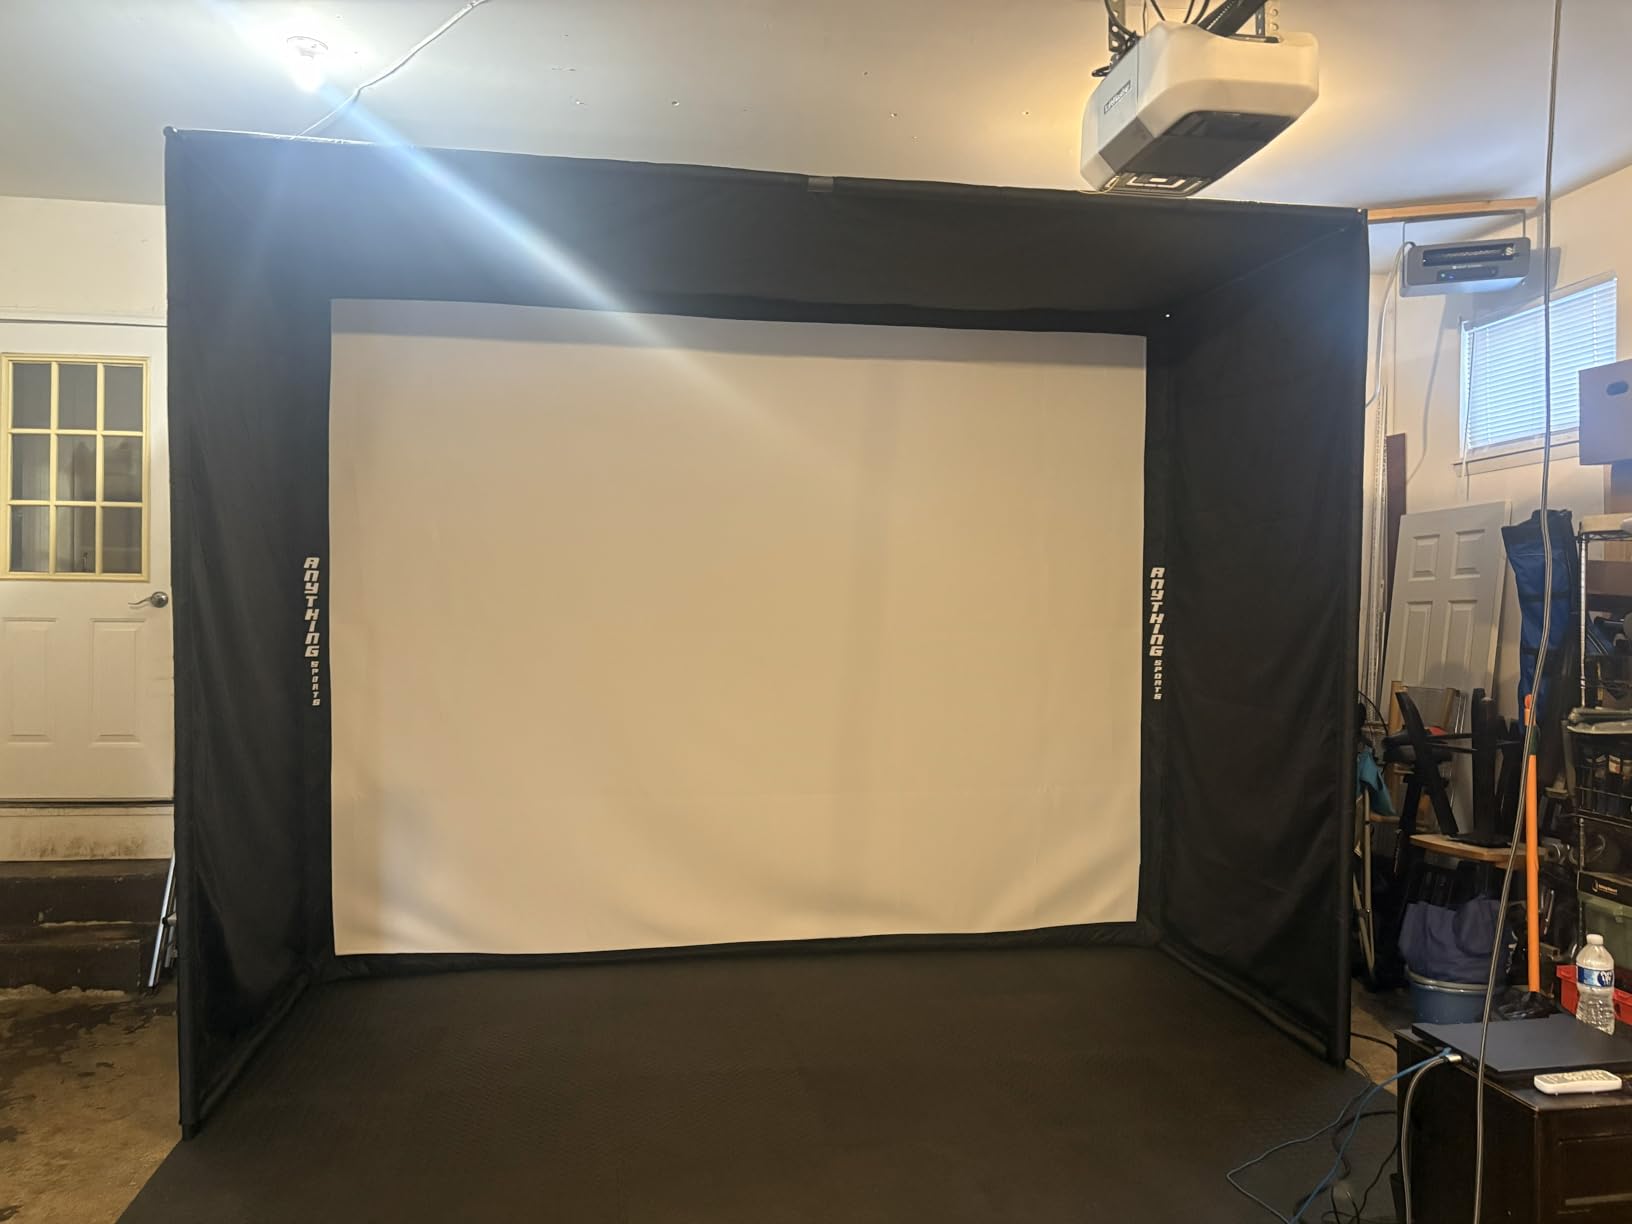
The included projector mount is the sleeper feature. Building a proper ceiling or drop mount for a short-throw projector is one of the most common garage build regrets, because installers end up improvising from drywall anchors that cannot carry the weight. Here it is a bar and a bracket already in the box.
Owners report the metal frame still feeling solid well past a year of regular sessions, and several mentioned bolting the cage to the wall because the included bungee cords can be sand-bagged into place if you prefer something rigid. Support has been responsive when screens needed replacing.
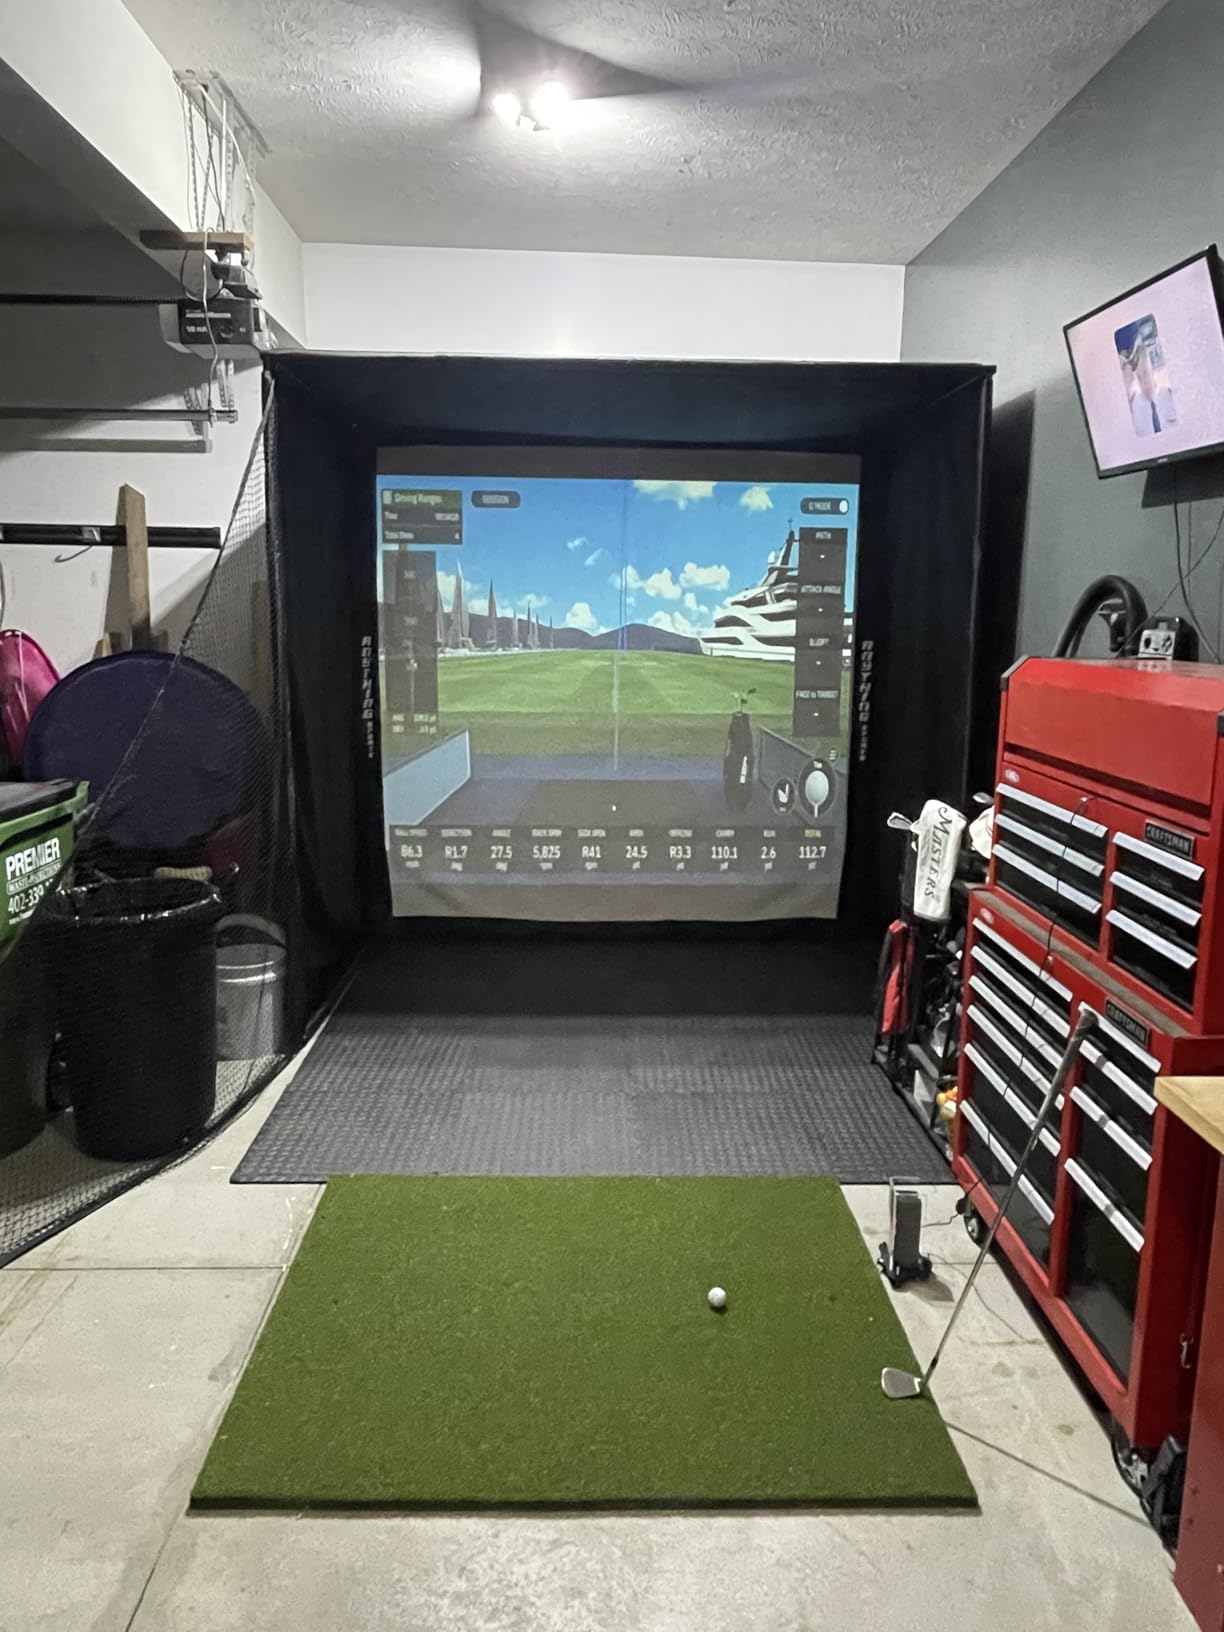
What you get in a garage bay
The cage stands about 5 ft tall, which works for golfers up to roughly 6 ft 2 in taking a full swing without contact with the top bar. That is not true for taller players, and it is worth knowing before you commit.
Side shank nets are included and weighted with sand bags, which handles the wedge and short-iron shots that escape most home setups. The blackout cage matters more than buyers expect, because a lit garage washes out a projected image even on a bright projector.
Turf and a projector are shown in the listing images for demonstration only, and neither is included. Budget for both separately, and this package becomes a complete system once you add a launch monitor.
Where it falls short
Assembly instructions are the most repeated complaint in owner posts. Diagrams and the printed directions do not always agree, so budget an evening and follow the parts count rather than the step order.
The supplied corner pads are thin covers, and the top rear crossbar can return a mishit wedge toward the hitter. Plenty of owners add their own foam to the crossbar, which is a small weekend project and fixes most of it.
If your garage ceiling is under 9 ft to the lowest obstruction, or if you play with the opposite hand leading and share the bay with a right-handed partner, this single-station layout means re-anchoring. Look at a wider cage or a two-position build instead.
2. Garmin Approach R50: Best Premium Launch Monitor for a Garage
Garmin Approach® R50, Premium Golf Launch Monitor & Simulator
10 inch capacitive touchscreen
Three-camera tracking
Barometer-adjusted carry
Pros
- Large built-in screen removes the phone from the equation
- Three-camera system gives strong metrics indoors and out
- HDMI output makes projecting into a garage straightforward
- Barometer adjusts carry distance for atmospheric pressure
Cons
- Highest cost in this roundup by a wide margin
- Virtual rounds need an active Garmin Golf membership
- Face to path requires the included tracking sticker
The R50 solves the problem that annoys people most with phone-based monitors: you read your numbers without unlocking anything. The 10 inch colour capacitive touchscreen sits on the unit at 16.5 in tall and 9 lb, which is a comfortable height to glance at between shots.
Tracking is handled by a three-camera system rather than radar alone, and it measures ball speed, launch angle, spin rate and spin axis. Face-to-path is available if you apply the included club sticker, which is the single most useful metric for fixing a strike you already know is off.
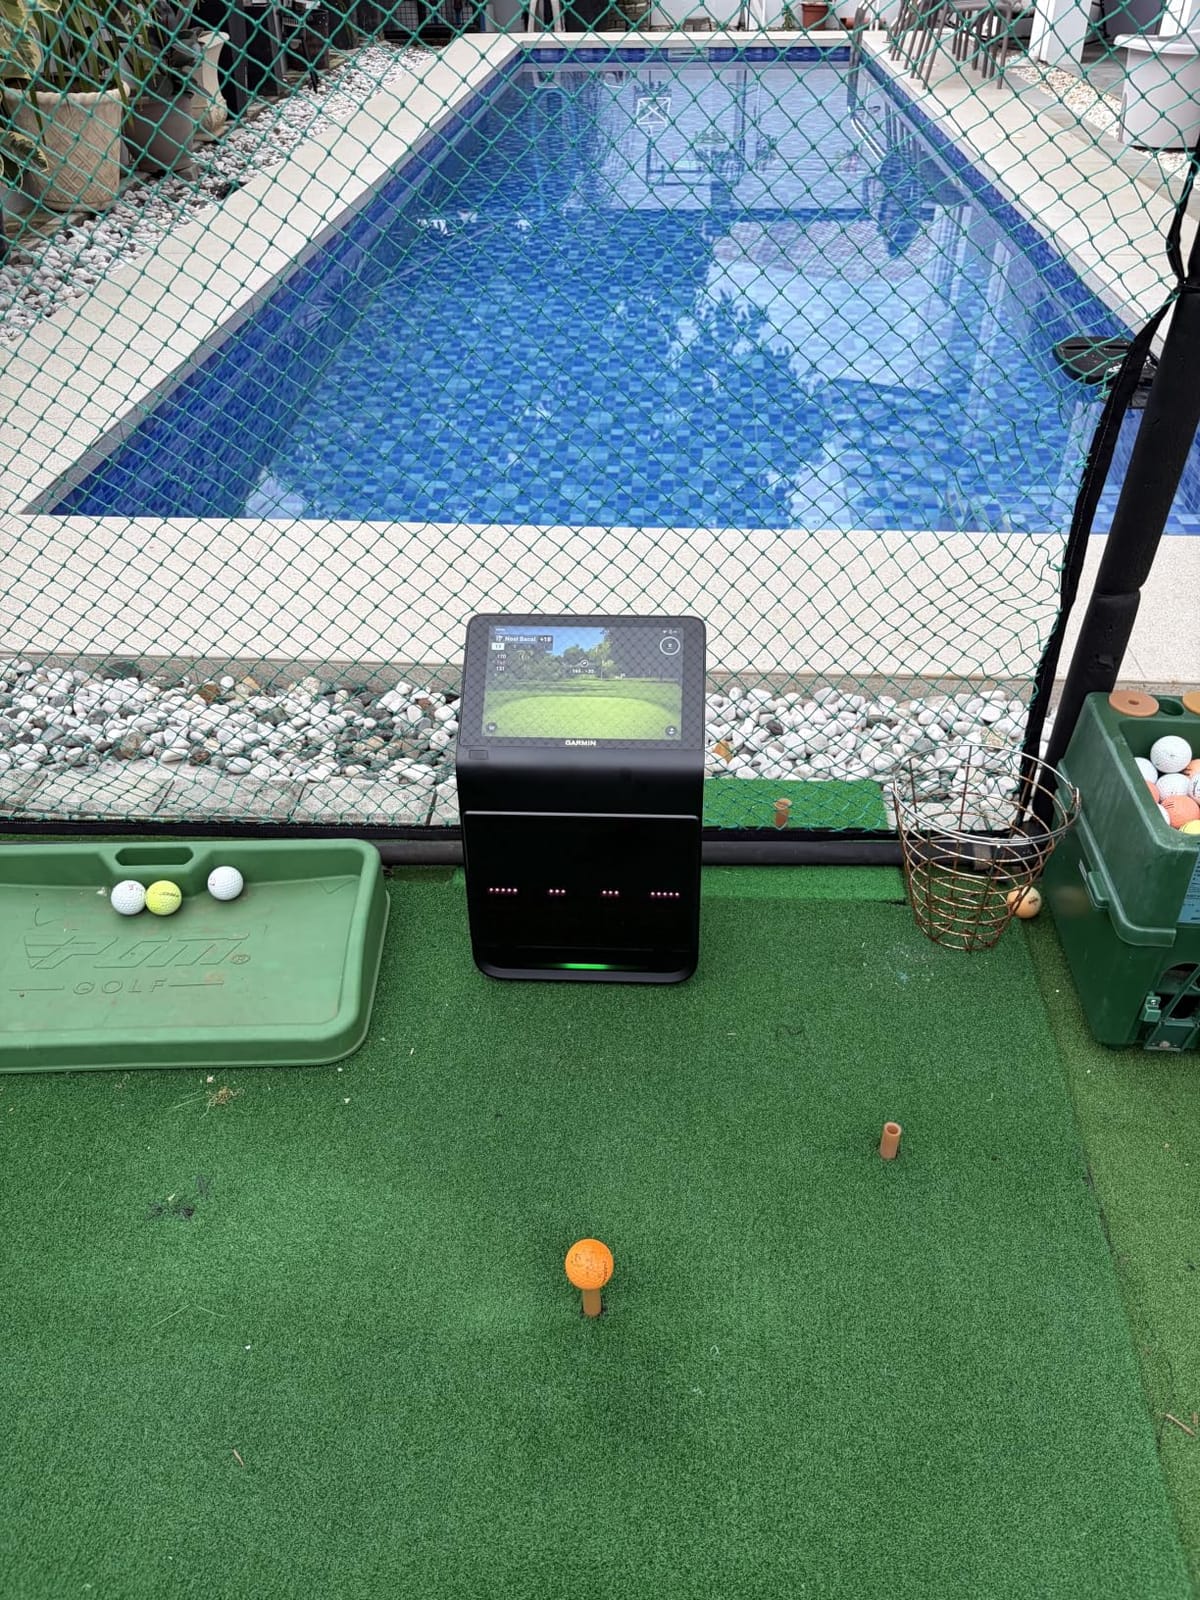
The barometer is a detail that rarely gets credit and genuinely matters in a garage. Pressure changes move carry readings, and a unit that corrects for it will not have you chasing a swing change that never happened when the weather turns.
HDMI output is the feature that ties it to a garage build. Run the image to a projector on the cage mount and the whole wall becomes your readout, which no phone-based monitor in this list can do on its own.
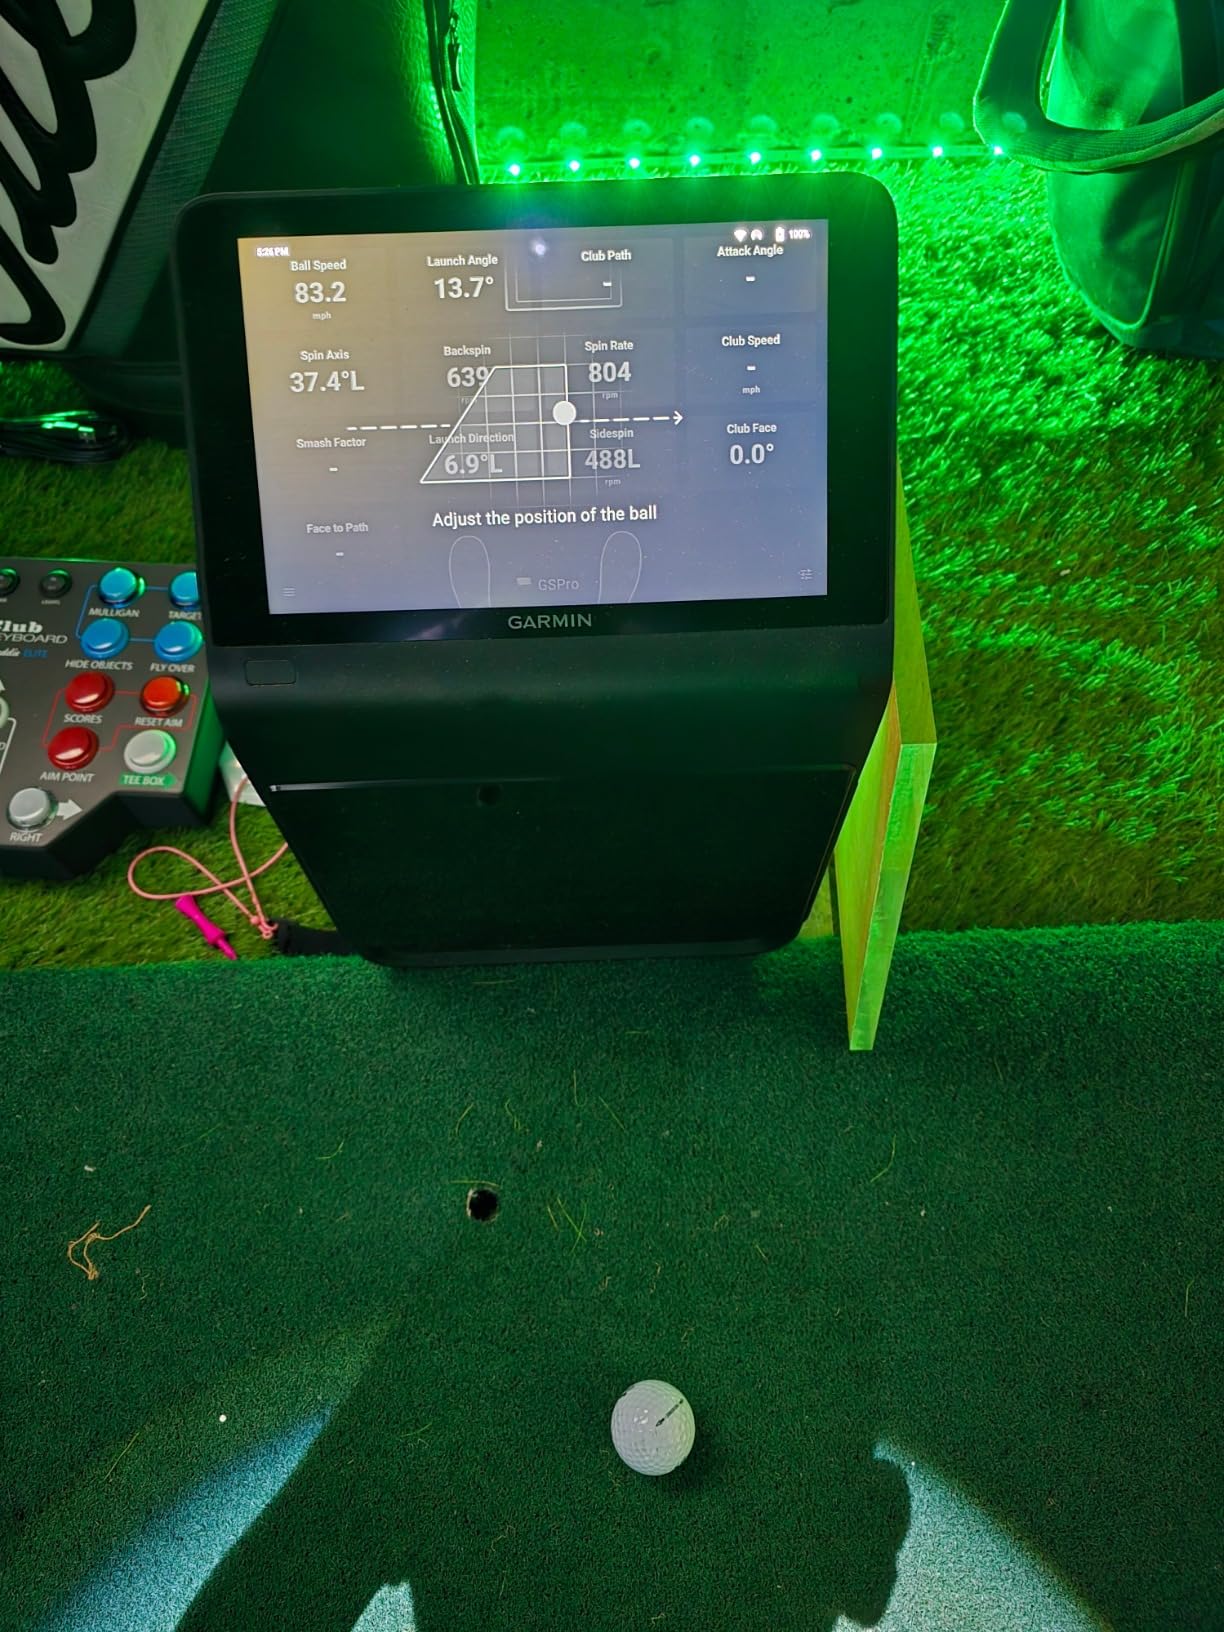
How it handles garage conditions
Camera-based systems care about ambient light, and this one performs consistently in both indoor and outdoor settings according to owners. In a bay with the door open for air on a bright afternoon, that is the difference between usable data and a session you abandon.
Training mode tracks per-club statistics and shows a shot dispersion chart built from an advanced ball flight model. The Wedge Matrix and range views mean you can work one club for twenty minutes instead of mindlessly hitting through a bag.
Virtual rounds include putting for up to four players across more than 43,000 courses through Home Tee Hero, and high-speed impact video gives immediate visual feedback on contact.
Where it falls short
Cost is the first objection and it is a fair one. It is several times the price of the entry-level options here, and you still need an enclosure, a projector and a mat to make a full simulator out of it.
Course play and Home Tee Hero content sit behind an active Garmin Golf membership, so treat the hardware as the starting cost rather than the whole cost. Four hours of battery covers a session, not a week of range work, which matters if you also practise outdoors.
If your bay is tight and you would rather spend on the room than the readout, a mid-tier enclosure plus a portable monitor delivers most of the practice value for far less.
3. GoSports Enclosure Kit 10 x 8 ft: Best Value Enclosure
GoSports 10 x 8 ft Golf Simulator Enclosure Net – Complete Set with Frame and HD Impact Screen Kit
Alloy steel frame, 79 lb
True blackout side and back panels
Three size options
Pros
- Survives heavy use with thousands of balls and no tearing
- Screen handles 150 mph ball speed without failure
- True blackout panels visibly improve projector brightness
- Numbered poles and clear diagrams make assembly realistic
Cons
- Included padding is thin so balls ricochet off the frame
- No shank baffles included and side nets cost extra
- Frame feels flimsy until the fabric is fitted
This is the enclosure we would buy first if we were building for ourselves. It is a genuine commercial-grade impact screen in an alloy steel frame, and at 79 lb the thing has enough mass that the poles do not walk around when a mishit loads the screen.
Owners consistently report thousands of balls through the screen with no tearing or sagging, and the screen itself handles 150 mph ball speed without failure. That is the number that matters, because driver mishits arrive long before your technique improves.
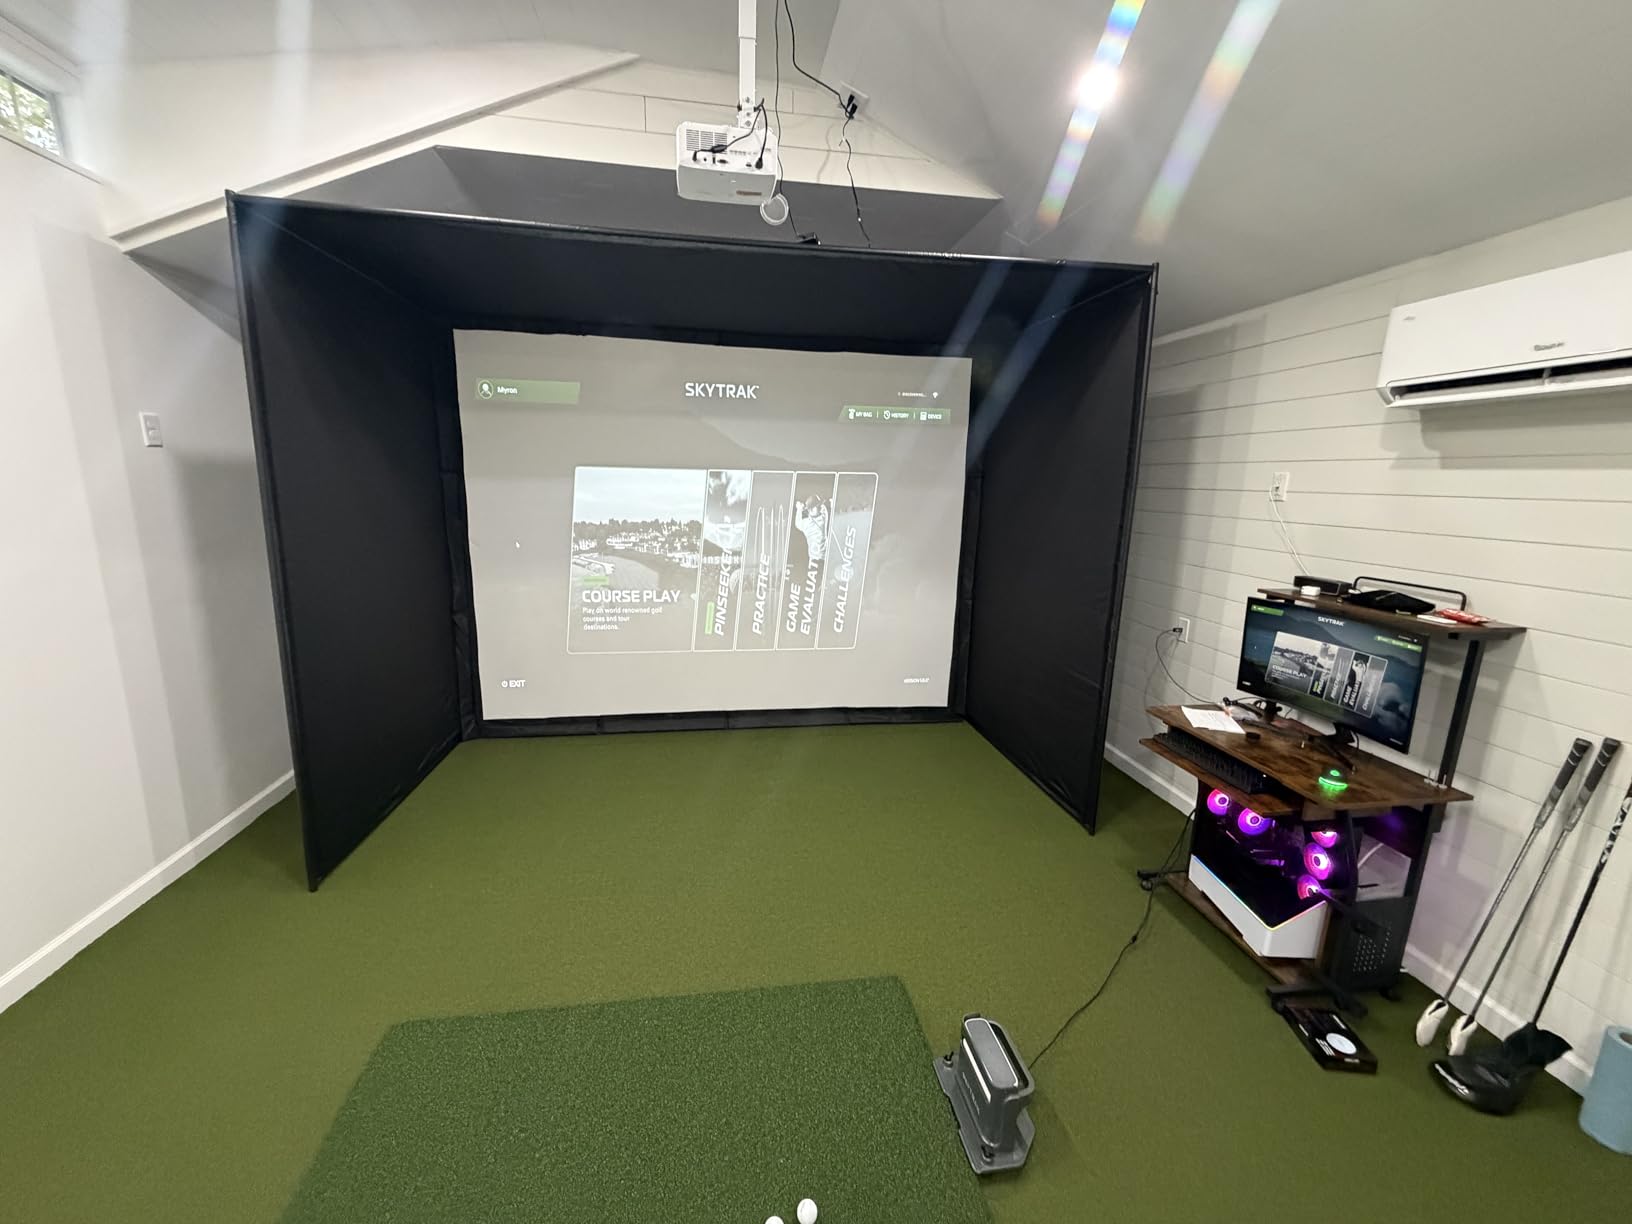
The blackout treatment uses a specialised dyeing process on the side and back panels, and owners say the difference in projected brightness versus an open net setup is obvious in a lit garage. That single feature decides whether a short-throw projector can carry a usable image.
Assembly is about an hour if you follow the numbered poles and diagrams, and support has been responsive about replacement parts rather than pushing a whole new kit.
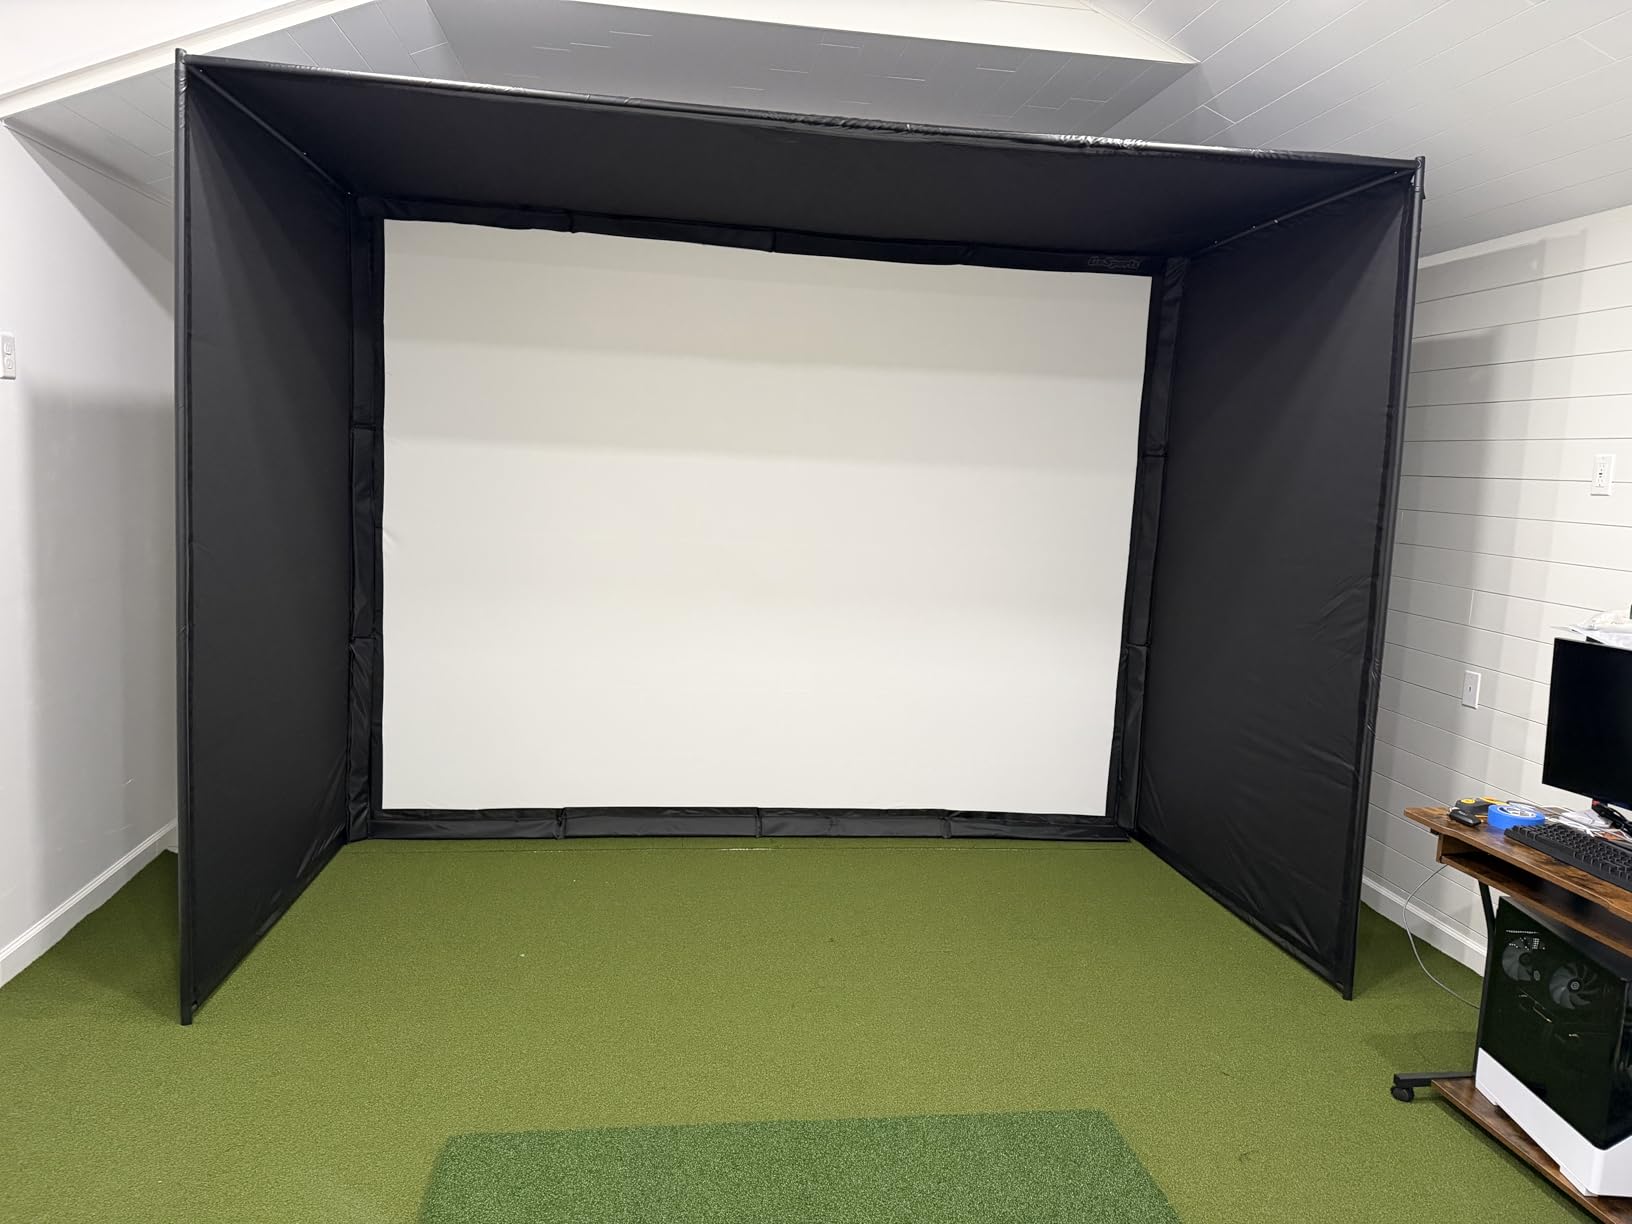
Choosing the right size
Three footprints are offered, 10 x 8 ft, 12 x 9 ft and 14 x 8 ft, and the width is where the decision lives. Ten feet is fine for a solo station in a single-car bay. Twelve feet is the practical threshold for comfortable use by two golfers of different handedness without re-anchoring every shot.
The manufacturer rates the frame material at a 200 pound breaking strength figure, which tells you it is built for anchoring rather than free-standing. Sand-bag the legs and, in our view, bolt the back corners into a wall stud where one is available.
Foam padding and the impact screen are engineered together to reduce rebound, though they do not eliminate it. That is where the missing baffles start to matter.
Where it falls short
No shank baffles are included, so wedge shots that miss low and wide travel. Side nets are sold separately and are close to mandatory in a garage with a car, a bicycle or a workbench inside the return path.
The shipped padding around the frame is thin, which means balls can come back off the pole structure rather than dropping. Adding your own foam to the lower poles is a cheap fix that most owners make within a week.
The larger sizes can droop slightly at the top after assembly and need re-tightening, and the bare frame feels flimsy until the enclosure material is fitted. Judge the build only once it is covered.
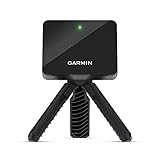
4. Garmin Approach R10: Best Budget Start for a Garage
Garmin Approach R10, Portable Golf Launch Monitor, Take Your Game Home, Indoors or to The Driving Range, Up to 10 Hours Battery Life – 010-02356-00
340 g and 1 inch thick
10 hour battery
0.9 inch display, no touchscreen
Tripod and phone mount
Pros
- Lowest entry cost of any tracking device here
- Ten hour battery moves easily between range and home
- Wide review history gives a reliable picture of reliability
- IPX7 waterproof suits indoor and outdoor use
Cons
- Needs a compatible smartphone with no onboard screen
- Simulation and dispersion features need a Garmin Golf subscription
- 0.9 inch display offers no real readout
The R10 is the most-reviewed device in this group by a wide margin, and that review history is part of the argument. When you can see thousands of owners describing the same behaviour over several years, you know what you are getting before the box arrives.
It measures club head speed within plus or minus 3 mph, ball speed within plus or minus 1 mph, launch angle within a degree and launch direction within a degree. That is enough resolution to see a swing change week to week, which is the whole point of practising at home.
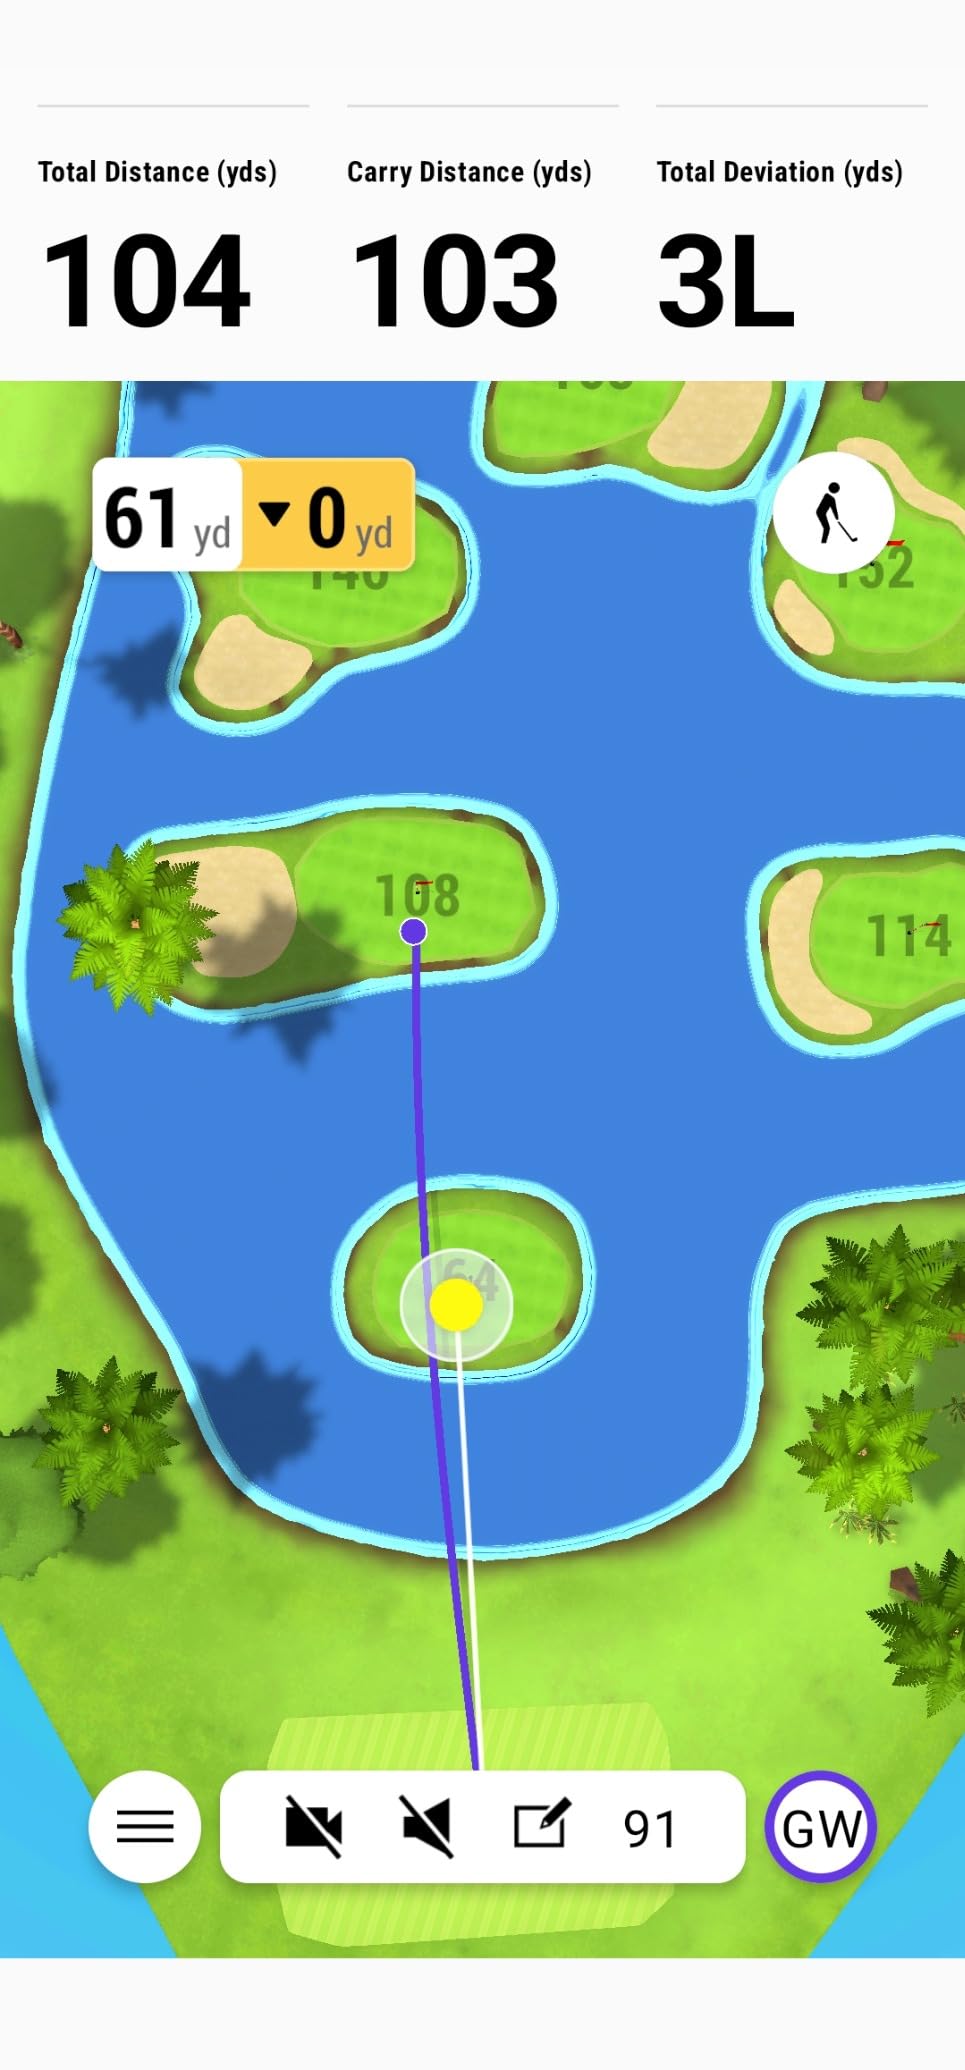
Training mode tracks statistics for each club and shows a shot dispersion chart based on estimated ball flight, and each swing records an automatic video clip with the metrics attached. Reviewing ten iron shots with the numbers beside them is where the improvement actually happens.
The ten hour battery is the practical winner here. Owners move it from a hitting bay to the driving range in the tripod and phone mount without planning around a charger, and IPX7 waterproofing means a wet morning outside is not a problem.
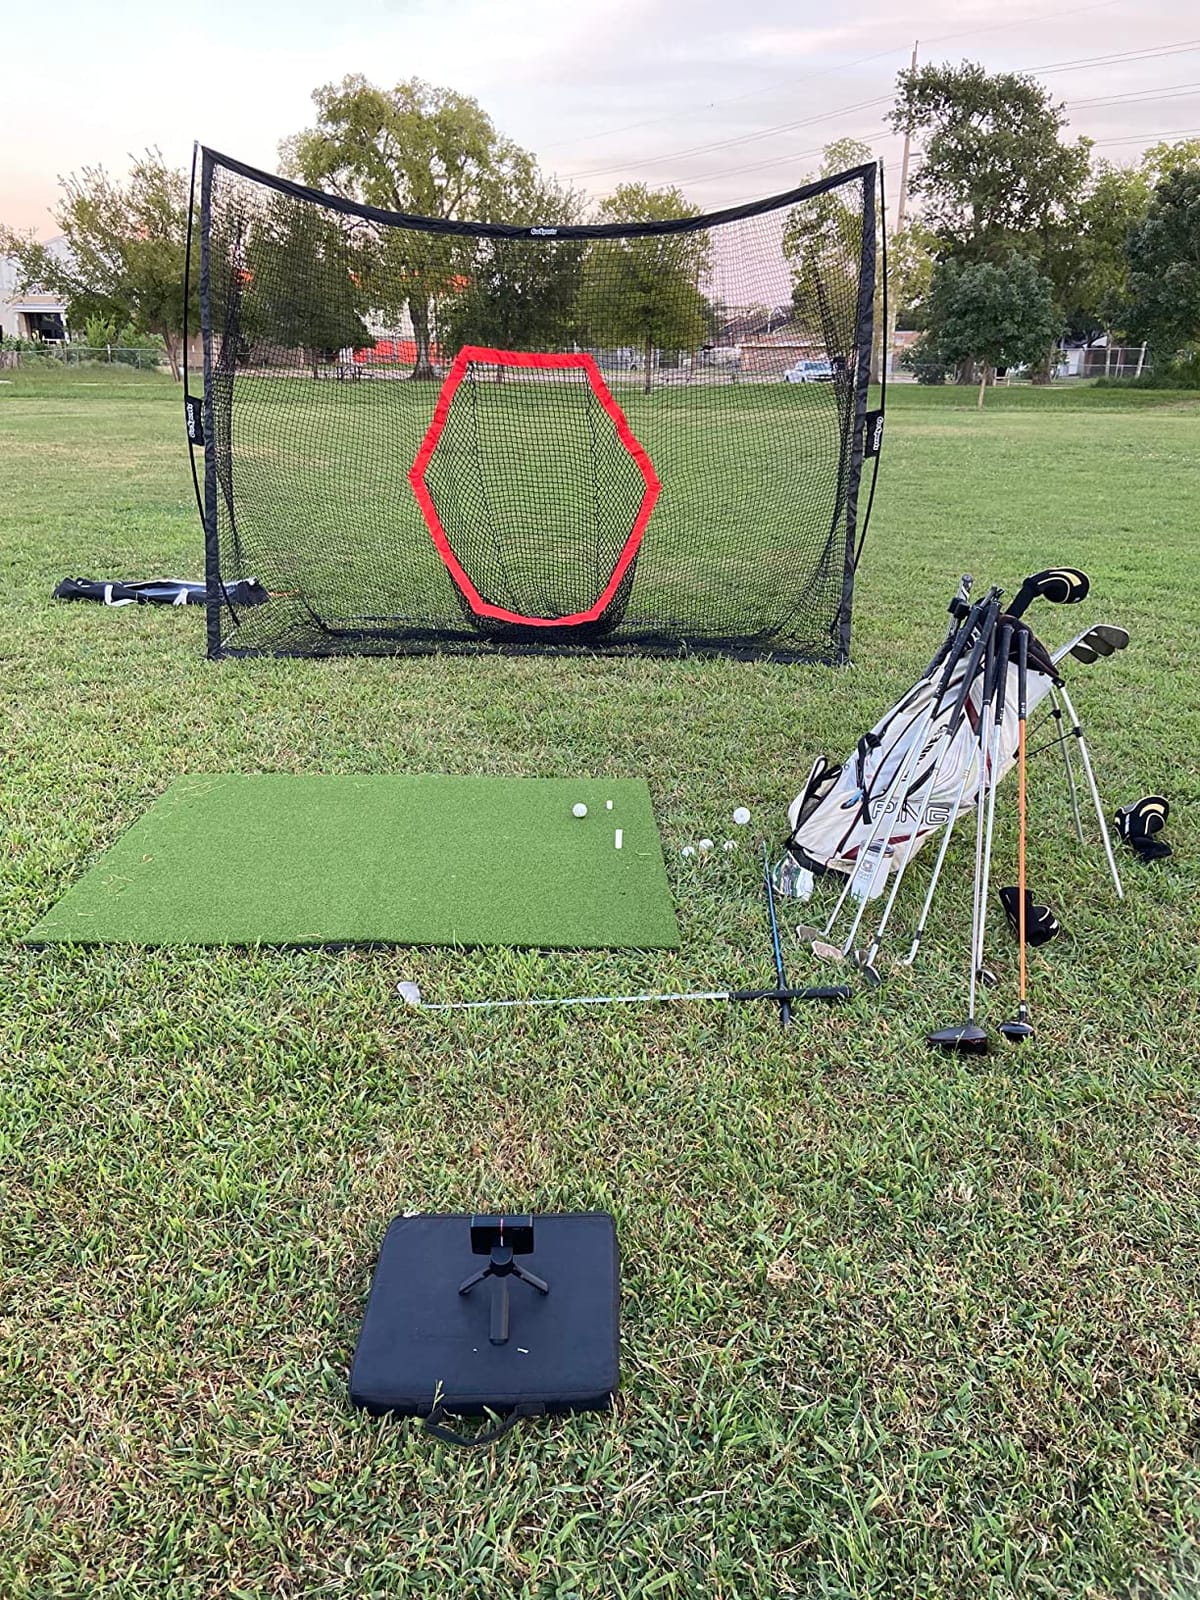
What a R10 garage setup looks like
Pair it with a net or lightweight enclosure and a mat, and you have a working practice bay rather than a simulator. Plenty of owners on r/Golfsimulator report meaningful gains from exactly this arrangement without committing to a permanent build.
It also makes a sensible first step for a garage you are not ready to convert. Add the screen, projector and enclosure a year later once you know how often you will use it, and you have not wasted a large sum on a bay you barely touched.
Virtual rounds across more than 42,000 courses and a weekly tournament are available through the Garmin Golf app with an active subscription, which is worth testing before you commit to a monthly term.
Where it falls short
There is no practical screen on the device. Everything routes to a phone, so if you want a big readout on the impact screen wall, you need an external display or a different monitor entirely.
Both the virtual course play and the shot dispersion analysis sit behind a subscription, which is the line item most buyers report not expecting when they click through to virtual golf for the first time.
It does not measure spin rate or spin axis. If your improvement plan depends on those numbers, you need to step up a class.
5. Uneekor EYE MINI CORE: Best for Read Accuracy
Uneekor EYE MINI CORE Golf Launch Monitor & Simulator, 15 Ball Data Points, Near-Zero Latency, Works with GSPro, TGC19 & E6
8.4 lb metal body
15 ball data points
Cameras plus infrared sensors
Two year warranty
Pros
- Reads virtually every shot with a near-zero misread rate
- Large ball placement area removes precision demands
- Works with any ball including foam
- All-metal build feels far more durable than plastic units
Cons
- An annual subscription is needed to connect with GSPro
- Reads putts and delicate chips only about 70 percent of the time
- Needs a gaming-class PC and will not run on a tablet
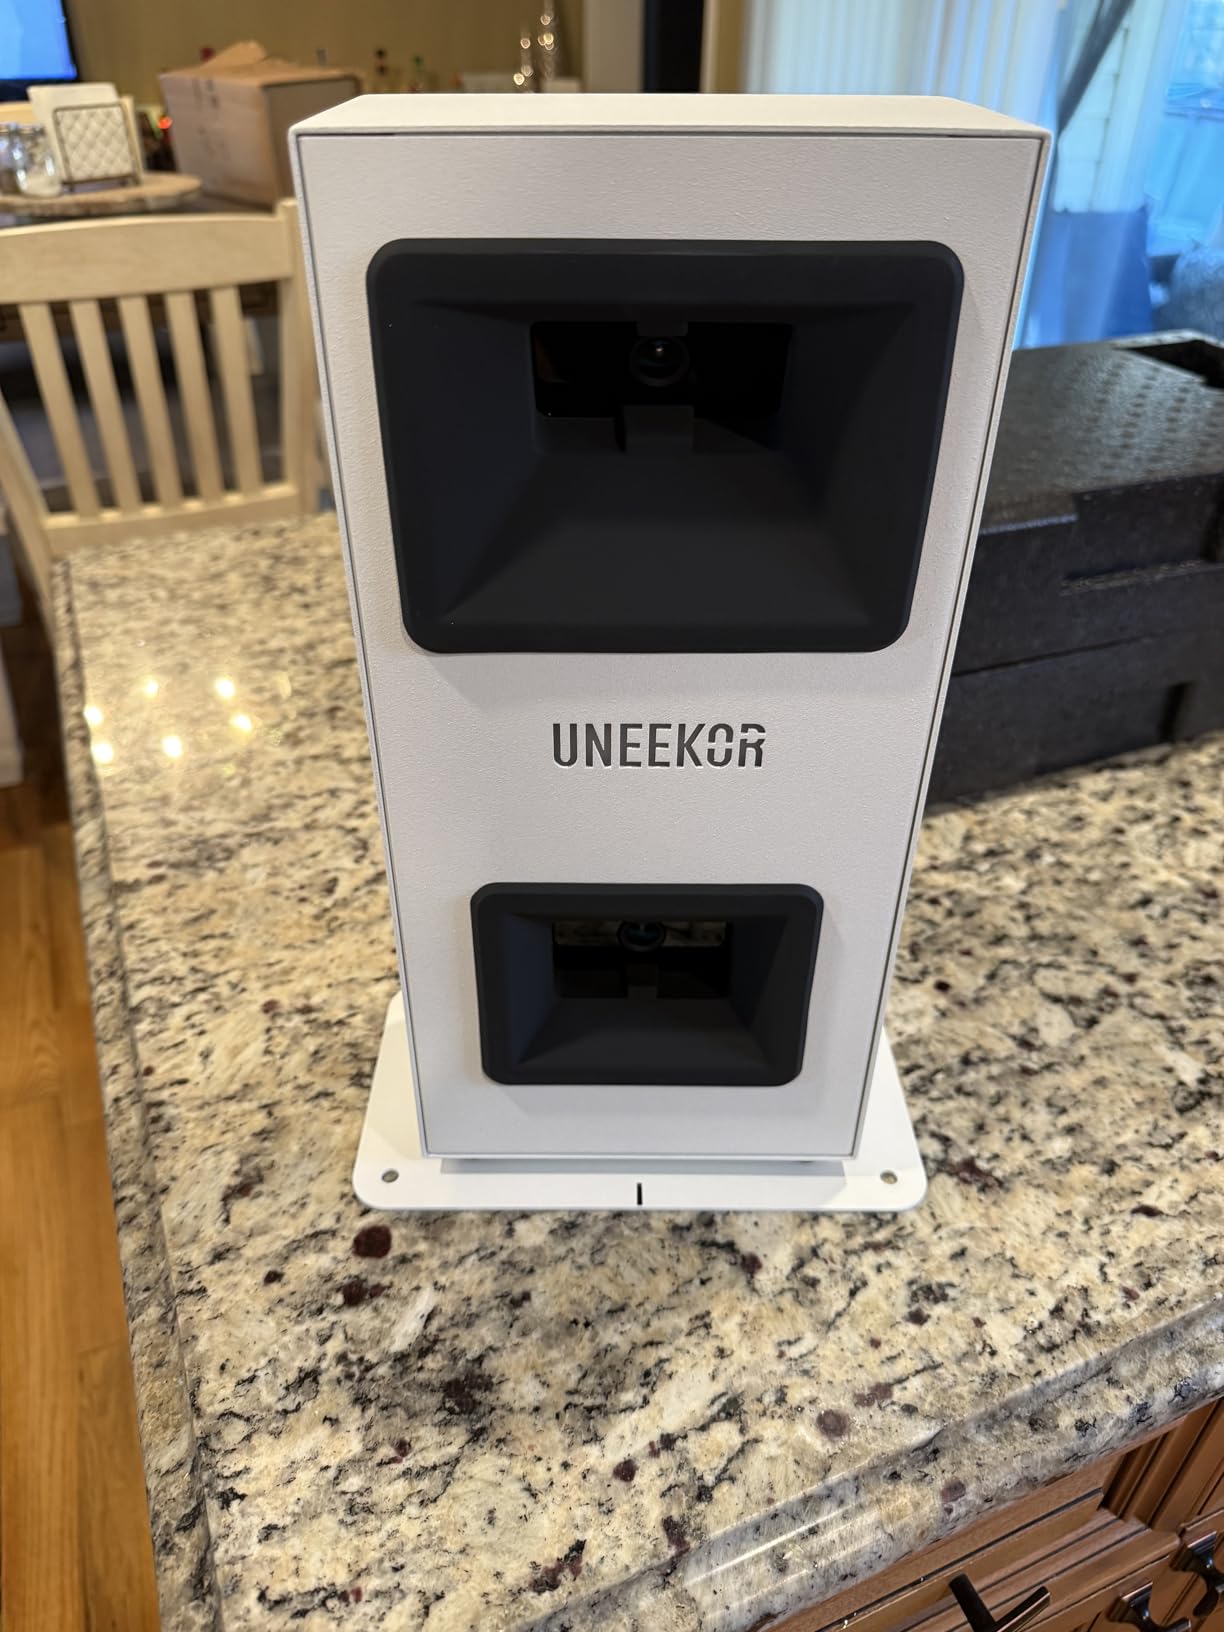
The CORE is the unit we would trust if the frustration of a missed read is what stopped you practising. Owners describe a near-zero misread rate, and in a garage that matters more than in a field, because a missed shot means stopping mid-set to check ball placement.
Dimple Optix reads any dimple pattern, so no stickers go on your balls and no ball brand gets excluded. Foam practice balls and Almost Golf balls work, which is a real advantage for a shared family garage where not everyone wants to use scuffed tour balls.
The all-metal body is the second thing you notice. At 8.4 lb and 13.9 in tall it stays put on the hitting strip, and unlike plastic-bodied units it does not feel like it could be knocked off by a mishit.
Hardwired Ethernet is an underrated garage feature. Results appear almost immediately and the connection does not depend on the wifi in a building with a metal garage door, which is where wireless units tend to drop out mid-session.
What the data gives you
VIEW software reports 15 ball data points along with session reports, and the included club sticker sheets let you build per-club averages over a month of practice. Session reports are the feature that turns practice into progress, because a single round tells you very little.
It works with GSPro, E6 Connect, TGC19 and Creative Golf 3D, so the hardware is not a closed door. A three-month trial of the Ultimate Package with GameDay 4K competitive modes is included to start.
Swing Optix and Club Optix are optional upgrades rather than standard fit, so treat the base package as a ball-data system unless you add them.
Where it falls short
The roughly annual GSPro subscription is the recurring cost buyers mention most, and it is easy to sign up for a trial and then forget it is running.
Short game reads are the weakness. Putts and delicate chips register only about 70 percent of the time, so do not plan a putting practice block around this unit.
Driving simulation needs a capable PC, an i5 or Ryzen 5 generation 12 class processor with 16GB of RAM and an RTX3060, and full simulation wants an RTX4070 with 32GB. There is no iPad path here, which rules it out for a tablet-only household.
6. SkyTrak ST MAX: Best for Guided Drills
SkyTrak ST MAX Golf Launch Monitor with 1-Year Software Included
Five pound portable body
Lithium polymer battery
14 day software trial
Pros
- Only unit here with built-in GOLFTEC Speed Training drills
- Dual Doppler radar plus photometric cameras gives detailed club and ball data
- Clean Mac compatibility without workarounds
- Modular internal build feels heavy duty
Cons
- Small hitting zone causes frequent no-reads unless placement is precise
- Subscription plans cost more than expected for the course library
- Needs about a 10 ft by 10 ft swing area
The ST MAX is the newest unit in this roundup and the only one with GOLFTEC Speed Training built in. Guided drills with swing feedback inside the hardware, rather than in an optional app, is a genuine difference for someone who wants structure rather than a number readout.
Tracking combines dual Doppler radar with photometric cameras, which is why the ball and club data comes out detailed enough to build a practice plan around. At five pounds with a lithium polymer battery it moves from the garage bay to the driveway without ceremony.
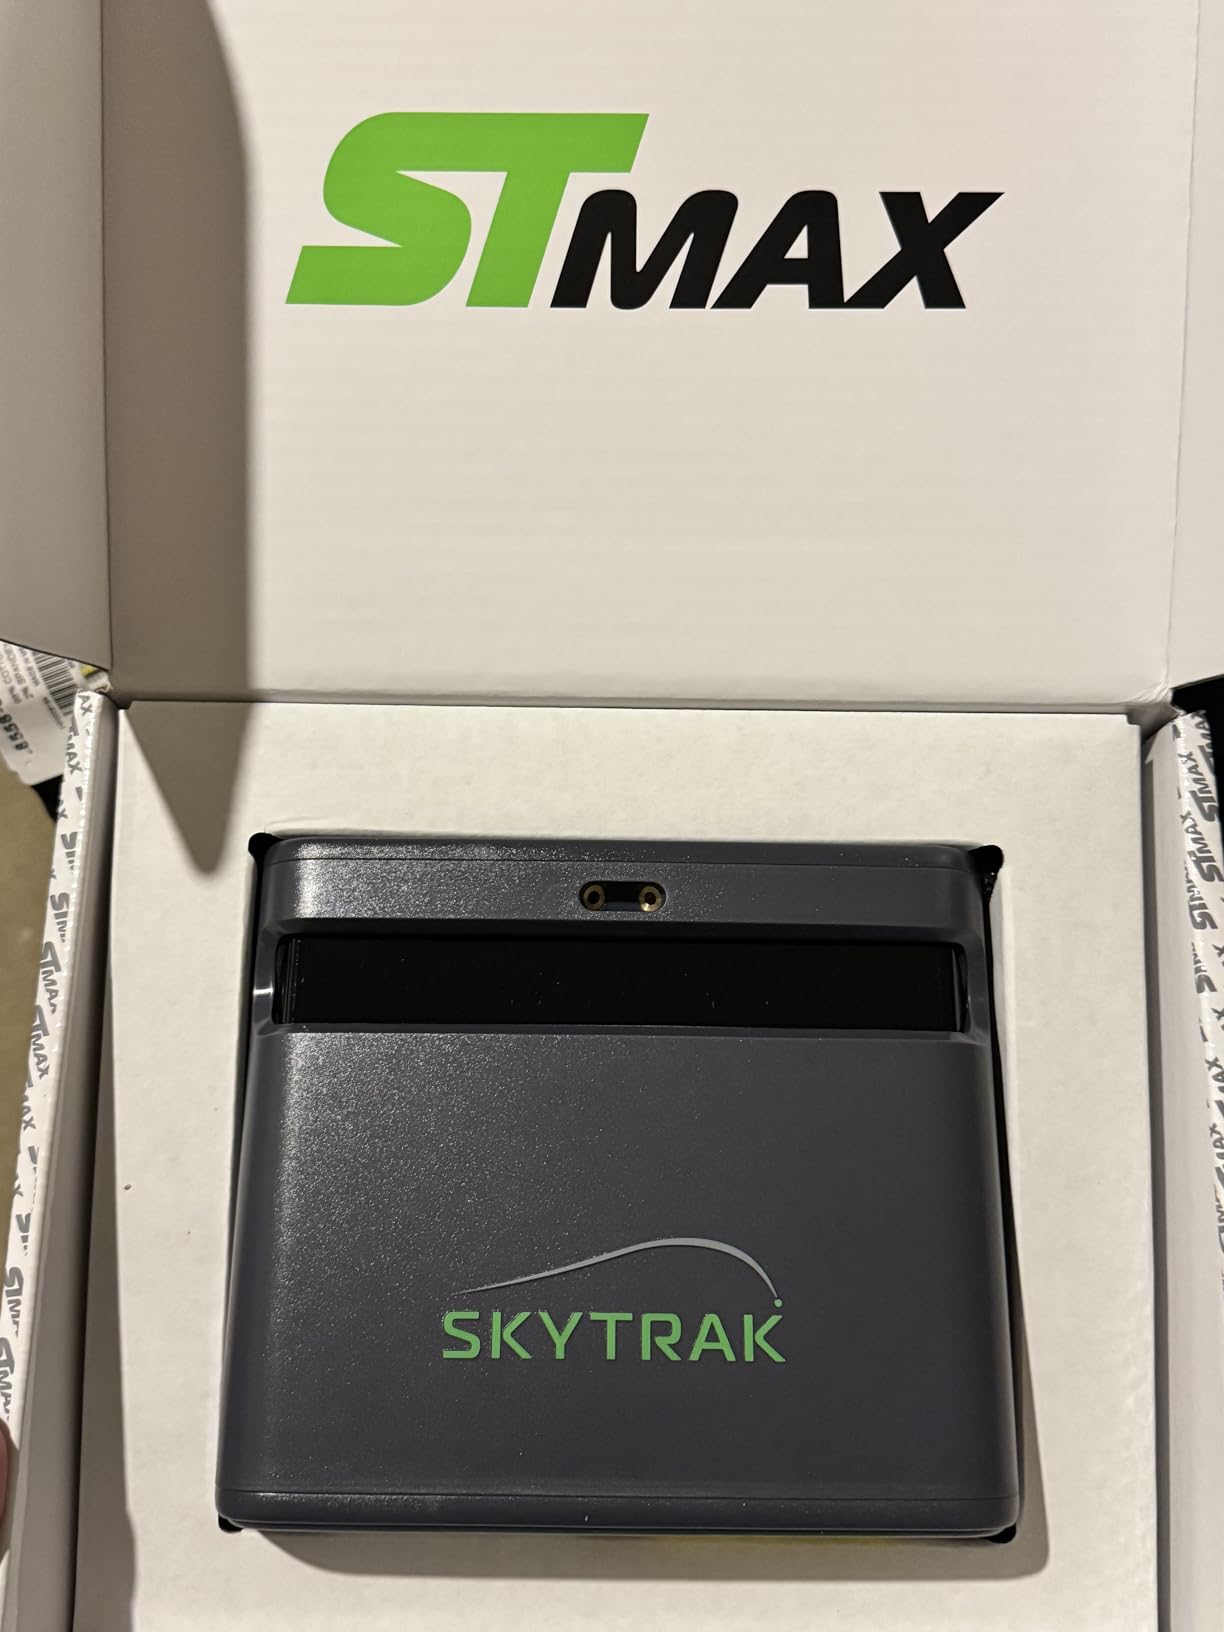
Shade from a covered patio or the side of a garage produces consistent reads, so an unheated garage in mild weather still works. That extends the season without turning the room into a climate-controlled project.
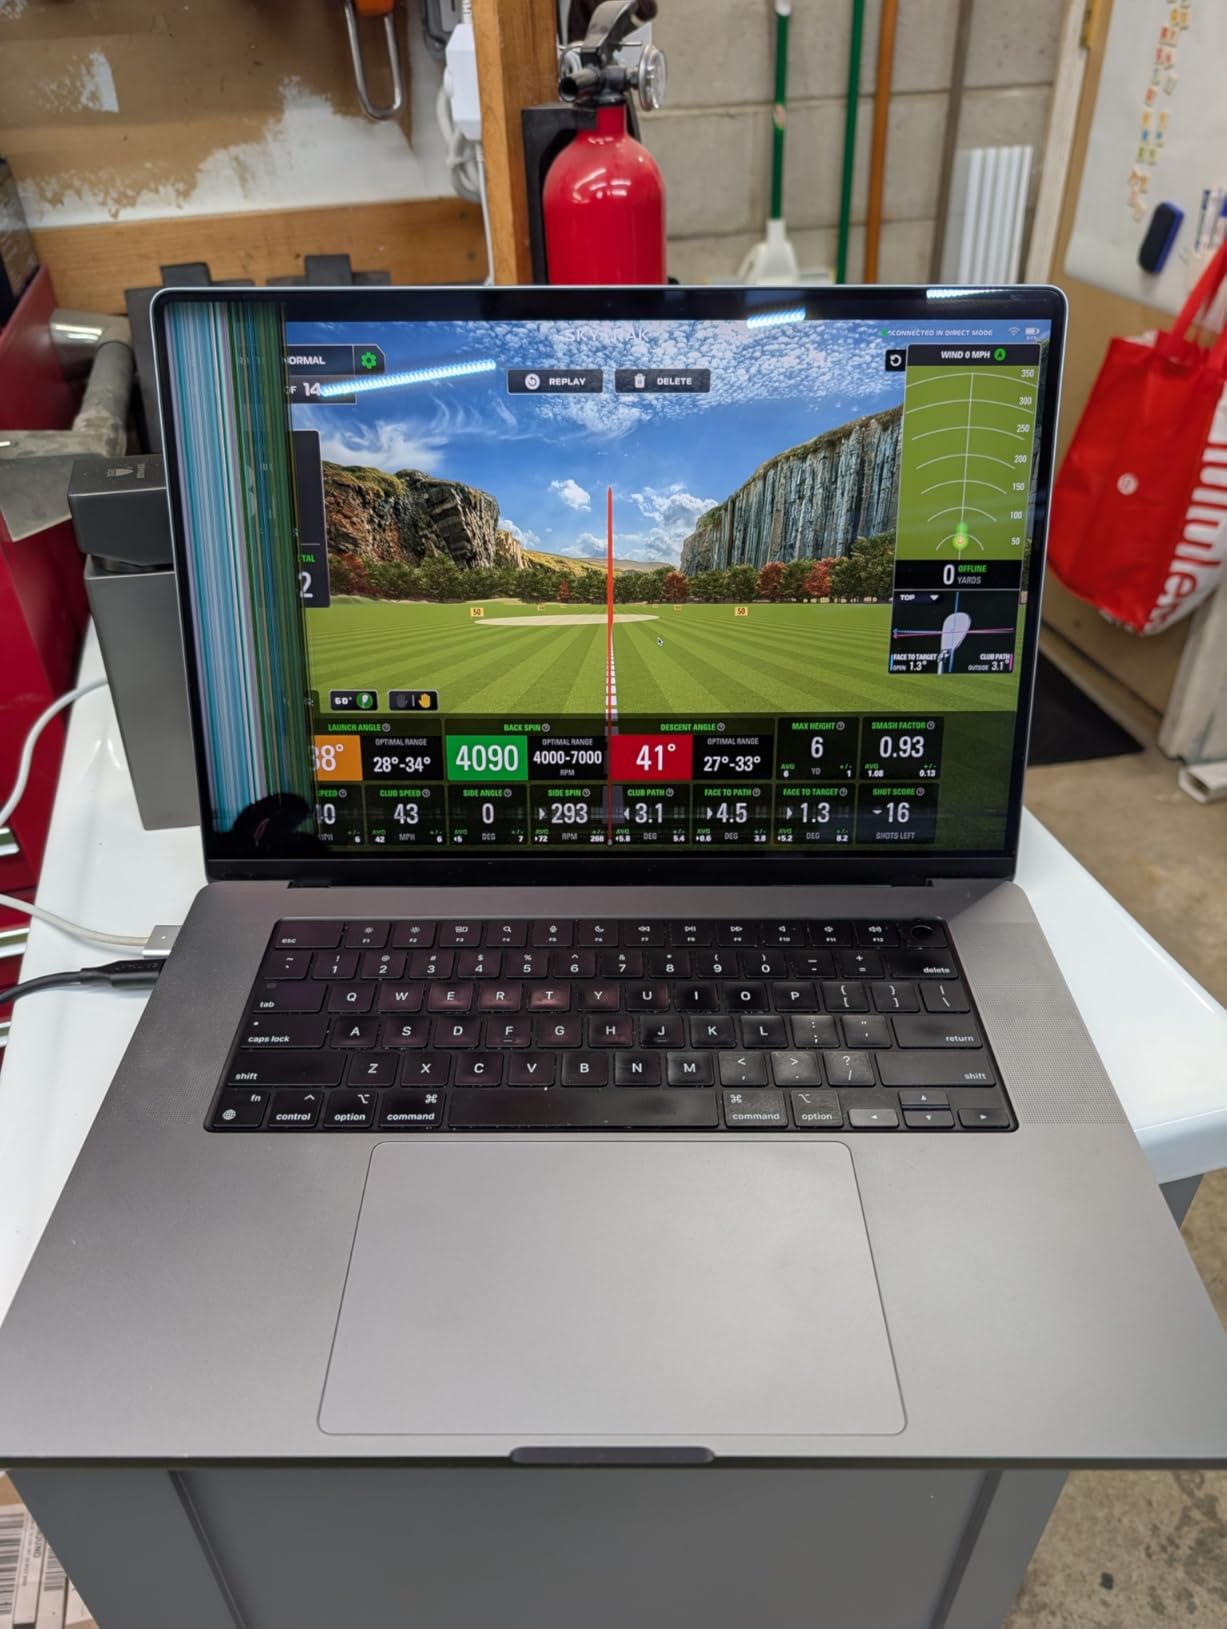
The SkyTrak software covers Skills Assessments, Bag Mapping, Wedge Matrix and Randomized Practice, and a 14 day trial is included alongside one year of software. Dual USB-C ports let you charge and transfer at the same time.
Where it fits in a garage
The swing area requirement is about 10 ft by 10 ft, which is a real constraint in a single-car bay with a car in it. Plan the footprint before the purchase, not after, because this unit wants the ball placed deliberately rather than anywhere on the mat.
Mac compatibility works cleanly, which is rarer than it should be in this category and removes the usual workaround loop of adapters and third-party drivers.
Pair it with a mid-size blackout cage and the Skills Assessments become a genuine monthly test rather than an occasional novelty.
Where it falls short
The small hitting zone produces frequent no-reads unless the ball is placed precisely. In a garage with a mat that slides, that becomes an annoyance rather than a skill test.
Driver distance reads run about 20 to 30 yards short for some users, so treat the numbers as a relative trend across a session rather than an absolute distance claim.
Subscription plans are expensive and basic course access is thin, software can freeze mid-round in USB mode and needs a power cycle, and Mac users may hit USB connection failures and need the wifi direct route instead.
7. Rapsodo MLM2PRO: Best for Club Path Data
Rapsodo MLM2PRO Mobile Launch Monitor Golf Simulator | 3 Chrome Tour Balls
16 ounce body
3 inch touchscreen
15 metrics per shot
Three balls and tripod included
Pros
- Club path is a differentiating metric rarely seen at this level
- Three Chrome Soft X balls included so it works out of the box
- Tripod notches hold a tablet securely
- Reported data lands close to commercial hardware
Cons
- Shared wifi connectivity can be unstable
- An iPhone shows only three metrics at a time
- Paid membership needed for most simulation features
Club path is the metric that makes this one interesting. It tells you whether the club is moving left, right or straight at impact, which is the difference between a slice and a push, and very few monitors at this weight class report it.
The tracking is a combination of Doppler radar and a dual camera system, capturing 15 metrics including spin rate, spin axis, carry distance, club speed, club path and launch angle. Owners report the numbers landing within a few percent of far more expensive commercial units.
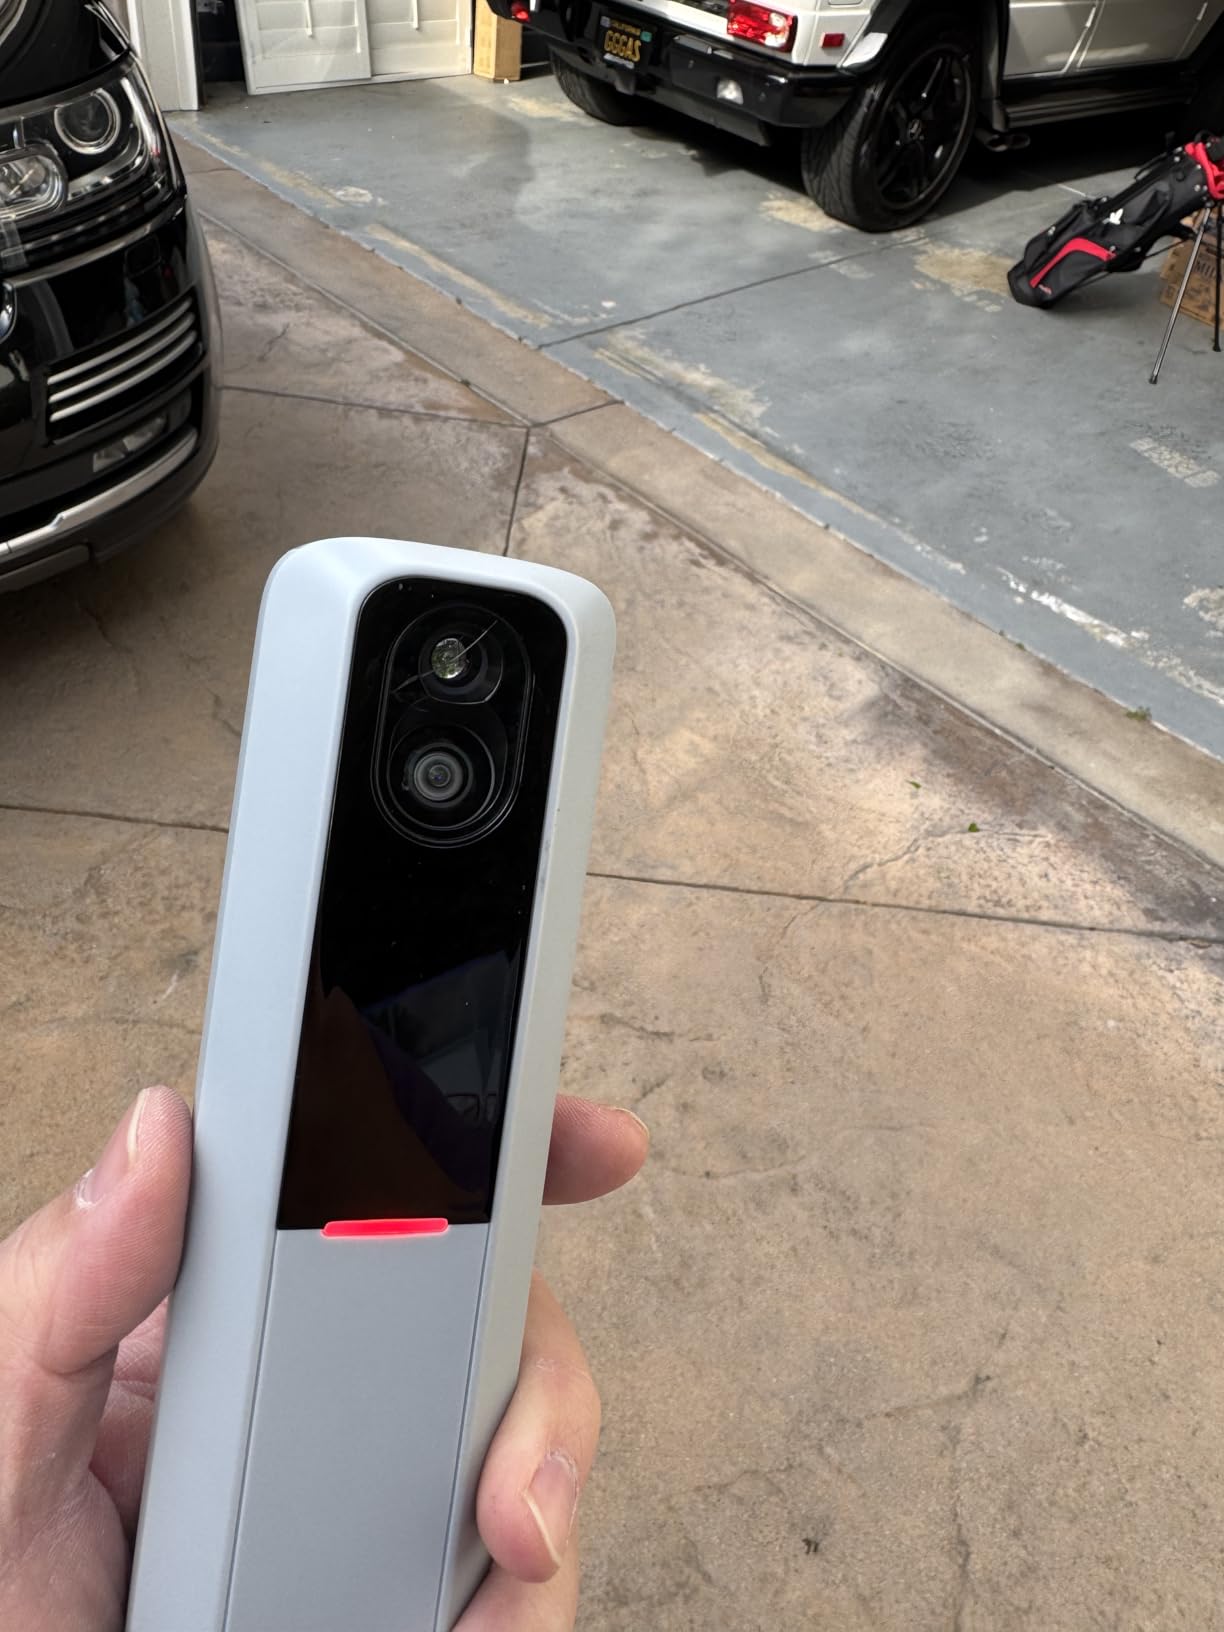
Three Callaway RPT Chrome Soft X balls are in the box, so the unit works immediately without a separate purchase. The 3 inch touchscreen at 1280 x 800 makes the device readable standing up, which matters more than it sounds in a cold garage in January.
It works as a range monitor and as an at-home simulator, and the Combine practice mode gives a structured way to work through a set rather than alternating aimlessly.
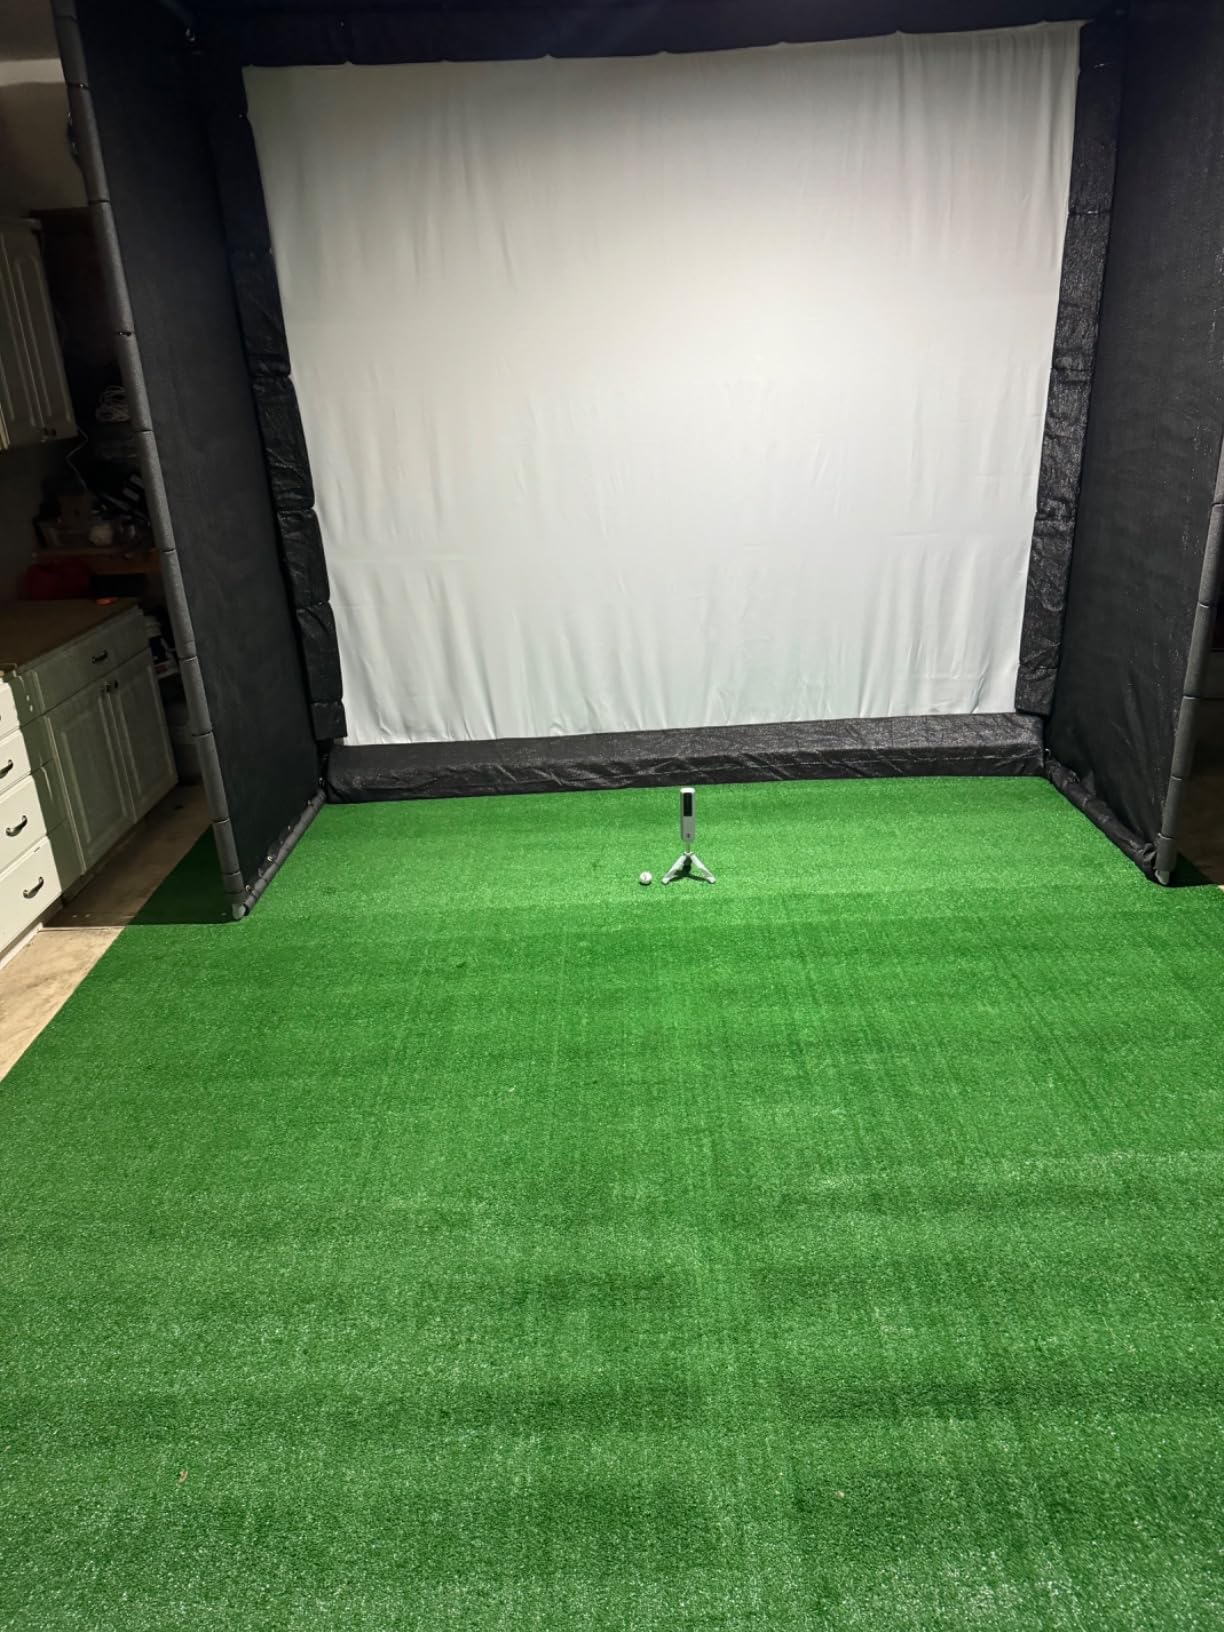
Club path in practice
Path data paired with a launch direction reading tells you the shape of your miss, not just the distance. A curving path with a closing face is a different fix from a straight path with a open face, and seeing both numbers together shortens the diagnosis.
Slow-motion impact video from any angle is one of the better coaching tools in the class, because most golfers cannot see what the club is actually doing through the ball.
A 45 day premium trial unlocks simulated courses, third-party app integration, target range and impact vision, with access to more than 30,000 home simulator courses on a premium membership.
Where it falls short
Shared wifi connectivity is the top complaint, with several owners reporting mid-round disconnects and needing a direct wifi workaround. Run it hardwired where you can.
An iPhone shows only three metrics at a time while a tablet shows six, so bring a larger screen if you want the full data set visible.
A paid membership gates most simulation features and the cost has kept rising, and the bundled premium balls wear out quickly as their spin patterns get damaged, which quietly changes your data over time.
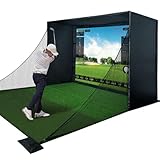
8. Durbles Enclosure Kit 10 x 8 ft: Best for Quiet Hitting
Golf Simulator Enclosure Kit with Premium HD Impact Screen, Full Safety Padding & Blackout Curtain, Home Golf Sim Setup Compatible with Launch Monitors, Indoor Cage Net Golfing Accessories (10 x 8 ft)
33.88 kg steel frame kit
Triple-layer impact screen
Full-coverage foam padding
Pros
- Triple-layer screen is thick and spongy and mutes ball sound
- Padded poles throughout cut ricochet sharply
- Blackout top darkens the screen under room lighting
- Assembly took one owner about 1.5 hours
Cons
- Instructions assume ceilings above 9.9 ft
- Two numbered poles arrive without foam sleeves
- No width tolerance so it must be trimmed for smaller rooms
Noise is the reason to pick this kit. The triple-layer commercial impact screen absorbs shock and damps sound, and owners consistently describe it as sounding and looking far more premium than a single-layer projection surface.
If your garage shares a wall with a bedroom or a neighbour complains, the ball sound is usually the first thing they hear. Padding is full-coverage across the structure, and the poles ship with foam padding already fitted, which is why ricochet is lower than most kits at this level.
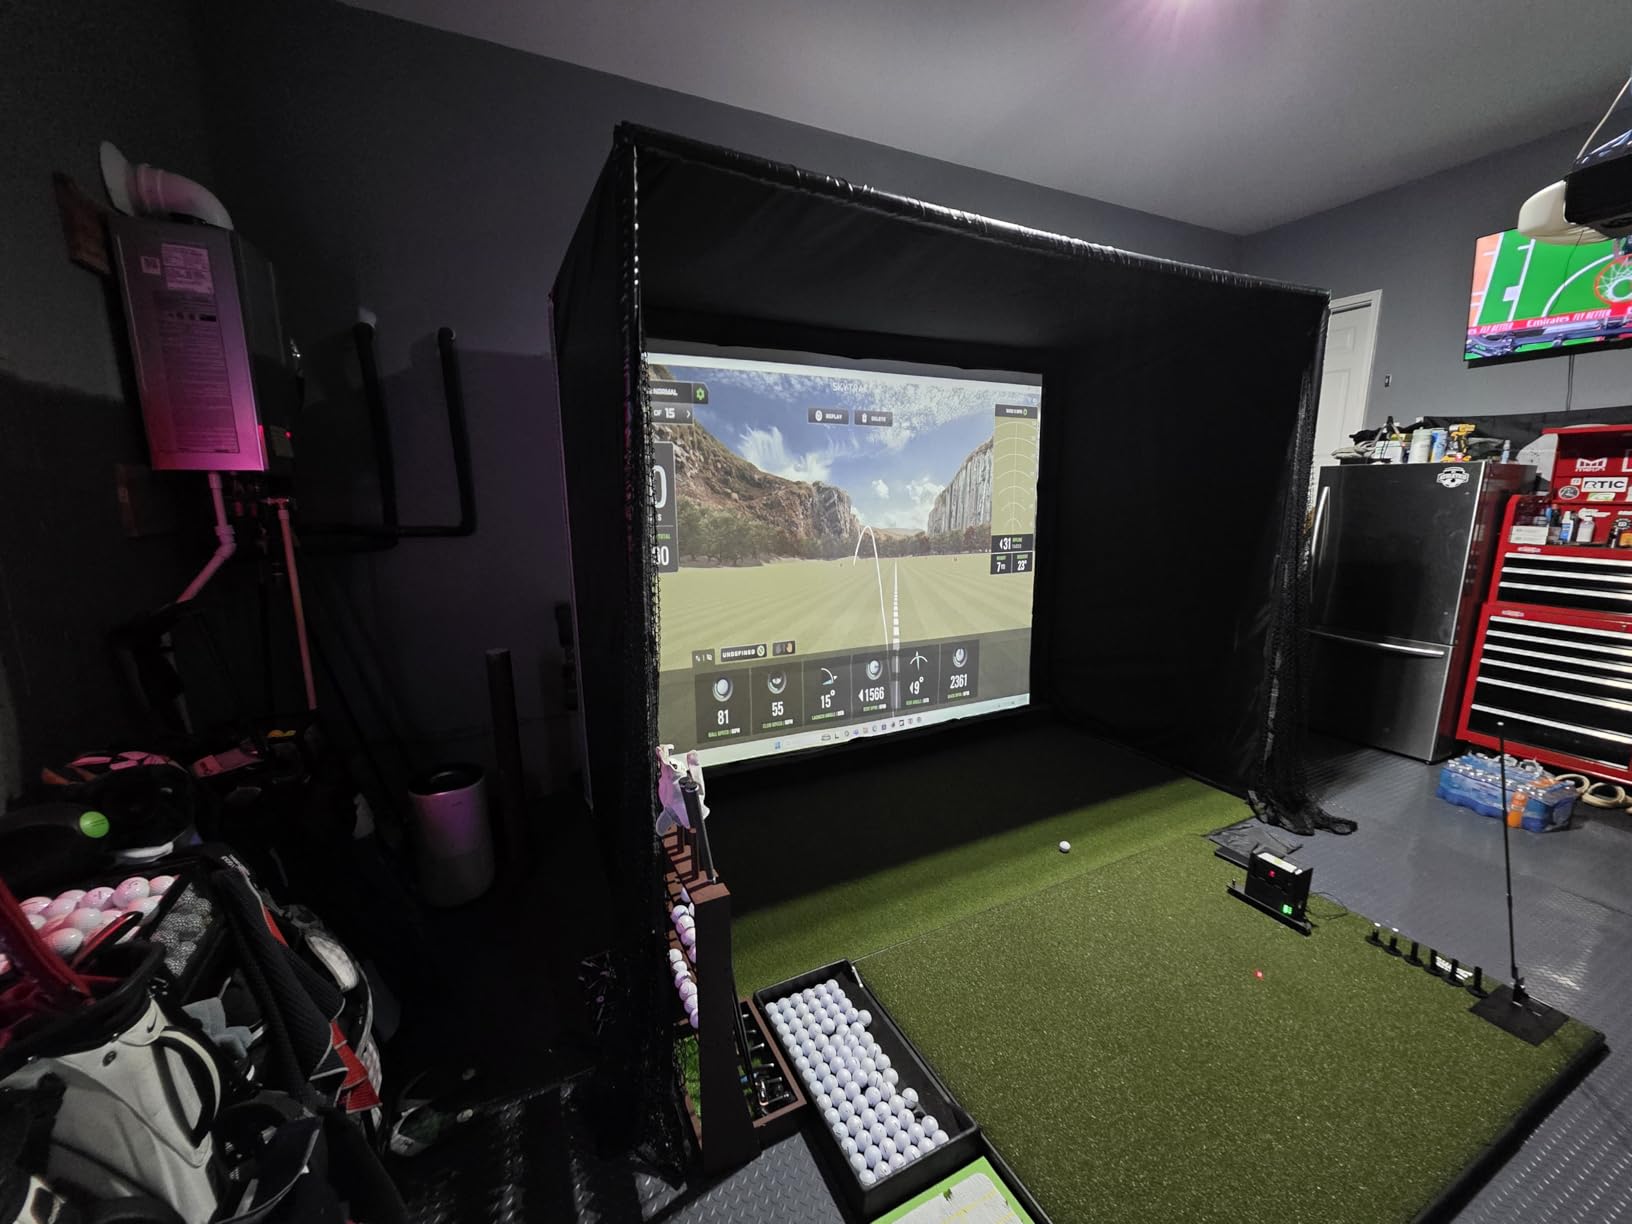
The blackout curtain over the steel frame darkens the screen under overhead room lighting, so you do not need perfect darkness to see a projected image. That makes it a good companion to a mid-range projector.
Balls tend to drop straight down off the screen rather than returning toward the hitter, which is exactly what you want when a partner is standing beside the mat.
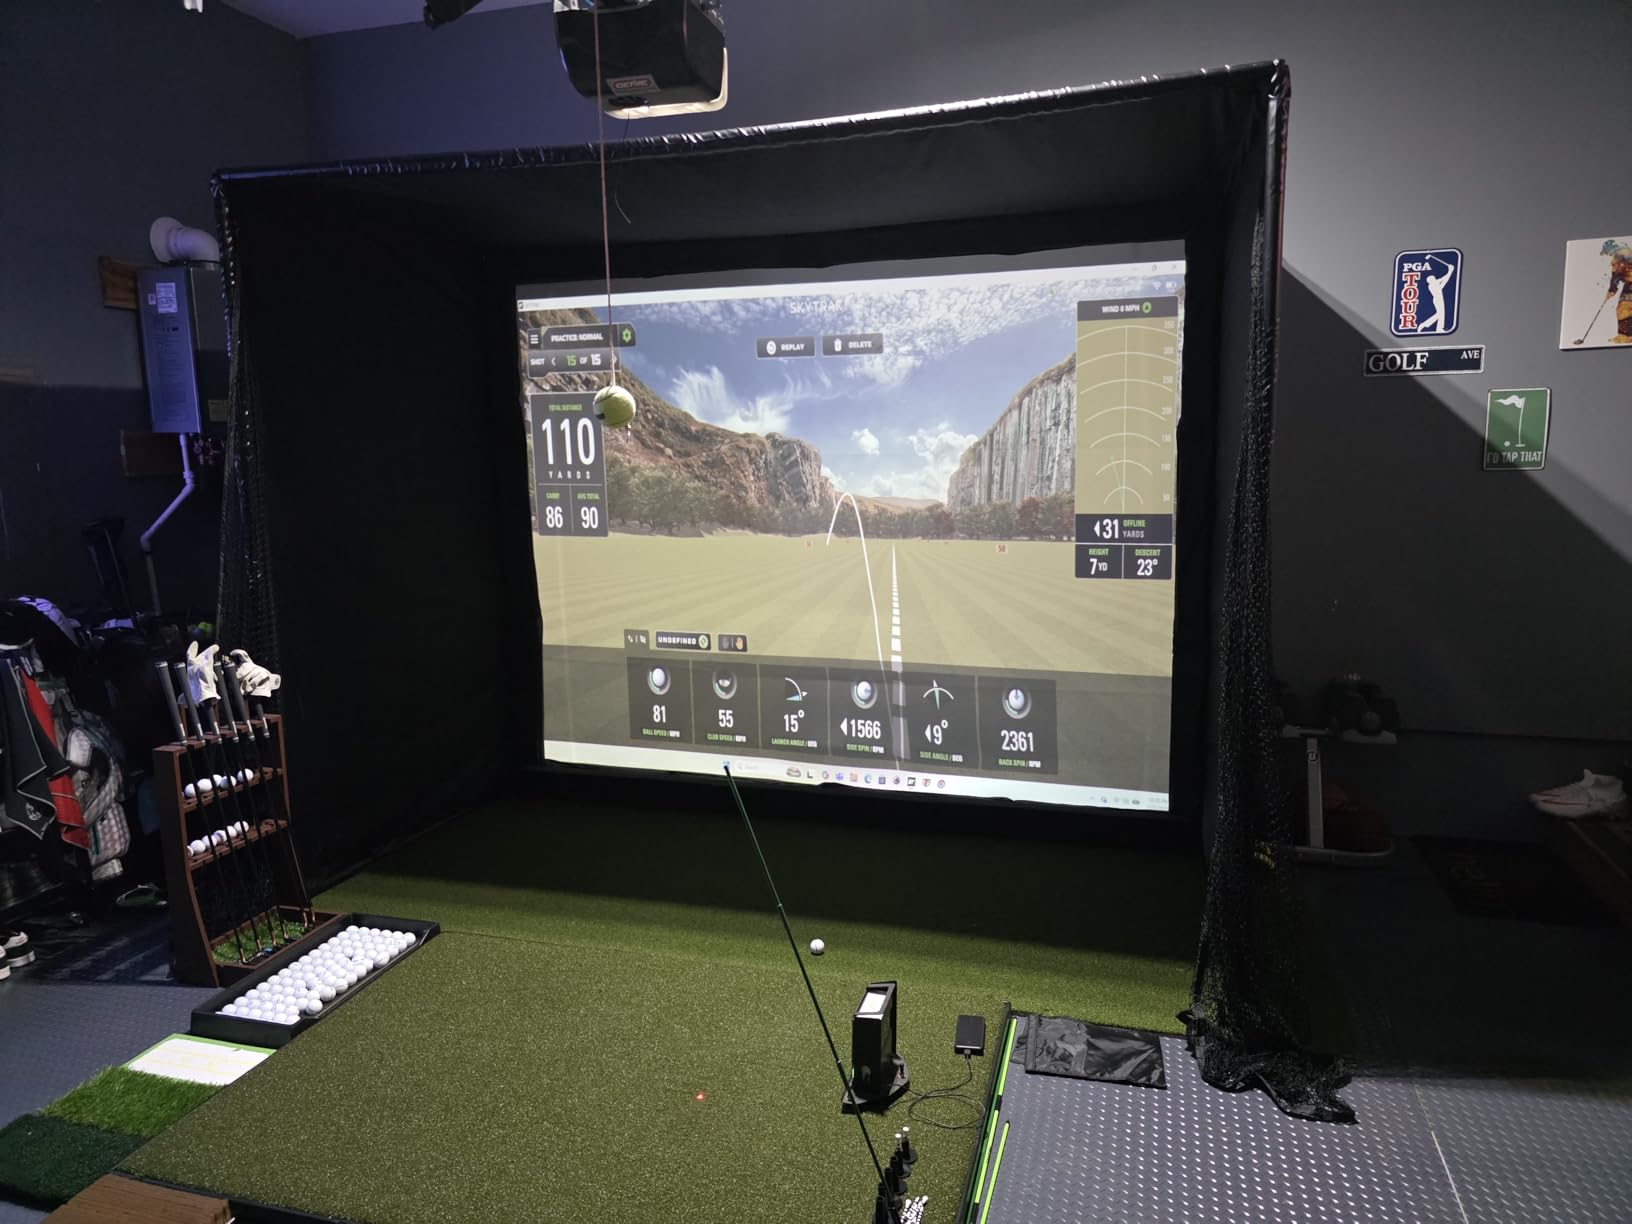
Fitting it to your bay
Two sizes are offered, 8.4 x 8.4 ft and 10 x 8 ft, and the smaller one is the honest answer for a narrow bay or a garage wall that is not quite 10 ft across.
There is no width tolerance. In a room under 10 ft the frame must be trimmed to fit, and one owner finished that job within the roughly 1.5 hour build time. Measure twice.
It works with most launch monitor systems and projectors, so you can pair it with any of the monitoring options in this list.
Where it falls short
The instructions assume ceilings above 9.9 ft and leave the orientation of the panels to the buyer, which is unhelpful in a garage with a lower ceiling or an unusual wall.
Two of the numbered poles arrived without the foam sleeves the others include, so check the parts against the diagram before you start rather than discovering it at the end.
Some bounce-back remains off the impact screen, one reviewer reported the top crossbar bending after someone grabbed a pole, and the 33.88 kg kit is not a one-person lift without the second person.
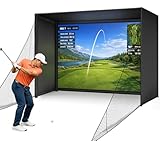
9. Diandian Enclosure Kit 10 x 8 x 5 ft: Best for Fast Assembly
Diandian Golf Simulator Enclosure Kit 10 x 8 ft with 4K-Ready Impact Screen
75 lb, 120 x 96 in footprint
Carbon steel tube frame
600D Oxford blackout cover
Pros
- Genuine 600D Oxford fabric that looks better and hits quieter
- Mesh screen backing dampens impact noise noticeably
- Click-lock poles assemble in roughly 30 to 45 minutes with no tools
- Interior foam reduces ricochet better than most kits at this level
Cons
- Some boxes arrive with no printed instructions
- Supplied bungee cords can wrinkle the screen by pulling too tight
- No projector mount or sand bags included
The fabric is the story here. One-piece 600D Oxford cloth wraps the top, sides and back with no light-leak gaps, which is a step up from the thin tarp material most kits in this class use, and owners say it looks and sounds noticeably better.
Assembly is genuinely fast. Spring-button click-lock poles go together in roughly 30 to 45 minutes with no tools at all, and at 75 lb the unit is light enough to slide across a carpeted room by yourself.
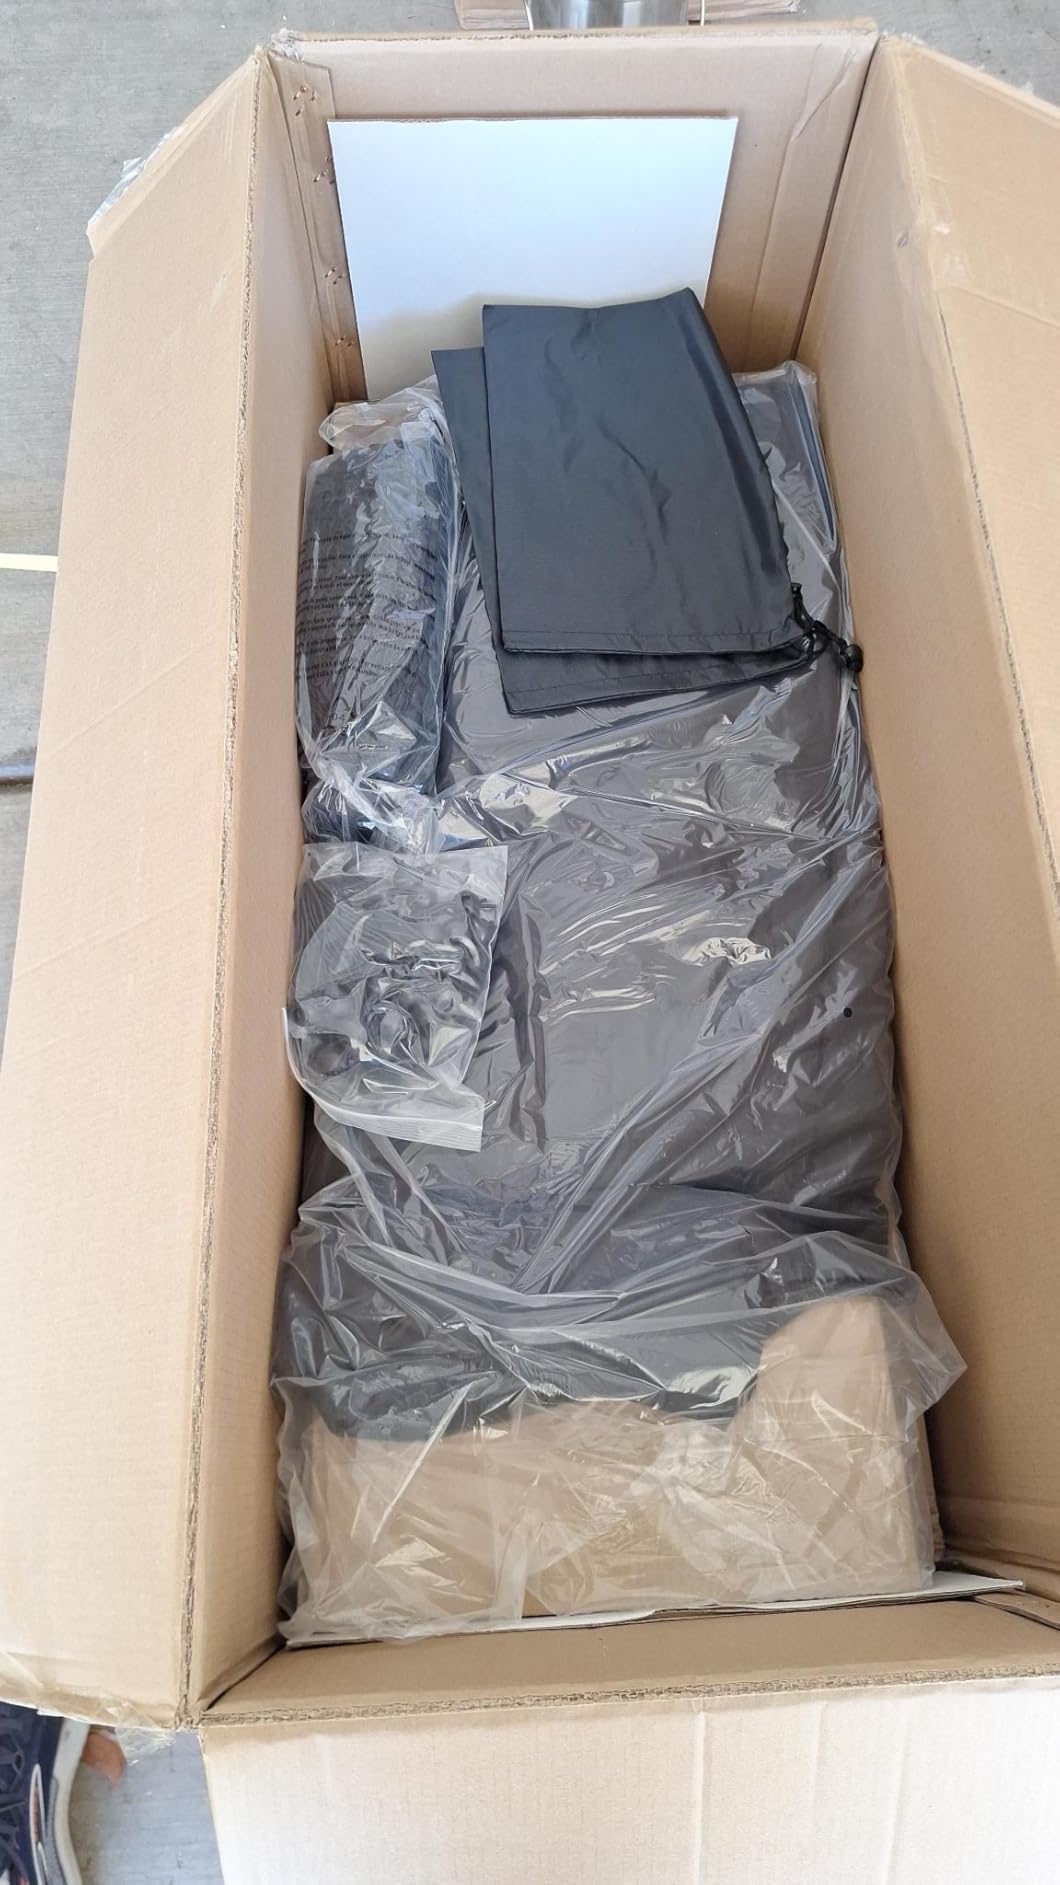
The dual-layer 4K-ready impact screen has a reinforced rear impact-absorbing layer and a matte, easy-to-clean surface. Foam edge padding runs along the frame areas that actually cause ricochets, which is a more thoughtful layout than padding only at the corners.
It is compatible with popular launch monitors, projectors and simulator software, so you are not locked into one brand of anything else in the build.
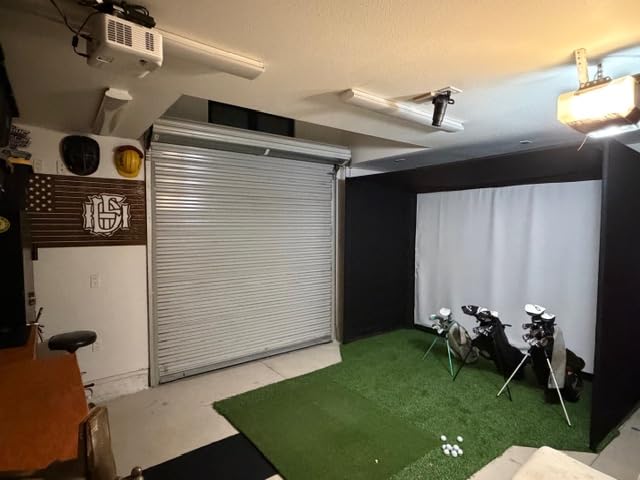
Where the design helps
Foam edge padding plus heavy-duty safety side nets handle the shots that escape a screen, and the reinforced bottom and side stitching on the Velcro attachment addresses the seam that usually fails first.
A 14 x 8.5 ft version exists for a wider bay, and the manufacturer recommends a 9 ft minimum ceiling height, which lines up with the obstruction rule we use throughout this guide.
The blackout wrap is the practical win. Even with the garage door open and the overhead light on, a projector image stays readable, which shortens the season you can practise in.
Where it falls short
Some boxes arrive with no printed instructions and the assembly depends on the linked video, so have a phone on a stand before you start.
The supplied bungee cords can pull the screen too tight and wrinkle it, and screen wrinkles are common out of the box and need steaming or ironing before you project.
No projector mount or sand bags are included, unlike some competing kits, and one reviewer reported bottom screen stitching tearing within weeks. Check the seam early.
10. Uneekor EYE MINI LITE: Best for Multi-Software Setups
Uneekor Eye MINI LITE Indoor Golf Launch Monitor & Simulator 19 Precision Metrics, Near-Zero Latency, Works with GSPro, TGC19, E6, AI Trainer Compatible, Easy Setup, PC/Laptop Required
19 real-time metrics
Ethernet and USB connectivity
FHD 1080p projector output
Pros
- Nineteen metrics is the widest data set among enclosed units here
- Near-zero latency makes on-screen ball flight feel immediate
- Works with GSPro
- E6 Connect and TGC19 so you are not locked in
- Ethernet design keeps results stable in a fixed indoor bay
Cons
- Needs a gaming-class PC with an RTX4070 and dual displays
- GSPro and E6 Connect both require paid subscriptions
- Club stickers and a tweezers tool add fiddly setup steps
Software flexibility is the reason to consider this one. It runs GSPro, E6 Connect, TGC19 and Creative Golf 3D, and 19 real-time metrics with 100 session reports in VIEW is the deepest data set among the enclosed monitors in this roundup.
Tracking combines Dimple Optix and Club Optix high-speed cameras with infrared sensors for near-zero latency, so the ball flight on the projected image arrives when the swing does. Latency you can feel turns a simulator into a video game.
Ethernet is hardwired, and in a garage with a metal door that is a reliability decision rather than a preference. The unit includes a power adapter, club stickers, an Ethernet cable, a USB-to-LAN adapter and tweezers for applying the stickers.
Running the software
VIEW needs an i5 generation 12 or Ryzen 5 class processor with 16GB of RAM, a 256GB SSD and an RTX3060 6GB. Simulation with AI Trainer features wants an i7 or Ryzen 7 class processor with 32GB of RAM and an RTX4070 16GB.
A three-month trial of the Ultimate Package covers REFINE+ with 20 courses and the GameDay 4K competitive modes. Those competitive modes require a second display, so plan the desk as well as the bay.
AI Trainer feedback comes through the separately sold Swing Optix add-on, and it is the reason the LITE sits above the CORE on data depth.
Where it falls short
The PC requirement is the biggest barrier. A gaming-class machine with an RTX4070 and two displays is a real cost on top of the hardware, and it rules out a tablet-only setup entirely.
GSPro and E6 Connect both need paid subscriptions, so two ongoing line items sit behind the hardware.
This listing carries the lowest review count of the group, so long-term reliability data is thin. Apply the club stickers carefully, since the tweezers are included for a reason, and give the analysis phase a longer trial than you would with a well-reviewed unit.
Garage Golf Simulator Buying Guide: The Numbers That Decide the Build
Measure your garage correctly
Measure to the lowest overhead obstruction, not the ceiling. Garage door tracks, light fixtures, ceiling joists and the opener mechanism all hang below the drywall, and the ceiling height on the paperwork means nothing to a golfer taking a full swing. Nine feet to the lowest obstruction is the absolute floor, and ten feet is where a golfer over 6 ft can hit without thinking about it.
Width is a social question as much as a spatial one. Ten feet is enough for one golfer who does not mind standing slightly off-centre. Twelve feet is the practical threshold for two golfers of different handedness sharing the bay, because below that you are re-anchoring for every shot instead of alternating stations.
Depth is where projection quality lives. Fifteen feet is workable for a full-speed driver swing with accurate tracking. At 18 to 20 ft you gain throw distance for a brighter, sharper image and swing comfort that short bays never have. Before you commit to any kit in this list, walk the bay and check the garage door clearance, because a door that cannot open fully has already ended the project.
Radar, camera, and garage lighting
Camera-based tracking cares about light. The Garmin R50 and the two Uneekor units use multi-camera or camera-plus-infrared systems, which read well indoors but can struggle in a bright bay with the door open. The SkyTrak ST MAX pairs dual Doppler radar with photometric cameras and owners report consistent reads in shade, and the R10 is radar-led and indifferent to ambient light.
Radar has its own constraint: it generally wants a clean ball and a defined hitting window. The Uneekor Dimple Optix systems read any ball pattern, which sidesteps the sticker problem that catches some setups out.
The practical answer is to treat light as a design variable rather than an afterthought. Full blackout enclosures like the GoSports, Diandian and ANYTHING SPORTS cages protect the camera’s accuracy and your projected image at the same time, which is why the enclosure decision comes before the monitor decision.
Screen, enclosure, or net
A net catches balls. An enclosure blocks light and contains stray shots. An impact screen is what you project onto, and in a home garage it is nearly always better than a net because it turns the wall into a display. The GoSports, Durbles and Diandian kits give you a rated impact screen; the ANYTHING SPORTS package adds a projector mount and side shank nets in the same box.
Look for a screen rated for the ball speed you actually generate. The GoSports screen is cited by owners at 150 mph without failure, which covers a fast amateur mishit. Triple-layer screens such as the Durbles kit damp sound as well as impact, which matters more than most buyers expect when the garage shares a wall with the house.
Check whether baffles and side nets are included. They frequently are not, and a wedge that escapes sideways is how people put a dent in drywall or a workbench.
Projector brightness and throw distance
Garages do not give you throw distance. In a 15 ft deep bay you are running a short-throw projector with a throw ratio near 1, and buying a standard long-throw unit means an image too small and too dim to enjoy. Match the projector to the screen width rather than the other way round.
Brightness is the other half. Around 3,500 lumens is the practical minimum in a garage, and 4,000 or more gives you a usable image with the overhead light on and the door cracked for air. A blackout enclosure improves this more than a more expensive projector does.
Run the image from your launch monitor over HDMI where the unit supports it, as the Garmin R50 does, and you have one screen showing the course and a readout in the same frame.
Mat, computer and the recurring cost
Use commercial turf on a rubber base at least 1.5 in thick, and avoid the thin foam mats sold in big-box stores. Your launch monitor reads the club and ball correctly through a proper mat and gives you inconsistent contact through a thin one, and the turf is what keeps your garage floor from looking like a range.
The computer is a component people forget. The Uneekor units need a gaming-class PC for full simulation, and any screen-based setup needs a machine that can drive a projector at the resolution of the screen. Budget for it as a line item, not an afterthought.
Ongoing software is the hidden cost most buyers meet for the first time when they try virtual golf. The Garmin R10 gates dispersion and virtual rounds behind a Garmin Golf subscription, the R50 gates Home Tee Hero, the MLM2PRO needs a membership for most simulation features, and both Uneekor units need a GSPro subscription to connect. Annual terms have risen across this category. Read the renewal terms before the trial ends, not after.
Retractable, multi-use bays and when to wait
The most repeated request in garage golf forums is a setup that can be taken down so the car stays. Retractable or pop-up builds exist for exactly that, and the compromise is honest: you accept a smaller screen, a floor-mounted monitor and a setup time of roughly 20 to 25 minutes rather than a permanent room. Owners who value keeping the car describe that trade as entirely worth it.
Two-car conversions give you a bay to give up and a much easier install, because you are not working around a parked car and a tool chest. The single-car garage is where the ceiling, width and storage planning actually matter.
There are good reasons to wait. If you cannot commit 15 ft of depth, if the lowest obstruction is under 9 ft, if your climate makes a cold bay unusable for six months of the year, or if the car is non-negotiable, start with a portable monitor and a net and add the screen later. Insulating walls and ceiling and adding a ductless mini-split are the upgrades that decide whether a garage simulator gets used in February.
Frequently Asked Questions
Can you put a golf simulator in the garage?
Yes, provided you clear at least 9 ft to the lowest overhead obstruction rather than the ceiling itself, 10 to 12 ft of width and 15 ft of depth. Measure to garage door tracks, light fixtures and ceiling joists. Then you need five components: an impact screen or net, an enclosure, a launch monitor, a short-throw projector and a hitting mat.
How much space do I need for a golf simulator in a garage?
Height: 9 ft minimum to the lowest overhead obstruction, and 10 ft for golfers over 6 ft. Width: 10 ft for a single hitting station, 12 ft for two golfers of different handedness. Depth: 15 ft is the workable floor for full-speed driver swings, while 18 to 20 ft gives noticeably better projection and swing comfort.
What is the best indoor golf net or enclosure for a garage?
For a projected setup, an enclosure beats a net because it blocks light and contains stray shots. The GoSports 10 x 8 ft kit is the value pick with a commercial-grade impact screen rated to 150 mph ball speed. The ANYTHING SPORTS package bundles a blackout cage, projector mount and side shank nets. For the smallest footprints, a pop-up net with a portable launch monitor preserves the car.
How much does a garage golf simulator cost?
It depends entirely on which layers you buy. A portable monitor plus a mat and a net is a practice bay at the entry level. Adding a blackout enclosure pushes into the mid range. Launch monitors with three-camera or multi-camera tracking and 15 to 19 data points sit at the premium end, and premium systems add a gaming-class PC. Ongoing software subscriptions are a separate recurring line item.
Is a garage golf simulator worth it?
For golfers who practise in cold or hot climates, yes. Owners consistently report that the room and its dimensions decide long-term satisfaction more than the electronics. The strongest returns come from a solid enclosure and mat with a mid-tier monitor, not from the most expensive hardware. Start with a portable monitor and a net if you are unsure how often you will use the bay.
Do I need a projector for a golf simulator?
No. A launch monitor with a screen works on its own and many run on a phone or tablet. A projector is what turns the impact screen into a course view, and it is worth adding later rather than at the start. If you do add one, match it to the screen width, use a short-throw unit in a 15 ft bay, and target 3,500 lumens minimum and 4,000 or more ideally.
Conclusion: the Best Golf Simulators for Garages in 2026
The best golf simulators for garages come down to one decision: how much room you are willing to give up. If you can dedicate a bay, the ANYTHING SPORTS complete enclosure package is where we would start, because the projector mount, blackout cage and side nets mean you are not making those calls twice.
For the best value build, pair the GoSports 10 x 8 ft kit with the Garmin R10 and add a mat, and you have a working practice bay for very little. Step up to the Garmin R50 when you want a large readout and face-to-path data on the screen wall.
For pure accuracy, the Uneekor EYE MINI CORE reads nearly every shot and works with any ball. For software flexibility, the EYE MINI LITE reaches GSPro, E6 Connect and TGC19 if your PC can run them.
Whatever you choose, measure to the lowest obstruction first, check the garage door clearance, and buy the enclosure before the electronics. Run the numbers, then pick a setup and make the room work.