
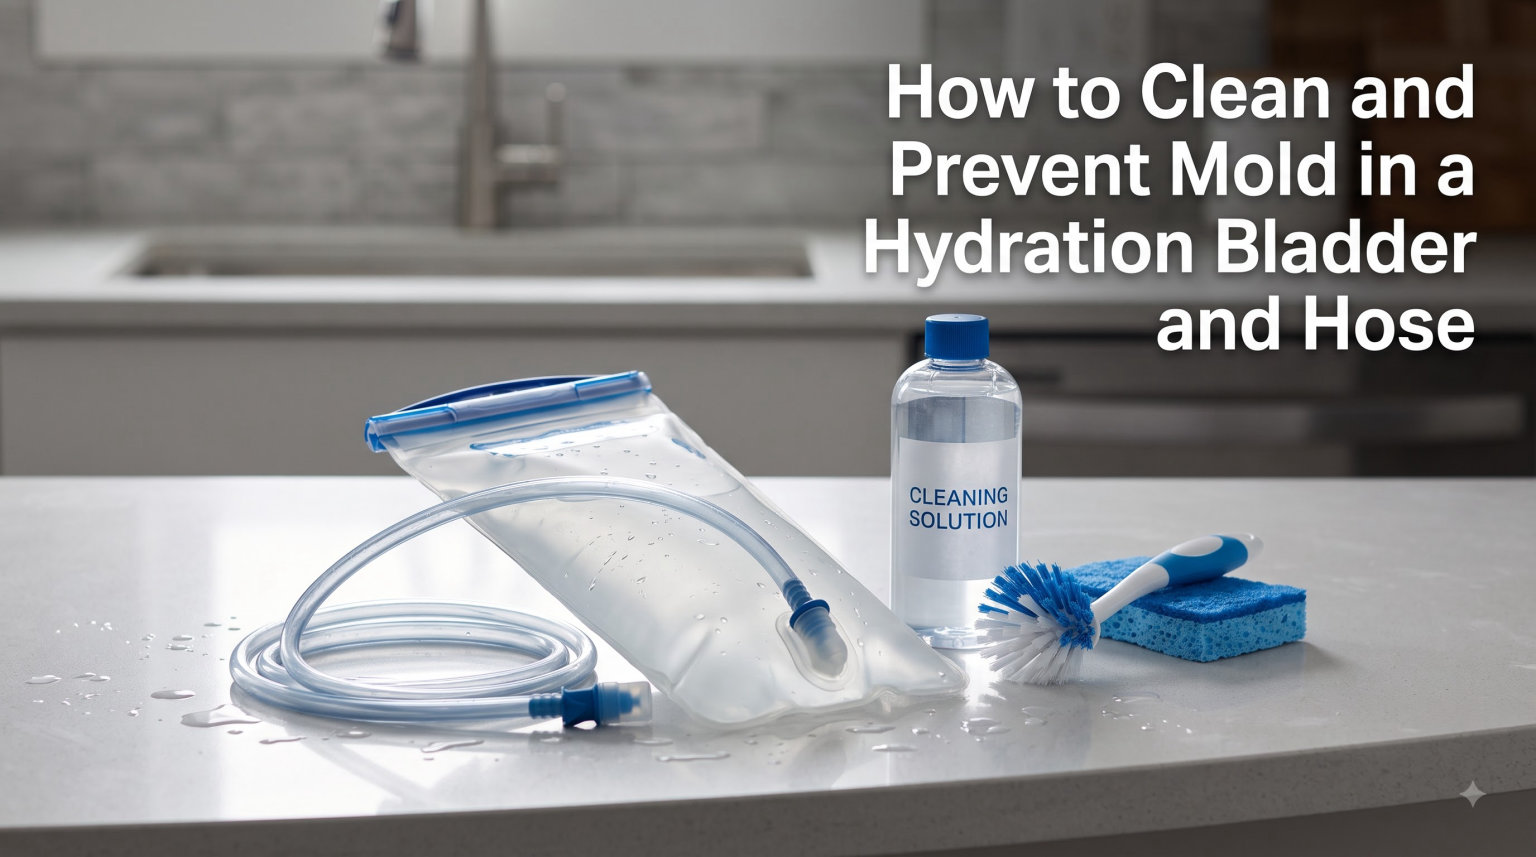
If you have ever opened a hydration pack after a long week and been hit with a sour, swampy smell, you already know why this topic matters. Learning how to clean and prevent mold in a hydration bladder and hose is the difference between a refreshing sip on the trail and a mouthful of bacteria. I have cleaned dozens of bladders over the years, and the routine below is what actually works in real life, not just in a lab.
This guide walks you through the exact steps our team uses to rescue a funky reservoir, kill active mold, and keep it from coming back. You will also get a simple weekly, monthly, and seasonal schedule so you never have to deal with black spots again.
Table of Contents
Why Mold Grows in Hydration Bladders and Hoses
Mold grows in hydration bladders and hoses because the inside of a reservoir is a dark, moist, sealed environment, which is exactly what mold spores need to colonize. Add even a trace of sugar from a sports drink and you have a perfect petri dish. Hikers and bikers often discover growth after storing a damp bladder in a closet or a hot car trunk.
Three factors drive almost every case I have seen:
Moisture trapped inside the bladder, hose, or bite valve after use.
Residue from sports drinks, juice, or electrolyte mixes feeding the spores.
Heat and darkness, especially in a car trunk, garage, or stuff sack.
According to forums like r/hiking and r/CampingandHiking, the most common moment people discover mold is right after a trip when they toss the pack into a closet without drying it. A single night of damp storage can be enough to start a colony.
How to Clean and Prevent Mold in a Hydration Bladder and Hose: Step-by-Step
To clean and prevent mold in a hydration bladder and hose, you empty the bladder, scrub all parts with a brush kit, soak in a cleaning solution for 15 to 30 minutes, rinse thoroughly, and air dry completely before storage. The whole process takes 30 to 45 minutes of active time and a few hours of drying. I run this routine once a month during peak hiking season and it has never let me down.
Step 1: Empty and Rinse the System
Drain any leftover liquid and rinse the bladder with hot running water. Unclip the hose from the bladder and pull the bite valve out of the mouthpiece. A quick warm rinse removes loose debris before you commit to a full scrub.
Step 2: Add Hot Water and Cleaning Solution
Fill the bladder halfway with warm water around 110 degrees Fahrenheit. Hot enough to help break down residue, but cool enough to avoid warping the TPU or plastic. Add your cleaner of choice: a teaspoon of baking soda plus a teaspoon of white vinegar, one cleaning tablet, or a few drops of mild dish soap.
Step 3: Scrub With a Brush Kit
Use a reservoir brush on the bladder walls, a long flexible hose brush for the tube, and a small bite valve brush for the mouthpiece. Run the hose brush through the tube three to four times to dislodge biofilm. I learned this trick from a Singletracks article and it is the only reliable way to get the inside of the hose actually clean.
Step 4: Soak for 15 to 30 Minutes
Let the cleaning solution sit inside the closed bladder. For light maintenance, 15 minutes is plenty. For visible mold, give it a full 30 minutes, then scrub again. The soak loosens anything your brush missed.
Step 5: Rinse Twice With Clean Water
Drain the dirty solution and rinse the bladder, hose, and bite valve twice with fresh water. Any leftover soap or baking soda will leave a taste and can feed the next round of bacteria. Run water through the hose until it runs clear and odor-free.
Step 6: Dry Completely Before Storage
Hang the bladder open over a drying rack or a wine bottle, prop the hose vertically so water drains out, and leave the bite valve off the mouthpiece. Air circulation is the only thing that prevents mold from coming back. Skipping this step is the number one reason people end up cleaning the same bladder twice.
Best Cleaning Solutions for Hydration Bladders
The best cleaning solutions for hydration bladders are mild dish soap for routine cleaning, baking soda plus white vinegar for natural deep cleans, chlorine dioxide tablets for heavy mold, and denture cleaning tablets like Efferdent as a cheap alternative. Pick based on how dirty the bladder is and what you already have at home.
Comparison of Cleaning Methods
Dish soap and warm water — Best for weekly maintenance. Gentle, safe, no lingering taste.
Baking soda and white vinegar — Best for monthly deep cleaning. Cheap, food-safe, scrubs away residue.
Commercial cleaning tablets — Best for travel and convenience. Effervescent action reaches corners brushes miss.
Denture cleaning tablets (Efferdent) — Best budget option. Forum users report the same effectiveness as branded tabs for a fraction of the cost.
Diluted bleach solution — Best for stubborn mold. Use only 1 teaspoon per liter of water and rinse thoroughly.
Star San sanitizer — Best no-rinse option used by homebrewers. Safe for bladders and very fast.
Whatever you choose, avoid boiling water, dishwashers (unless your brand specifies it is safe), and the microwave. Heat warps the bladder, weakens seams, and can leach plastic taste into the water. Many forum users report ruined bladders after trying to sterilize them with hot water.
How to Clean the Bite Valve, Mouthpiece, and Hose
The bite valve, mouthpiece, and hose are where most mold hides because they are the hardest parts to dry. To clean them, remove the bite valve, separate it from the cap, scrub with a small brush, and run a flexible hose brush through the tube until water flows clear. Most bladders have a quick-disconnect that lets you pop the hose off for full access.
For the bite valve, soak it in the same cleaning solution you used for the bladder. Squeeze the silicone gently while it soaks to push solution through the internal slits. Some users run the bite valve through a dishwasher top rack, but I prefer hand cleaning so I do not lose the small parts.
For the hose, a flexible bottle brush is non-negotiable. According to the cleaning threads on r/hikinggear, the leading cause of stubborn hose odor is biofilm buildup that rinsing alone cannot touch. A quick brush through every month eliminates that problem entirely.
Proper Drying Techniques to Prevent Mold
Proper drying is the single most important step in prevention. Air dry the bladder on a rack or hanging over a bottle, prop the hose vertically, and leave the bite valve detached until all parts are completely dry to the touch. Even a tiny bit of moisture left inside can restart mold growth within 24 hours.
Best Drying Methods
Hanging open on a drying rack — Best general method. Lets air circulate around the bladder walls.
Over a wine or olive oil bottle — Great travel hack. The neck holds the bladder open while the wide base stabilizes it.
Reusable paper towel in the opening — Absorbs the last drops of moisture in the seams.
Freezer method for long-term storage — Outside Online popularized this. Empty, dry, then freeze the bladder in a zip bag. Cold temperatures stop mold growth between trips.
Do not store the bladder sealed inside a pack or stuff sack while it is still damp. A common forum complaint is finding a moldy reservoir after a winter because it was sealed in the backpack instead of cleaned separately.
Prevention Tips: How to Keep Your Hydration Bladder Mold-Free
To keep your hydration bladder mold-free, drain it immediately after every use, rinse with warm water, store it open in a dry place, avoid sports drinks unless you clean it right after, and freeze it between seasons. Prevention is dramatically easier than removal, and a 30-second habit after each trip saves hours of scrubbing later.
Daily and Trip Habits
Empty the bladder completely the same day you use it.
Rinse with warm water and a drop of dish soap if you used sports drinks.
Hang the bladder open and the hose vertically to air dry.
Never seal a damp bladder inside a backpack or stuff sack.
Weekly Maintenance Schedule
Once a week during active use, run a full deep clean with baking soda and vinegar, or drop in a cleaning tablet. This prevents biofilm from building up in the hose and bite valve, which is where most persistent odors start.
Monthly and Seasonal Care
Once a month, inspect the bladder, hose, and bite valve for cracks, cloudy film, or black spots. Replace any part that shows wear. Many brands sell replacement hoses and bite valves so you do not have to throw away the whole bladder. At the end of hiking season, run a full cleaning, dry everything, and freeze the bladder in a labeled zip bag for storage.
What to Do If Mold Keeps Coming Back
If mold stains remain after two cleanings, try a diluted bleach soak (1 teaspoon per liter of water) for 15 minutes, then rinse thoroughly. If the smell or stain is permanent, the issue is usually deep in the seams or in the bite valve. Replace the bite valve and run a bleach soak on the bladder. If the bladder is more than a few years old and the inside is permanently cloudy, replace it entirely. A new bladder is cheaper than a stomach bug.
Common Mistakes to Avoid
Using boiling water or the microwave to sterilize.
Leaving sports drink residue overnight.
Storing the bladder in a hot car trunk.
Forgetting to dry the hose and bite valve separately.
Sealing the bladder in a pack before it is fully dry.
FAQs
How to keep a water bladder from getting moldy?
The fastest way to keep a water bladder from getting moldy is to empty it, rinse with warm water, and air dry completely after every use. Hang the bladder open, prop the hose vertically, and leave the bite valve detached until everything is dry to the touch. For long-term storage, freeze the dry bladder in a sealed zip bag so cold temperatures stop mold growth.
How to disinfect a hydration bladder?
To disinfect a hydration bladder, fill it halfway with warm water, add a teaspoon of baking soda plus a teaspoon of white vinegar, and let it soak for 20 to 30 minutes. Scrub with a reservoir brush, run a flexible hose brush through the tube, and rinse twice with clean water. For heavy mold, use a diluted bleach solution of 1 teaspoon per liter of water, then rinse thoroughly.
How to clean a Camelbak bladder with mold?
To clean a Camelbak bladder with mold, drain the bladder, fill it halfway with warm water, add a cleaning tablet or a baking soda and vinegar mix, and let it soak for 30 minutes. Scrub the walls with a reservoir brush, run a flexible brush through the hose, soak the bite valve separately, then rinse twice and air dry completely. If black spots remain after two cleanings, replace the bite valve and hose, which are inexpensive.
Can mold grow in a Camelbak?
Yes, mold can grow in a Camelbak whenever the bladder is stored damp, sealed, or filled with sugary sports drinks. The dark, moist interior of any hydration reservoir is an ideal environment for mold spores. Regular cleaning and complete drying after every use are the only reliable ways to prevent growth.
Do water bladders get moldy?
Yes, water bladders get moldy if they are stored damp, sealed inside a pack, or used with sports drinks that leave sugary residue. Most hydration bladders will develop mold within a few days of improper storage. Drying the bladder completely between uses prevents nearly all cases.
How to clean mold out of hydration bladder hose?
To clean mold out of a hydration bladder hose, disconnect the hose from the bladder, run a flexible hose brush through it three to four times, then soak the hose in a baking soda and vinegar solution for 20 minutes. Rinse with hot water until it runs clear and odor-free. If mold persists inside the hose, replace it, since deep-seated mold in tubing is very hard to remove fully.
What kills black mold permanently?
A diluted bleach solution of 1 teaspoon per liter of water kills black mold permanently on hard surfaces like the inside of a hydration bladder. Soak for 15 minutes, scrub with a brush, then rinse thoroughly. For porous silicone parts like bite valves or hoses that keep growing mold back, replacement is the only permanent fix.
Final Thoughts
Knowing how to clean and prevent mold in a hydration bladder and hose comes down to a simple habit: empty, rinse, scrub, dry, and store. Give the bladder a full deep clean once a month, freeze it between seasons, and replace the bite valve and hose every year or two if you hike often. Your future self on a hot trail will thank you for every minute of prevention.
Pick a cleaning method that fits your routine, set a reminder on your phone for the monthly deep clean, and stick with it. The 30 minutes you spend today is the difference between a clean sip of water and a black, funky reservoir.