
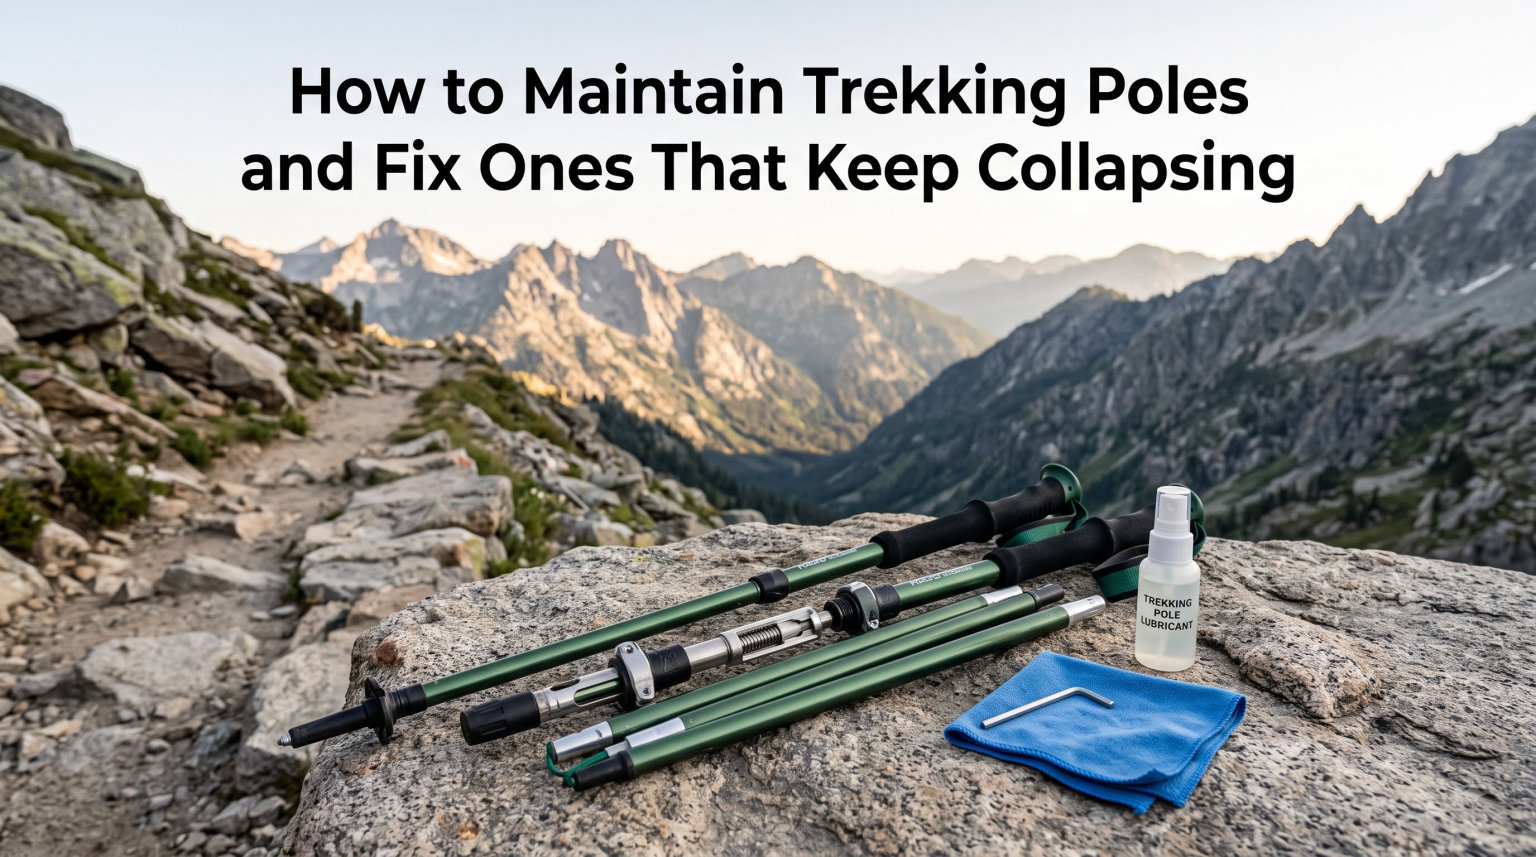
Nothing ruins a beautiful trail faster than a trekking pole that slowly sinks under your weight. I have been on climbs where my pole drifted down by two inches every few steps, and I had to stop mid-slope to readjust it. That frustration is exactly why I put together this guide on how to maintain trekking poles and fix the ones that keep collapsing. In the next few minutes, you will learn what causes the slip, how to clean the locking system, and how to get your poles back to feeling like new again.
I have worked on dozens of pole brands over the years, from budget aluminum pairs to high-end Black Diamond carbon Z-poles. Most of the time, the problems are simple. A bit of grit, a worn plastic piece, or a loose expander plug is all that stands between you and a steady pole. By the end of this article, you will know how to spot those issues early and solve them yourself in your living room.
Table of Contents
Understanding Trekking Pole Locking Mechanisms
Before you can fix a slipping pole, you need to know which locking system you have. Most modern trekking poles use one of three designs, and each one fails in a slightly different way. Knowing your mechanism is the first step in any reliable repair, because the wrong fix can actually make a slip worse.
Twist Lock Mechanism
Twist locks are the most common system on the market. You rotate the lower section of the pole to tighten or loosen an internal expander plug. The plug presses outward against the inner wall of the upper tube, creating friction that holds the pole in place. When this plastic or metal plug wears down, the pole starts to slip under load.
Brands like Black Diamond, Leki, and Komperdell use twist locks on many of their aluminum and carbon models. The fix is almost always related to that small internal piece, which is good news because it is also the cheapest part to replace.
Flip Lock Mechanism
Flip locks use an external lever that opens and closes a clamp around the pole shaft. They are faster to adjust on the trail, which is why many hikers prefer them. However, the moving lever can loosen over time, and the plastic clamp face can wear smooth.
I find flip locks easier to fix in the field, but slightly harder to repair permanently. Once the plastic clamp wears out, you usually need a replacement part from the manufacturer. The adjustment screw is usually accessible without taking the pole apart.
Internal Locking System
Some poles use a hidden internal mechanism that expands inside the lower tube. You will see this on many ultralight Z-fold designs. These are sleek, but they can be tricky to clean because the working parts are buried inside the shaft.
If your internal lock pole is slipping, the fix is often a careful clean and a small adjustment. We will cover that in detail below. The key is being gentle, since the inner mechanism is small and easy to over-tighten.
Why Trekking Poles Keep Collapsing
There are only a handful of reasons poles fail mid-hike. After breaking down hundreds of poles for friends, I have seen the same four culprits over and over. Identifying the right cause is half the battle, and it saves you from replacing parts that are still perfectly good.
Dirty or Gritty Lock Surface
Sand, mud, and trail dust love to settle into the small gap where the lock meets the pole. Once grit is in there, the lock cannot grip the smooth metal surface. The pole then slips a tiny bit every time you put weight on it.
This is the most common reason for collapse and the easiest one to fix. A clean cloth and 30 seconds of work is usually enough to solve the problem in the moment.
Worn Expansion Plug
Inside every twist lock sits a small plastic or metal plug with a screw. That screw expands the plug to grip the pole. Over time, the plastic compresses and the screw loses its bite. The plug spins loosely, and the pole drifts down no matter how hard you twist the lock.
Loose Lever or Clamp
On flip lock poles, the lever hinge can loosen with use. A small amount of play at the lever translates to a big slip at the joint. Tightening the internal screw often solves it without needing any new parts.
Damaged or Dented Tubes
If you have dropped your poles on rock or had them crushed in a pack, the tubes can dent. A dent will prevent the lock from grabbing evenly. No amount of cleaning will fix a bent shaft. That is when you start thinking about replacement, since the lock simply cannot seal around an uneven surface.
How to Maintain Trekking Poles: Step-by-Step Guide
Good maintenance takes 15 minutes at home and saves you a frustrating day on the trail. I do this routine every season, and my poles have lasted twice as long as my friends’ who skip it. Think of it like brushing your teeth, a small habit that prevents big problems later.
Step 1: Disassemble the Pole
Extend each section fully and look for the small clip or Allen key hidden inside one of the tubes. Many poles store a tiny tool inside the lower section for exactly this kind of work. Use it to loosen the screws holding the locking mechanism together.
Set the screws in a small dish so you do not lose them on the floor. Take a quick phone photo of the disassembled pole so you remember the order of the parts when you put it back together.
Step 2: Clean the Lock Mechanism
Wipe down the locking sleeve with a damp cloth. For stubborn grime, use a soft toothbrush with a drop of mild dish soap. Avoid harsh chemicals that can damage plastic or rubber seals.
For internal locking poles, pour a small amount of warm water through the tube, then shake and dry it thoroughly. Any leftover water can cause freezing damage in cold weather or leave mineral deposits that ruin the grip.
Step 3: Lubricate Moving Parts
Dry metal-on-metal contact is the enemy of a good lock. Apply a thin layer of silicone-based lubricant or a dry PTFE spray to the shaft where the lock grips. Avoid heavy oil or grease. Those will attract dirt and make the slip worse over time.
A light touch is all you need. One short spray per section is plenty. Wipe off any excess with a clean cloth before you reassemble the pole.
Step 4: Inspect for Wear and Damage
Look closely at the expansion plug. If the plastic is cracked, flattened, or has visible grooves, it is time to replace it. Check the flip lock lever for sideways play. Look at the tips and baskets for wear, and replace them if they are torn or missing.
Catching damage early means a $5 part instead of a $150 new pole. This is the most important step for long-term savings.
Step 5: Reassemble and Test
Put the screws back, tighten them by hand, and then test the lock under pressure. Hold the pole straight and push down hard with your hand. A solid lock should hold your full body weight without moving. If it still slips, go back to step one and check the plug again.
Seasonal Maintenance Schedule
At the start of every hiking season, I do a full deep clean. Mid-season, I do a quick wipe-down and a one-second lock check after every big trip. Before winter storage, I dry the poles completely, loosen the locks slightly, and stash them in a dry closet. This schedule has kept my poles running smoothly for over six years.
How to Fix Trekking Poles That Keep Collapsing
If your pole is already slipping, here are the exact fixes that work for each lock type. I have used all of these myself, and they have saved me from buying new poles more than once. Try the simplest fix first, then work your way down the list until the slip stops.
Quick Fix for Twist Lock Poles
The classic fix comes from SectionHiker, and it works on almost every twist lock pole. Unscrew the plastic expansion piece as far as it will go without removing it, then wipe it down with a clean cloth. Slide the pole back together, tighten the lock with a firm 1/4 turn past snug, and test it under load.
If that does not work, expand the plug by turning the screw a small amount clockwise. This brings the plug back into firm contact with the inner wall. Do not over-tighten, or you may crack the plastic.
Fixing Flip Lock Slippage
For flip locks, open the lever and look for the small screw on the side of the clamp. Tighten it a quarter turn at a time until the lock holds firm. Most Pacer Poles and similar models use a 2mm Allen key for this adjustment.
If the plastic clamp face is worn smooth, a small strip of athletic tape wrapped around the shaft under the clamp can give you extra grip in the field. It is a temporary fix, but it works on a long hike when you do not have spare parts.
Fixing Internal Lock Mechanisms
Internal lock poles like the Black Diamond Z-Pole need a gentle touch. Pull the sections apart, locate the small Allen screw hidden in the upper segment, and tighten it a quarter turn. Then reassemble and test. If the slip continues, the internal sleeve may be worn, and you will need a factory replacement.
Dealing With Stuck Sections
Sometimes poles refuse to extend or retract. The trick is temperature. Run warm water over the joint if it is stuck tight, or hold the pole in the freezer for 20 minutes if it is stuck loose. Both tricks use thermal expansion to free the metal. Then clean and lubricate as above.
For stubborn locks, a drop of rubbing alcohol works as a short-term lubricant that evaporates clean. Do not use WD-40 on plastic parts. It can swell and crack the threads over time.
Troubleshooting Common Trekking Pole Problems
Even with the best care, poles develop issues. Here is how to decide between a quick fix and a full replacement. Knowing the difference saves you money and keeps you safe on the trail.
When to Replace Parts vs Whole Pole
Replace parts when the failure is in the lock mechanism, tips, or baskets. Those cost a few dollars and take minutes to swap. Replace the whole pole when the shaft is dented, the lock is missing, or the brand no longer sells parts. Most major brands keep replacement parts in stock for 5 to 10 years.
Call the manufacturer before tossing a pole. A $10 part can save you $120, and many brands will ship the part for free if you bought the pole from an authorized dealer.
Storage Tips for Off-Season
Store poles fully extended or fully collapsed, but never locked tight in one position. Leave the locks slightly loose so the rubber does not take a permanent set. Keep them indoors, away from moisture, and out of direct sunlight. UV rays break down plastic over time.
Signs It’s Time for New Poles
Your pole has reached the end of its life if the shaft is cracked, the lock no longer holds under any adjustment, or the grip is falling apart. Also, if the pole is more than 10 years old, technology has improved enough that a new pair will be lighter and stronger than what you are using today.
Frequently Asked Questions
Why do my trekking poles keep collapsing?
Your trekking poles keep collapsing because the locking mechanism is dirty, the expansion plug is worn, or the lock has lost grip on the shaft. A simple clean and a 1/4 turn adjustment usually fixes the problem.
How long should trekking poles last?
Quality trekking poles should last 5 to 10 years with regular seasonal maintenance. Carbon and aluminum poles from trusted brands like Leki, Black Diamond, and Komperdell often last even longer with proper care.
How to tighten collapsible hiking poles?
To tighten collapsible hiking poles, locate the lock on the lower section, twist the lever firmly past snug, and test under load. If it still slips, find the hidden Allen screw inside the shaft and tighten the expansion plug a quarter turn at a time.
How do I fix trekking poles that slip?
Fix slipping trekking poles by first cleaning the lock and shaft with a damp cloth. Then tighten the internal expansion plug by 1/4 turn, lubricate with silicone spray, and test under your full weight. Replace the plastic plug if it is cracked or worn flat.
Final Thoughts on Trekking Pole Care
Now you know how to maintain trekking poles and fix the ones that keep collapsing. The whole process takes less time than cooking a pot of pasta, and it pays off every time you push up a steep trail with a pole that holds firm. A clean lock, a fresh plug, and a little silicone spray is all it takes to keep your poles strong for many seasons to come.
Before your next trip, set aside 15 minutes for a quick clean and test. Your knees, your shoulders, and your peace of mind will thank you on every climb. Happy hiking in 2026!