
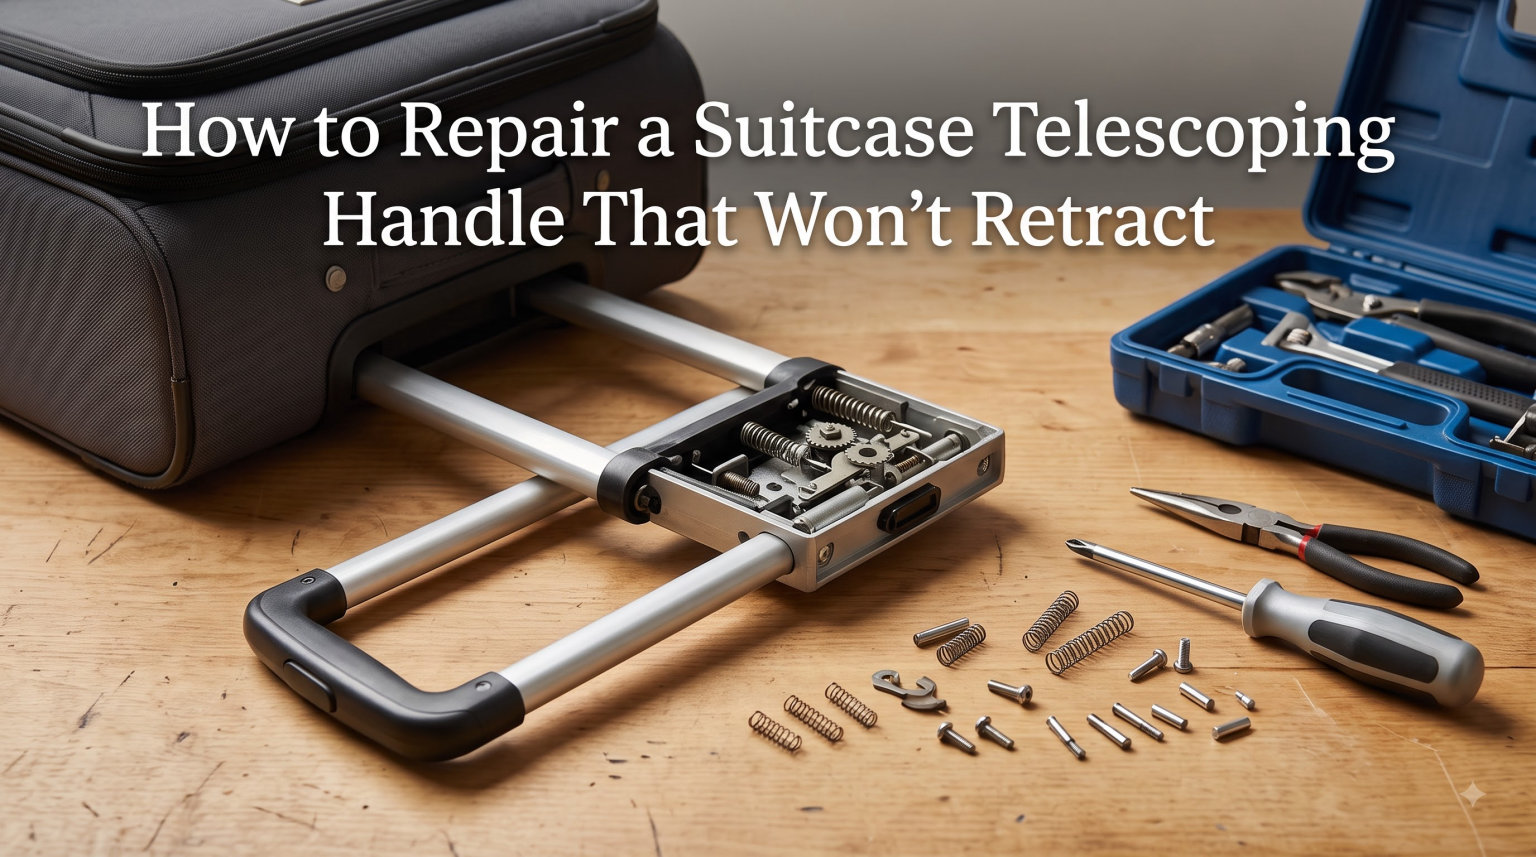
You wheel your bag toward the check-in counter, hit the release button, and nothing happens. The handle just sits there, fully extended, refusing to budge. It’s a frustrating moment that every frequent traveler has hit at least once, and the good news is that a telescoping handle that won’t retract is one of the most fixable luggage problems out there.
I pulled apart my own Travelpro spinner last year after a similar episode, and the fix took about 25 minutes with a screwdriver and a can of dry graphite. In this guide I’ll walk you through the same diagnostic process I use, starting with the easiest no-tool fixes and ending with a full internal repair. Whether your handle is stuck in the up position, won’t go all the way down, or has just gone stiff, you’ll find a clear path forward.
Table of Contents
Why Your Suitcase Telescoping Handle Won’t Retract
A telescoping handle won’t retract when something inside the tube mechanism blocks the spring-loaded locking pins from releasing. The button on top pushes a small pin into a hole drilled through the inner tubes, and when that pin can’t retract, the tubes can’t slide. Debris, dried-up lubricant, a bent rail, or a broken internal spring are the usual suspects.
There are really only four things that go wrong with a telescoping handle. Either the button mechanism is jammed or broken, the inner tubes are physically bent, foreign material is blocking the rails, or the spring-loaded pins inside have lost tension. The first two are common on checked bags that have been tossed around, and the second two usually build up over years of use.
One user on Reddit described the problem well: the handle worked fine on the way to the hotel, then refused to come down on the way home. That’s the classic signature of debris getting into the rail during transit, or a small plastic fragment snapping off inside. Either way, the diagnosis is what matters most, because the fix changes completely depending on the cause.
Diagnose the Problem in 60 Seconds
Before reaching for any tools, run through these quick checks to identify exactly what’s wrong. Press the release button firmly and listen for a click. If you feel no click at all, the button mechanism is likely the problem. If you feel a click but the handle doesn’t move, the tubes or rails are the issue.
Try pressing the button while gently wiggling the handle from side to side. If one side moves while the other stays locked, you’ve got a single-side jam, usually caused by a bent inner tube. If neither side moves at all, the obstruction is likely centered, which means debris or a broken spring.
Look closely at the gaps where the tubes meet. You can often see a small amount of dust, sand, or even a snapped plastic fragment. Use a flashlight if you have one. If you spot visible debris but no obvious damage, you’re probably looking at a five-minute fix rather than a full teardown.
Quick Fixes That Don’t Require Disassembly
Try these four methods first, in order, before opening up your suitcase. Most stuck handles respond to at least one of them.
The Shake-and-Press Method
Hold the release button down firmly and gently shake the handle up and down with your other hand. Sometimes a tiny misalignment is all that’s keeping the locking pin engaged. Many travelers on the r/howto subreddit reported this working on the first try, especially after the handle had been stuck for only a short time.
The Tap Method
While pressing the button, give the back of the handle a few light taps with the heel of your palm. This can dislodge a stuck pin that has bound up against the side of its hole. It’s the same trick people use to free a stuck TV remote button, and it works on the same principle.
Compressed Air and Lubricant Spray
Spray a short burst of compressed air into the gaps between the tubes to clear loose debris. Follow up with a small amount of dry graphite lubricant or silicone spray aimed directly at the rail joint. Avoid heavy oil-based products like WD-40 on plastic rails, as they can attract dust and make the problem worse within a few months.
The Gravity Trick
Set the suitcase upright with the handle facing the ceiling and press the button while gently pushing down on the handle. Gravity plus a light downward force can pop a stuck pin free if the issue is just slight binding. Don’t force it; if you feel real resistance, stop and move to the next step.
Tools You’ll Need for a Full Repair
Most telescoping handle repairs only require a handful of common household tools. Here’s the kit I keep in a small zip pouch specifically for luggage fixes:
Phillips screwdriver (medium size, usually #2)
Small flathead screwdriver for prying caps
Pliers, ideally needle-nose
Dry graphite lubricant or silicone spray
Flashlight
Clean rag and a few paper towels
Optional: tweezers, a small mirror, and a phone camera for tight spaces
Skip the heavy grease. Plastic rails inside telescoping handles need a dry lubricant that won’t attract dust. Dry graphite, PTFE spray, or a dedicated silicone luggage lubricant will outlast WD-40 by years.
Step-by-Step Repair Through the Maintenance Zipper
Most quality suitcases have a maintenance zipper hidden behind the lining fabric. This is the access point for repairing the handle mechanism without ripping the bag open. Samsonite, Travelpro, Tumi, and Delsey all use this approach on most mid-range and premium models.
Step 1: Empty and Open the Liner
Take everything out of the suitcase. Turn the bag upside down and unzip the main compartment fully. You’ll see a stitched-in fabric lining covering the back panel. Look for a small zipper along the edge of that lining. That’s your maintenance zipper.
Step 2: Locate the Handle Base
Unzip the maintenance zipper and peel back the lining. You’ll see the bottom of the handle base, usually held down by two or four Phillips screws. Take a photo with your phone before touching anything, so you remember the original layout.
Step 3: Remove the Handle Base Screws
Using your Phillips screwdriver, remove the screws holding the handle base to the suitcase frame. Keep them in a small dish so they don’t roll away. Once the screws are out, the handle assembly should lift away from the frame slightly.
Step 4: Inspect the Mechanism
With the handle loose, look closely at the tubes and the button mechanism. Common findings include a snapped plastic pin, a cracked tube wall, or a stiff spring. If the button itself is the issue, you’ll usually see the small plastic arm that connects the button to the inner pin has broken.
Step 5: Fix or Replace the Broken Part
For a snapped pin or plastic arm, a small amount of two-part epoxy can rejoin the pieces, though it’s a temporary fix. For a more permanent solution, contact the manufacturer for a replacement handle assembly; most brands sell parts directly. For sticky rails, a thin coat of dry graphite on both the inner and outer tube surfaces is usually enough.
Step 6: Reassemble and Test
Put the handle base back in position, hand-thread the screws to avoid cross-threading, then tighten them down. Test the button several times before zipping the lining closed. If the action is smooth and the handle locks and releases correctly, you’re done.
Fixing a Handle Stuck in the Up Position
A handle stuck in the extended position is the most common variant of this problem, and it usually responds to the gravity trick combined with lubrication. Start by spraying a small amount of dry graphite down each tube rail while pressing the button.
Wait 60 seconds for the lubricant to work its way down, then press the button and gently push the handle downward with steady, even pressure. If you feel it start to move, keep going. If it doesn’t budge after three or four firm attempts, you’ll need to open the maintenance zipper and inspect for a broken locking pin inside.
Avoid the temptation to yank the handle downward with real force. The internal tubes can bend permanently, which will turn a 25-minute fix into a full handle replacement.
When to Repair vs Replace the Handle
Repair is the right call when the issue is a stuck button, dried-up lubricant, debris in the rails, or a single snapped plastic part that can be reattached. These are all fixable in under an hour with the tools listed above.
Replacement becomes the smarter option when the inner tube is visibly bent, the spring has snapped and lost tension entirely, or the plastic rail has cracked. At that point, you’re looking at a full handle assembly swap, and the cost of parts plus labor often approaches half the price of a new suitcase.
As a rough rule of thumb, if the suitcase itself cost less than around $150 new, replacement of the bag usually makes more sense than repairing the handle. For premium bags from brands like Briggs and Riley, Tumi, or Travelpro where lifetime warranties are common, always start with the manufacturer.
Prevention Tips to Avoid Future Handle Problems
The simplest prevention step is also the one most people skip: store the suitcase with the handle fully retracted. Keeping the spring loaded for months on end weakens it over time. If you travel twice a year, you’ll get years of life out of a handle that someone storing it extended might burn through in three.
Give the rails a quick spray of dry graphite every six months, more often if you travel on dusty beaches or construction sites. Wipe down the handle tubes after each trip to remove grit before it gets into the rails. And never hang heavy items from the handle when the suitcase is upright, as this puts sideways stress on the tubes that wasn’t part of the original design.
If you fly frequently, consider a hard-shell case where the handle is fully enclosed, or a soft-shell with a reinforced metal handle backbone. Both reduce the chance of impact damage during baggage handling.
FAQs
Why is my suitcase handle not retracting?
The most common reasons are a stuck or broken button mechanism, debris in the inner rails, a bent tube, or a worn-out internal spring. The button pushes a small locking pin into a hole through the inner tubes; if that pin can’t release, the handle stays locked in place.
How do I fix a stuck luggage handle without tools?
Try the shake-and-press method: hold the release button firmly and gently shake the handle up and down. You can also try tapping the back of the handle while pressing the button, or spraying a small amount of dry graphite lubricant into the rail gaps.
Can I use WD-40 on my suitcase handle?
You can use WD-40 in a pinch, but it’s not ideal for plastic telescoping rails. The oil attracts dust and grime, which can make the problem worse within a few months. Dry graphite or silicone spray is a better long-term option.
How do I get the handle to go all the way down?
Spray dry graphite lubricant down the rail gaps, wait about a minute, then press the button while applying steady, gentle downward pressure. If it still won’t move, open the maintenance zipper to inspect for a broken pin or spring.
When should I replace my suitcase handle instead of repairing it?
Replace the handle if the inner tube is bent, the spring has snapped, or the plastic rail is cracked. For budget suitcases under around $150, full replacement of the bag is usually more cost-effective than swapping the handle assembly.
Final Thoughts
A telescoping handle that won’t retract looks like a disaster at the airport but is almost always a fixable problem at home. Start with the no-tool fixes: shake, tap, lubricate. If those don’t work, the maintenance zipper gives you full access to the mechanism without damaging the bag, and the actual repair usually comes down to clearing debris, snapping a small part back in place, or replacing the handle assembly if the damage is severe.
If you take one habit away from this guide, make it the six-month graphite spray. A few seconds of preventive maintenance is worth years of trouble-free rolling. And if your handle is stuck right now, take a breath, work through the diagnostic steps, and remember that most stuck handles are back in service within an hour.