
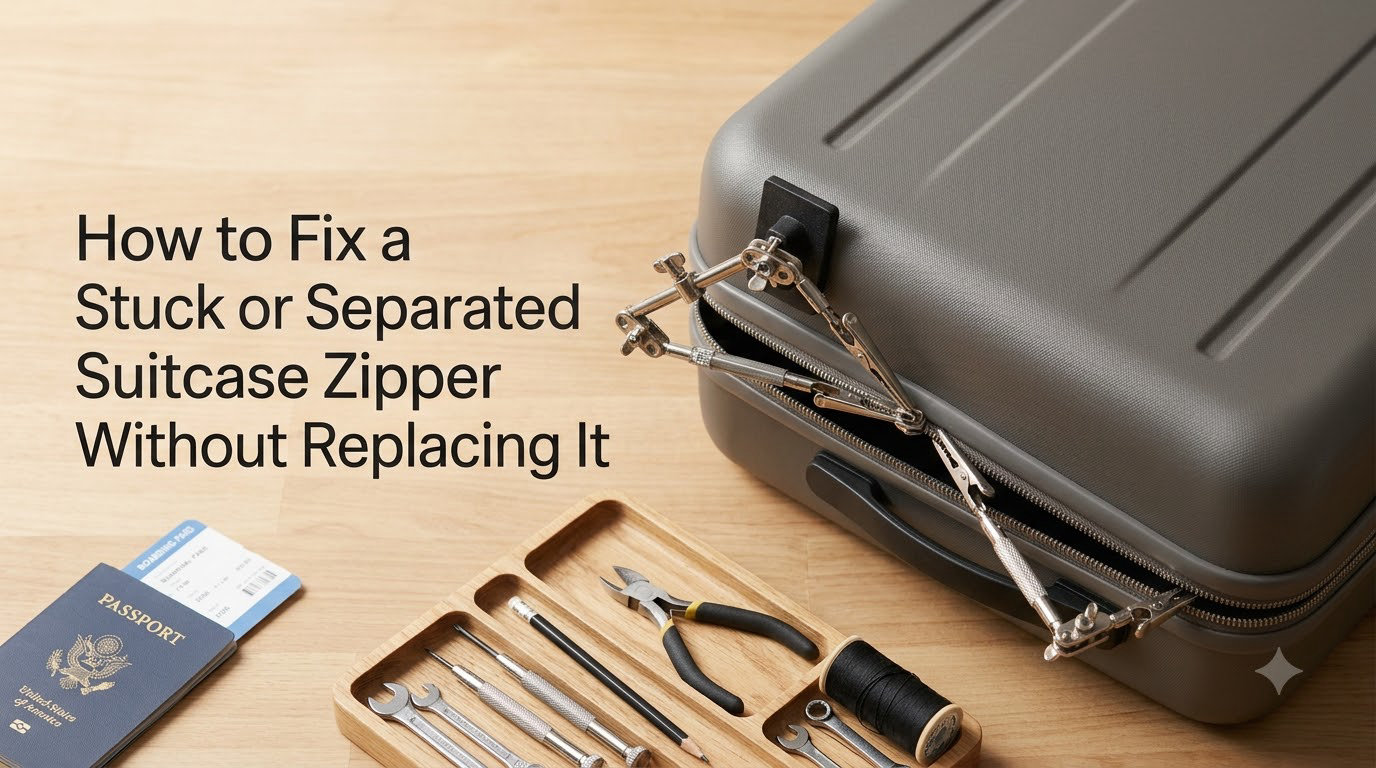
I will never forget the moment my suitcase zipper split open three rows from the bottom in the middle of a Tokyo airport. My hands were full, my flight was boarding, and the bag was slowly unzipping itself on the luggage carousel. That is the day I learned exactly how to fix a suitcase zipper without replacing it, and I have used the same techniques on backpacks, duffels, and laptop bags ever since.
If your zipper is stuck, refuses to close, or has separated behind the slider, you can almost always fix it in under 15 minutes with a few household items. This guide walks you through every method I have tested on real luggage, including the fork trick that saved me in Japan, plus travel emergency fixes for when you have zero tools on hand.
Table of Contents
Common Causes of Suitcase Zipper Problems
Understanding why zippers fail helps you choose the right fix. Most suitcase zipper problems come down to three root causes, and I have seen each one ruin a trip.
Wear and Tear on the Slider
The slider is the small metal or plastic piece that moves up and down the zipper. Every time you open and close your bag, the slider’s internal jaws slowly spread apart. Once the gap inside the slider becomes wider than the teeth, the zipper will not stay closed. This is the number one reason a separated zipper keeps splitting open right behind the slider.
Debris in the Zipper Track
Lint, sand, crumbs, and fabric threads love to settle between zipper teeth. I once spent 20 minutes fighting a “broken” zipper on a beach trip before realizing a single grain of sand was jamming the slider. A clean track fixes more stuck zippers than people expect.
Damaged Zipper Teeth or Stops
The small metal or plastic caps at the top and bottom of your zipper are called zipper stops. When one falls off, the slider can slide right off the track. Bent or missing teeth near the bottom can also prevent the slider from seating properly.
Tools You Need (and Household Alternatives)
You do not need a special repair kit to fix a zipper. Here is what works, ranked by how often I reach for each item.
- Needle-nose pliers — Best for squeezing a loose slider back into shape. If you do not own a pair, a pair of strong tweezers or even a fork works in a pinch.
- Lubricant — Graphite from a pencil, bar soap, lip balm, candle wax, or even a bar of soap from the hotel room. Each one loosens a stuck zipper in seconds.
- Toothbrush or small brush — For cleaning debris out of the zipper track. A dry toothbrush works fine.
- Replacement slider (optional) — Only needed if your old slider is cracked or missing. Most hardware stores sell universal zipper repair kits for under 10 dollars.
- Needle and thread — For reattaching a fallen zipper stop. Clear nail polish or super glue can substitute in a pinch.
How to Fix a Stuck Suitcase Zipper
A stuck zipper usually means either the slider is jammed with debris or the track is dry. I use this three-step process on every stuck luggage zipper I encounter, and it works on backpacks, jackets, and tent zippers too.
- Clean the track. Run a toothbrush along both sides of the zipper teeth while gently wiggling the slider back and forth. This knocks out the lint and grit that causes most jams.
- Lubricate the teeth. Rub a graphite pencil, a bar of soap, or a thin layer of lip balm along the open teeth on both sides. Avoid oily products like cooking oil because they stain fabric.
- Work the slider slowly. Grip the slider firmly and move it up and down the lubricated track several times. The zipper should glide freely within a minute.
If the slider still sticks, the issue is almost always a bent tooth. Use your needle-nose pliers to gently straighten any tooth that is leaning sideways, then test the slider again.
How to Fix a Separated Suitcase Zipper
A separated zipper is the most common luggage emergency. The good news is that fixing a separated zipper takes about 5 minutes once you know the trick. This is the fork method that saved my suitcase in Tokyo, and it works on both metal and plastic zippers.
- Remove the slider completely. Slide the zipper all the way to the bottom of the track, then pull it off the end. Take your time so you do not damage the teeth.
- Align the teeth. Hold the two sides of the zipper together so the teeth interlock for about an inch below where the slider will sit. Make sure a tooth on the left matches a tooth on the right.
- Insert a fork as a guide. Slide a fork into the separated zipper opening with the tines pointing toward the closed teeth. The fork holds the teeth aligned and gives the slider something to slide over.
- Re-thread the slider. Push the slider back onto the aligned teeth, using the fork tines to keep everything straight. Pull the slider up slowly while removing the fork.
- Test the closure. Zip the bag a few times to make sure the teeth interlock properly above the slider. If they pop apart again, the slider is too loose.
You can also skip the fork and use your fingers to pinch the teeth together as you push the slider on, but I find the fork makes the process 10 times easier on stubborn zippers.
How to Tighten a Loose Zipper Slider
When a zipper keeps separating right behind the slider, the slider itself is the problem. Over time the gap inside the slider widens and stops gripping the teeth. Tightening the slider is the permanent fix, and I have done it on every suitcase I own.
- Remove the slider from the zipper track. Slide it off the bottom end so you can work on it freely.
- Pinch the back of the slider. Look at the slider and find the open end (the side opposite the pull tab). Use your needle-nose pliers to gently squeeze the top and bottom plates of the slider closer together.
- Start with a tiny squeeze. Move the pliers just a millimeter at a time. Squeezing too hard will crush the slider and make it unusable.
- Test the gap. Slide the slider back onto a zipper and test it on a jacket or another bag first. The teeth should interlock tightly without the slider getting stuck.
- Reinstall on your suitcase. Once the slider grips correctly, thread it back onto your luggage zipper using the fork method above.
If the slider is already cracked or missing a piece, no amount of squeezing will help. Pick up a universal zipper repair kit from a hardware store. Most kits cost less than a coffee and include several slider sizes that fit standard luggage zippers.
Travel Emergency Fixes When You Have No Tools
Sometimes you are at a hotel, in a taxi, or standing at the check-in counter with nothing but what is in your pockets. These temporary fixes have all gotten me through an airport without a proper toolkit.
- Safety pin method. Run a safety pin through the zipper pull and the bag fabric to keep the slider from moving past the teeth. It looks ugly but it locks the zipper in place until you can do a real repair.
- Paperclip slider trick. Bend a paperclip into a small U-shape and slide it through the pull tab as a replacement handle. I have done this on bags where the pull tab broke mid-trip.
- Duct tape bridge. Lay a strip of duct tape across a split zipper to hold the teeth together. This buys you a few hours of travel time and is invisible under a luggage strap.
- Key ring pull. Thread a key ring through the slider’s pull hole to give yourself something to grip when the original pull tab snaps off.
- Bar of soap rub. Rub a hotel soap bar along the zipper teeth for a fast lubricant fix. I have used this trick in airport bathrooms more times than I can count.
These fixes are temporary, not permanent. As soon as you get home, set aside 15 minutes to do the real repair described above.
When to Repair vs Replace Your Suitcase Zipper
Not every zipper is worth saving. Use this quick checklist before you spend an hour on a repair that will not hold.
- Repair the zipper if the slider is loose but intact, the teeth are mostly aligned, and the zipper tape (the fabric) is not torn.
- Replace the entire zipper if the teeth are stripped over a long section, the zipper tape is fraying, or the slider is cracked and cannot be tightened.
- Consider professional repair if the bag is a high-end brand (like Tumi or Rimowa) and under warranty. Most luggage brands will repair or replace a defective zipper for free.
A typical professional zipper replacement costs between 25 and 75 dollars, depending on the bag. A DIY repair costs under 10 dollars and takes 15 minutes. For most mid-range suitcases, the DIY route is the smarter financial choice.
Prevention Tips to Keep Your Zipper Working
I have extended the life of every bag I own by following these five habits. They take seconds and prevent the most common zipper failures.
- Never overpack your suitcase. A bulging zipper puts extra stress on the slider and teeth. Aim to leave about 10 percent of the bag empty so the zipper closes without force.
- Lubricate every zipper once a year. Rub a graphite pencil or bar of soap along the teeth before you put your luggage into storage. This single habit prevents most stuck zippers.
- Keep the slider straight. Always pull the zipper in a straight line. Pulling at an angle slowly bends the slider’s internal jaws.
- Clean the track regularly. Vacuum the zipper teeth or scrub them with a dry toothbrush every few trips. Debris is the silent killer of luggage zippers.
- Use a luggage strap or lock. A TSA-approved lock threaded through the zipper pulls adds a safety net. If the zipper does separate, the strap keeps the bag closed long enough for you to fix it.
These tips work for backpacks, laptop bags, and tent zippers too. Treat every zipper the same way and you will rarely face a stuck or separated zipper again.
Frequently Asked Questions
Can you fix a separated zipper on a suitcase?
Yes, you can fix a separated zipper on a suitcase in about 5 minutes without replacing it. Remove the slider, realign the teeth so they interlock for about an inch, and push the slider back on using a fork or your fingers to keep the teeth aligned. If the slider is loose, squeeze it gently with needle-nose pliers before reinstalling.
How do you unjam a suitcase zipper?
To unjam a suitcase zipper, clean the track with a toothbrush, lubricate the teeth with a graphite pencil, bar soap, or lip balm, then work the slider slowly back and forth. If the slider is still stuck, check for bent teeth and straighten them with needle-nose pliers.
How do you fix a zipper that separates and is stuck at the same time?
A zipper that both separates and sticks usually has a loose slider. First, lubricate the track and free up the stuck slider, then remove the slider and squeeze the back end with needle-nose pliers to tighten the internal gap. Reinstall the slider using the fork method to keep the teeth aligned.
Is it worth repairing a suitcase zipper?
Yes, repairing a suitcase zipper is almost always worth it. A DIY repair costs under 10 dollars and takes 15 minutes, while a professional zipper replacement runs 25 to 75 dollars. Only replace the entire zipper if the teeth are stripped, the fabric tape is torn, or the slider is cracked beyond tightening.
Final Thoughts
Learning how to fix a suitcase zipper without replacing it is one of those small skills that pays off forever. I have used the techniques in this guide on suitcases, backpacks, jackets, and even a sleeping bag on a camping trip. Every fix took less than 15 minutes and cost me nothing.
Next time your zipper sticks or splits open, grab a pencil, a fork, or a pair of pliers and try the steps above before you reach for a replacement. Your suitcase, and your travel day, will thank you.