
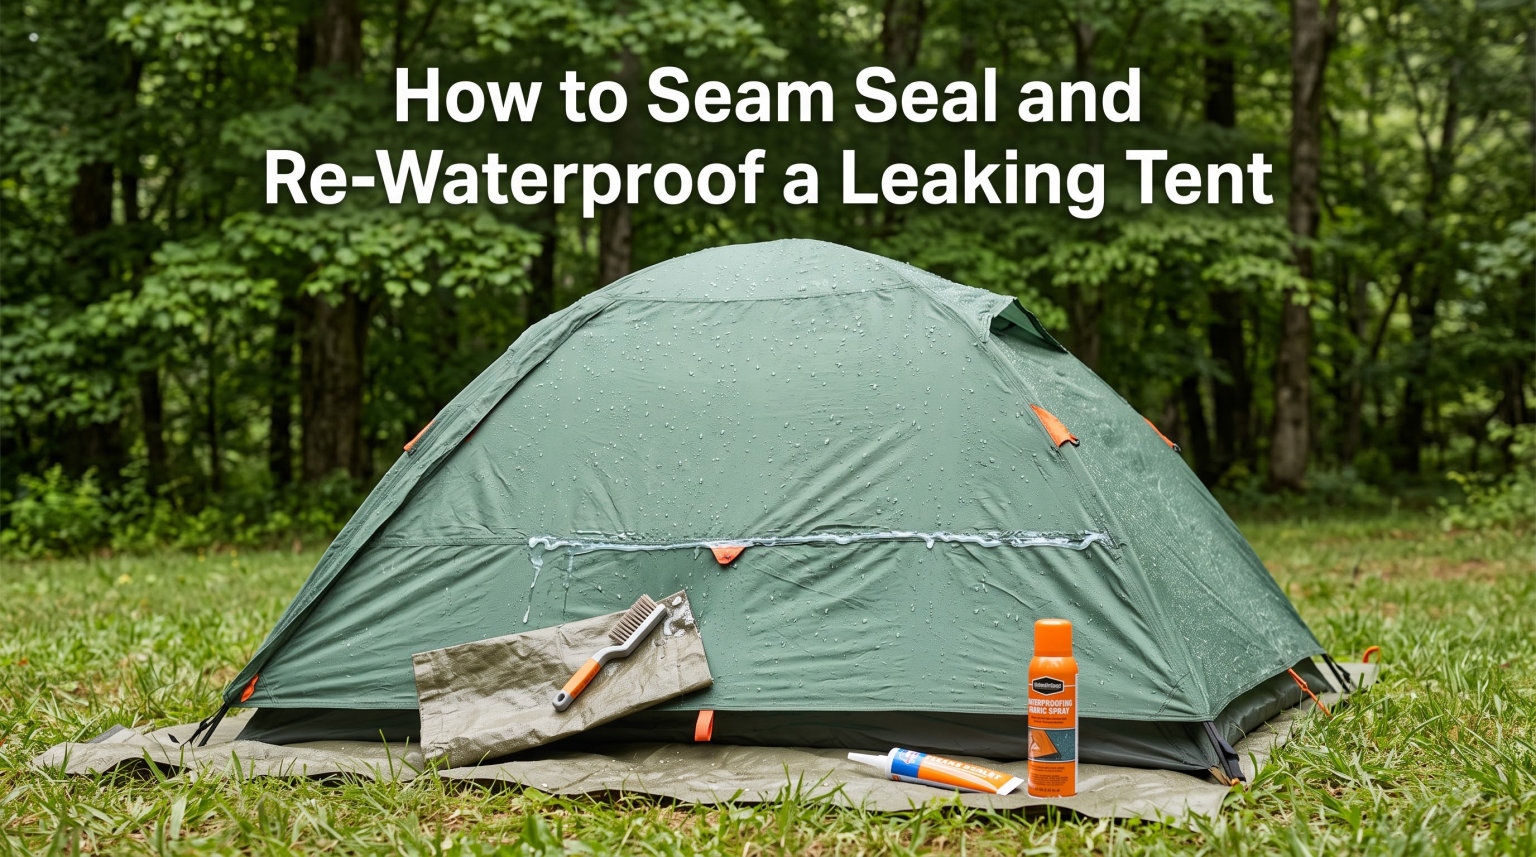
There is nothing quite like waking up in the backcountry to a damp sleeping bag and a puddle where your gear used to be. If your shelter has started letting water through, you need to know how to seam seal and re-waterproof a leaking tent before your next trip. The good news is that almost every leaking tent can be restored at home with the right products and a free afternoon.
Tents lose their water resistance over time due to UV exposure, friction, and general wear. Factory seam tape peels away, the polyurethane coating on the floor starts flaking, and the durable water repellent on your rainfly wears thin. Each of these problems has a specific fix, and most campers can handle all of them without professional help.
In this guide, I will walk you through the entire process from diagnosing the leak to applying seam sealer, refreshing your DWR treatment, and recoating the tent floor. I have spent years maintaining my own backpacking and family tents, and the methods below come from hands-on experience plus tips shared by the camping community.
Table of Contents
Why Tents Leak: Understanding the Problem
Tents leak in three main places, and each requires a different repair approach. Understanding where the water is getting in tells you exactly which fix to use.
Stitched Seams
Every stitch hole in your tent is a potential entry point for water. Manufacturers seal these holes at the factory using seam tape or liquid sealant, but that protection breaks down over time. UV rays, temperature swings, and repeated packing gradually degrade the tape until it peels off in strips.
Once the factory seal is gone, rain can wick straight through the needle holes. This is the most common type of tent leak, and it is also the easiest to fix with a fresh application of seam sealer.
Worn Polyurethane Floor Coating
The inside of your tent floor and the underside of the rainfly are coated with polyurethane (PU). This is the waterproof barrier that keeps groundwater from soaking through the fabric. After years of use, this coating starts to degrade.
You will notice it feels sticky or looks like it is flaking off in sheets. This is called coating delamination, and once it starts, water will begin seeping through the floor during wet conditions. The fix is to strip the old coating and apply a fresh layer of PU recoating agent.
Degraded DWR on the Rainfly
The outside of your rainfly has a durable water repellent (DWR) finish that causes water to bead up and roll off. When DWR wears out, the fabric starts absorbing water instead of shedding it.
A rainfly that soaks through becomes heavy, sags, and loses its breathability. Condensation builds up inside the tent, making everything feel damp even if no rain is actually getting through the seams. Refreshing the DWR with a spray treatment solves this problem fast.
Seam Sealing vs Seam Taping: What’s the Difference?
This is one of the most common sources of confusion for campers. Seam taping and seam sealing are two different methods of achieving the same goal: keeping water out of stitched seams.
Seam Taping
Seam taping is a factory process where a strip of waterproof tape is heat-bonded over the seams during manufacturing. Most quality tents come with factory-taped seams on the rainfly and floor. This tape creates a solid waterproof barrier, but it has a limited lifespan.
UV exposure is the main enemy of seam tape. After two to five years of regular use, the tape begins to peel, crack, or turn brittle. Once that happens, water finds its way through the stitching.
Seam Sealing
Seam sealing is the process of applying a liquid sealant over the stitched seams to fill in the needle holes. You can do this at home, and it is the standard method for re-waterproofing seams once factory tape fails.
Many ultralight tents and budget shelters come with untaped seams that require DIY sealing before first use. If your tent instructions mention sealing the seams before heading out, they mean applying a liquid sealant yourself.
Understanding Your Tent Fabric: PU vs Silicone
Before you buy any products, you need to know what type of fabric your tent is made from. This is the single most important factor in choosing the right sealant, and using the wrong type is the number one mistake campers make.
Polyurethane-Coated Tents (PU)
Most traditional camping tents and family tents use nylon or polyester fabric with a polyurethane coating on the inside. The coating has a slightly glossy, rubbery feel. These tents require a polyurethane-based seam sealer, often labeled as a “WP” formula.
If your tent has a PU coating, you can identify it by checking the inside of the rainfly or floor. The coating looks like a smooth, sometimes slightly yellowish layer on the fabric surface.
Silicone-Treated Tents (Silnylon and Silpoly)
Ultralight backpacking tents often use silnylon (silicone-impregnated nylon) or silpoly (silicone-impregnated polyester). These fabrics are treated with silicone during manufacturing, giving them a slippery, almost silky feel. No visible coating layer is present on the inside.
Silicone fabrics require a silicone-based sealant. A PU-based sealer will not stick to silicone-treated fabric, which is exactly why so many DIY repairs fail. If you own a silnylon or silpoly tent, look for sealant specifically formulated for silicone fabric.
How to Tell the Difference
The easiest test is to place a drop of water on the inside of your tent fabric. If the water beads up and rolls off, you likely have a silicone-treated fabric. If the water sits on the surface or soaks in slightly, you probably have a PU-coated fabric.
When in doubt, check your tent manufacturer’s website or the care tag. Using the wrong sealant wastes money and leaves your seams unprotected.
How to Test Your Tent for Leaks
Before you start applying any products, confirm where the water is actually getting in. A systematic hose test takes fifteen minutes and saves you from treating areas that do not need it.
Pitch your tent in the yard on a dry day and have a friend spray it with a garden hose set to a gentle shower setting. Work your way around the tent slowly, spending extra time on the seams, especially the floor seams near the ground and the top seams on the rainfly.
Get inside the tent with a flashlight and watch for water droplets appearing through the stitching. Mark each leak with a piece of painter’s tape or a chalk line so you know exactly where to focus your repairs.
Pay special attention to the corners and any seams where two different fabric panels meet. These high-stress areas are usually the first to fail.
Materials You’ll Need
Gathering the right supplies before you start makes the job much smoother. Here is everything you need to seam seal and re-waterproof a leaking tent, organized by the type of repair.
For Seam Sealing
You need a seam sealer matched to your fabric type. For PU-coated tents, look for a polyurethane-based sealer like SeamGrip WP. For silicone-treated tents (silnylon or silpoly), choose a silicone-based sealer like SeamGrip SIL.
Other essentials include isopropyl alcohol for cleaning the seams, a small brush or foam applicator for spreading the sealant, and a few clean rags. Painter’s tape helps protect areas you do not want sealed, like zippers and mesh panels.
For Refreshing DWR on the Rainfly
To restore the water-repellent finish on the outside of your rainfly, you need a DWR spray treatment. Popular options include Nikwax Tent and Gear SolarProof, Revivex Durable Water Repellent, and Granger’s Performance Repel.
These products are applied as a spray-on treatment while the fabric is damp, then allowed to air dry. They restore the beading action that causes water to roll off the surface.
For Recoating the Tent Floor
If the PU coating on your floor is flaking or sticky, you need a tent floor recoating product. SeamGrip TF (Tent Floor) or a similar urethane recoating agent is designed specifically for this job.
You will also need rubbing alcohol or a dedicated coating remover to strip the old, degraded PU before applying the new layer. Skipping the stripping step is a common reason that new coatings fail to adhere properly.
General Supplies
Set up your workspace with a drop cloth or tarp to protect surfaces from drips. Have paper towels on hand for cleanup, and work in a well-ventilated area, especially when using solvent-based products. Wear disposable gloves to keep sealant off your skin.
If you are working outdoors, pick a dry day with moderate temperatures. Avoid sealing in direct hot sunlight, which can cause the sealant to skin over before it penetrates the seam properly.
How to Seam Seal and Re-Waterproof a Leaking Tent: Step-by-Step
Now for the main event. Follow these steps in order, and take your time with each one. Rushing is the most common reason repairs do not hold up.
Step 1: Pitch the Tent and Prep the Area
Set up your tent fully, just as you would at a campsite. Pitching with tension on the seams makes them easier to access and ensures the sealant penetrates evenly. Working on a pitched tent also lets the sealant cure in the correct seam position.
If you are only sealing the rainfly, you can remove it and lay it flat on a clean surface. However, working on a pitched tent is generally easier and produces better results.
Step 2: Clean Every Seam Thoroughly
Dirt, oils, and old sealant residue will prevent the new sealant from adhering. Dip a clean rag in isopropyl alcohol and wipe down every seam you plan to seal. Pay extra attention to corners and high-wear areas.
If old seam tape is peeling, remove it completely before cleaning. Gently peel the tape away by hand, then use alcohol to remove any adhesive residue left behind.
Let the seams dry completely before moving on. Applying sealant over damp fabric is a guaranteed way to get poor adhesion.
Step 3: Apply Seam Sealer
Apply seam sealer to the inside of the tent, not the outside. The inside of the seam is where the stitching needle holes are most exposed, and interior application also protects the sealant from UV damage.
Use a small brush or foam applicator to spread a thin, even film along the seam line. The keyword here is thin. A thick glob of sealant takes longer to cure, looks messy, and can actually perform worse than a thin coat.
Work in sections of about one to two feet at a time. This keeps the sealant workable and prevents it from drying before you can spread it evenly. Cover every stitch hole, paying extra attention to corners and junction points.
For floor seams, apply sealant to the inside of the tent floor where the seam meets the wall. These bottom seams take the most abuse from ground moisture and need thorough coverage.
Step 4: Waterproof the Rainfly with DWR
Once the seams are sealed, turn your attention to the rainfly surface. Wash the rainfly with mild soap and water to remove dirt and oils. Rinse thoroughly and leave it damp.
While the fabric is still wet, spray the DWR treatment evenly across the entire outside surface. Do not saturate the fabric. A light, even mist is all you need. Use a damp sponge to spread the treatment into any dry spots.
Hang the rainfly to air dry completely. As it dries, the DWR bonds with the fabric fibers and restores the water-beading surface. You should see water droplets roll right off when the treatment is fully cured.
Step 5: Recoat the Tent Floor
Check the inside of your tent floor for signs of coating failure. If the PU coating feels sticky, looks cloudy, or is peeling in sheets, it needs to be replaced.
Start by stripping the old coating. Apply rubbing alcohol or a dedicated coating remover and gently rub the degraded PU away with a rag or soft brush. This step takes patience, but it is essential for good adhesion.
Once the old coating is removed and the surface is clean and dry, apply the new PU recoating product with a foam brush. Spread a thin, even layer across the entire floor surface, working in one direction. Let it cure undisturbed.
Step 6: Let Everything Cure Fully
Patience at this stage is non-negotiable. Seam sealer needs a minimum of 6 to 12 hours to cure, and some products take up to 24 hours. DWR treatments typically need to dry for several hours.
Do not pack the tent away until everything is completely dry to the touch with no tackiness. Packing a tent with wet sealant causes the treated surfaces to stick together, ruining the repair.
Leave the tent pitched during curing if possible. This keeps the seams under proper tension and prevents sealed panels from sticking to each other.
Pro Tips and Common Mistakes to Avoid
The camping community has shared plenty of hard-won lessons about tent waterproofing. Here are the tips that make the biggest difference, along with the mistakes to avoid.
Apply sealant in thin films, not thick layers. Multiple thin coats are always better than one thick coat. A thick application stays tacky longer, traps air bubbles, and can peel off in sheets when stressed.
Clean surfaces with alcohol before applying anything. Even invisible oils from your fingers can prevent sealant from bonding. This single step is the difference between a repair that lasts years and one that fails after one trip.
Pitch the tent with tension while sealing. Slack fabric causes the seam holes to stretch open, and sealant applied to loose fabric may not fill the holes properly when the tent is under tension in the field.
Use painter’s tape to mask off zippers and mesh. Seam sealer on a zipper will ruin it, and sealant on mesh panels creates an ugly, stiff mess. Take two minutes to tape off these areas before you start.
Never use silicone-based sealant on PU-coated fabric, or PU-based sealant on silicone fabric. The wrong product simply will not stick, no matter how carefully you apply it. When in doubt, check the product label for fabric compatibility.
Troubleshooting Persistent Leaks
Sometimes a seam continues leaking even after you have sealed it. If that happens, do not panic. There are a few common reasons and straightforward fixes for each.
If the sealant is peeling off after a short time, the surface was not clean enough. Strip the failed sealant with alcohol, clean more thoroughly, and reapply. Residual dirt or old sealant is the usual culprit.
If water is still coming through sealed seams, you may have missed spots or applied too thin a coat. Reapply a second thin layer, focusing on the areas where water appeared during your test. Corners and seam junctions are the most commonly missed spots.
If the leak is coming from somewhere other than the seams, check the fabric itself. Small tears, pinholes from embers, and abrasion damage can all let water through. Patch these areas with repair tape or a fabric patch before sealing.
If your rainfly is still soaking through after a DWR treatment, you may need a second application. Heavy wear areas like the top of the rainfly and wind-exposed panels sometimes need two coats to fully restore the beading action.
When to Replace vs Repair
Most leaking tents can be repaired, but there comes a point where replacement makes more sense. Knowing when to stop repairing saves you money and frustration.
If the fabric itself is becoming thin and translucent, especially on the floor, the tent is reaching the end of its life. No amount of coating will restore structural integrity to worn-out fabric.
If multiple seams are failing simultaneously and the coating is delaminating across large areas, the cost and effort of a full restoration may approach the cost of a new tent. This is especially true for budget tents under a certain price point.
If the tent has extensive UV damage, indicated by fabric that tears easily or feels brittle, replacement is the safer option. UV damage weakens the fabric fibers themselves, and sealant cannot fix that.
As a general rule, a quality tent is worth restoring two or three times over its lifespan. A budget tent may only justify one round of repairs before replacement becomes the better value.
Seasonal Tent Maintenance Schedule
No competitor covers this, and it is one of the most valuable things you can do to extend your tent’s life. A simple seasonal routine prevents most leaks before they start.
Before Each Camping Season
Do a hose test at the start of each season to catch problems early. Inspect all seams for peeling tape, check the floor coating for stickiness, and examine the rainfly for water absorption. Address small issues before they become big ones.
After Every Trip
Always dry your tent completely before storing it. Packing away a damp tent leads to mold and mildew, which degrades the waterproof coating and fabric fibers. Set it up at home or hang it until fully dry.
Clean off tree sap, dirt, and pollen with mild soap and water. These contaminants break down coatings over time and create sticky spots that attract more dirt.
End of Season Storage
Store your tent loosely in a breathable cotton or mesh bag, not stuffed tightly in its compression sack. Long-term compression creases the coating and accelerates wear. Keep it in a cool, dry place away from direct sunlight.
Avoid storing tents in hot areas like car trunks or attics. Heat accelerates the breakdown of PU coatings and seam tape. A closet or gear room at room temperature is ideal.
Recommended Waterproofing Frequency
As a general guideline, refresh the DWR on your rainfly once per season if you camp regularly. Inspect seam seals annually and reapply as needed, typically every one to two years depending on use. Recoat the tent floor when you notice stickiness or flaking, usually every two to three years for frequently used tents.
FAQs
Can you re-seam seal a tent?
Yes, you can absolutely re-seam seal a tent. In fact, seam sealing is the standard repair method once factory seam tape starts peeling or leaking. Clean the old tape residue off with isopropyl alcohol, then apply a fresh layer of seam sealer matched to your tent fabric type. Most tents benefit from re-sealing every one to two years of regular use.
How to waterproof a leaking tent?
To waterproof a leaking tent, first identify where the water is getting in. Seal leaking seams with a fabric-appropriate seam sealer applied to the inside. Refresh worn DWR on the rainfly with a spray-on water repellent treatment. Recoat a flaking or sticky tent floor by stripping the old PU coating and applying a fresh urethane layer. Allow all treatments to cure fully before packing the tent away.
What is the best seam sealant for tents?
The best seam sealant depends on your tent fabric. For PU-coated tents, a polyurethane-based sealer like SeamGrip WP is ideal. For silicone-treated fabrics like silnylon or silpoly, use a silicone-based sealer like SeamGrip SIL. Using the wrong type will result in poor adhesion and continued leaks, so always match the sealant to your fabric.
Do you put seam sealer on the inside or outside of a tent?
Apply seam sealer to the inside of the tent. The interior side of the seam is where the stitching holes are most exposed to water, and applying sealant inside also protects it from UV damage and abrasion. The only exception is if your tent manufacturer specifically recommends exterior application, which is rare.
How long does tent seam sealer take to cure?
Most tent seam sealers need a minimum of 6 to 12 hours to cure, and some products take up to 24 hours for a full cure. Factors like temperature, humidity, and application thickness affect curing time. Always wait until the sealant is completely dry and non-tacky before packing your tent away.
How often should you waterproof a tent?
You should refresh the DWR on your rainfly about once per camping season if you use the tent regularly. Inspect and re-seal seams every one to two years as needed. Recoat the tent floor when you notice the PU coating becoming sticky or flaking, typically every two to three years for frequently used tents. Regular inspection catches problems early.
Conclusion
Knowing how to seam seal and re-waterproof a leaking tent is one of the most valuable skills any camper can learn. A few hours of work with the right products can add years to the life of your shelter and save you from miserable, wet nights in the backcountry.
Remember the key steps: identify your fabric type, clean thoroughly, apply thin coats of the correct sealant, and let everything cure fully. Follow the seasonal maintenance schedule to catch problems early, and your tent will keep you dry trip after trip.
Grab your supplies, pick a dry afternoon, and give your tent the care it deserves. Your next rainy night in the woods will thank you.