
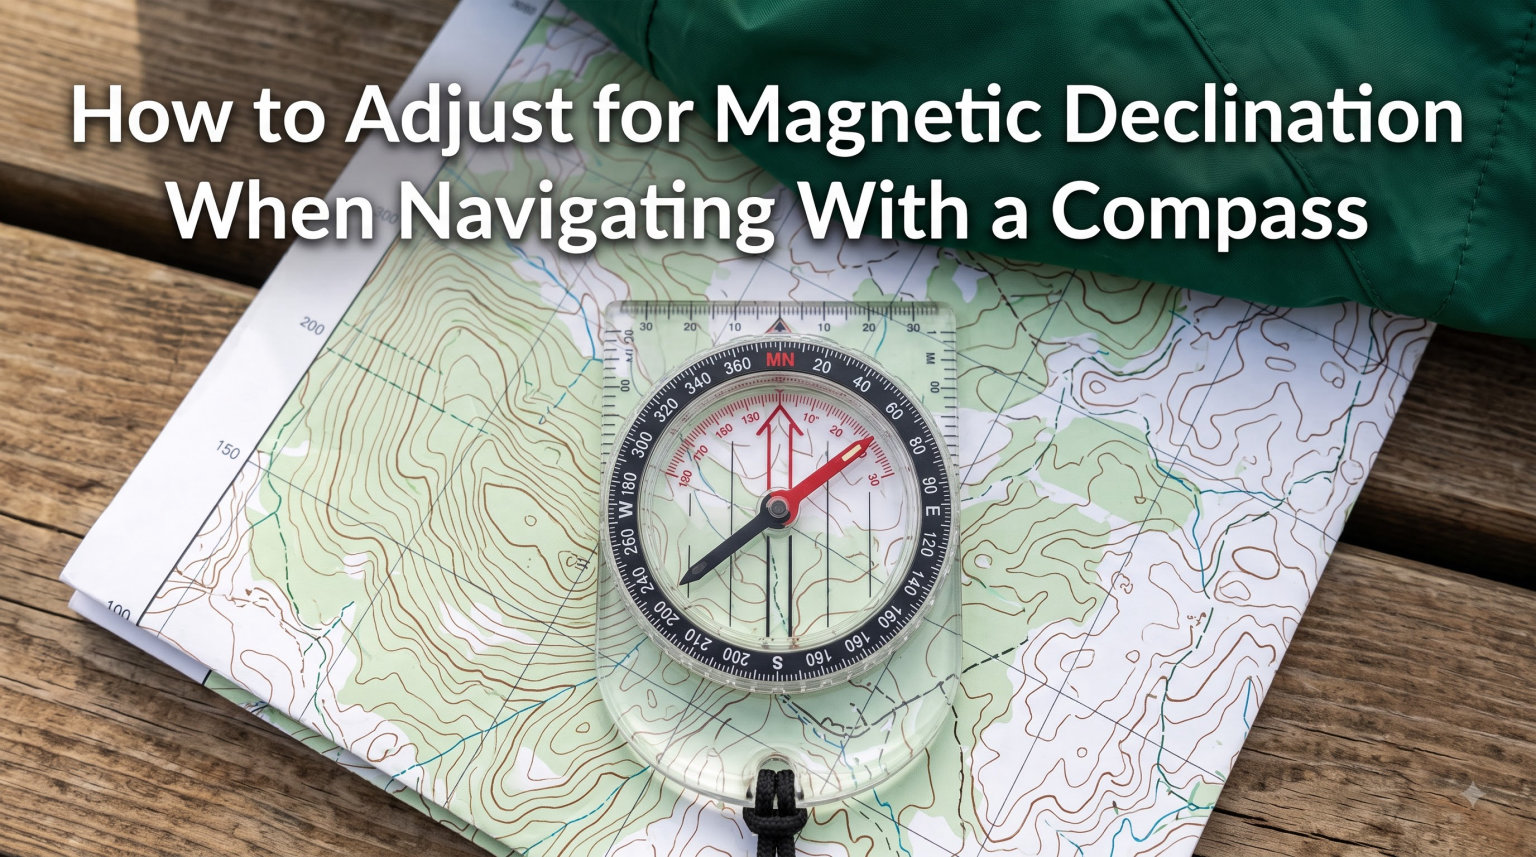
I learned this lesson the hard way on a backpacking trip in the Sierra Nevada when my plotted bearing landed our group nearly half a mile off the marked trailhead. The culprit wasn’t a faulty compass; it was magnetic declination I forgot to account for. After that trip, I made it a rule to set declination before every trip, and I want to save you the same wasted miles.
Magnetic declination (sometimes called magnetic variation) is the angular difference between true north and magnetic north at your location. In this guide, I’ll walk you through exactly how to adjust for magnetic declination when using a compass, whether your compass has an adjustable declination feature or not. By the end, you’ll know the add/subtract rule, how to find your local value, and how to avoid the most common mistakes that throw hikers off course.
Table of Contents
What Is Magnetic Declination and Why It Matters
Magnetic declination is the angle between true north (the geographic North Pole) and magnetic north (the point your compass needle actually points toward). This angle varies depending on where you stand on Earth, and it shifts gradually over time. The difference can be as small as a fraction of a degree or as large as 20+ degrees in some regions.
Why does it matter? Because every topographic map is oriented to true north, while your compass points to magnetic north. If you ignore that difference, your bearings will be off by the declination angle. Over a mile, even a 10-degree error pushes you roughly 300 yards off target. In dense wilderness or low visibility, that error compounds fast.
I treat declination adjustment as one of the first things I do when I unpack a new map. It’s a 60-second habit that prevents hours of backtracking. Whether you’re hiking in the Rockies, orienteering in New England, or planning a winter trip in Alaska, declination matters.
A few related terms you’ll see in navigation books:
True north – the fixed geographic North Pole on Earth’s axis.
Magnetic north – the moving point where Earth’s magnetic field lines converge.
Grid north – the north indicated by the grid lines printed on your topographic map.
Bearing – the direction from your position to a destination, measured in degrees.
Why Compass Needles Don’t Point to True North
Earth behaves like a giant bar magnet, with magnetic field lines flowing from south to north. The geographic North Pole and the magnetic pole are not in the same place, and the magnetic pole actually drifts several miles per year. That’s the entire reason declination exists.
When your compass needle floats freely, it aligns with Earth’s magnetic field, not with the rotational axis of the planet. The gap between those two reference points is what we call declination. In the eastern United States, magnetic north currently sits west of true north (so declination is “westerly”). In the western United States, magnetic north sits east of true north (so declination is “easterly”). A line running roughly through the Great Lakes, the Appalachians, and Florida currently has near-zero declination, called the agonic line.
Knowing whether your area is east or west of this line tells you immediately whether you’ll be adding or subtracting declination later. I keep a mental note of the agonic line’s general location for every region I hike.
How to Find Your Local Declination Value
You need three things before adjusting your compass: your location (latitude and longitude or a place name), the current year, and a reliable declination source. Here’s what I use, in order of preference.
NOAA Magnetic Declination Calculator. The National Centers for Environmental Information (NCEI) host a free online tool at ncei.noaa.gov. Type in a zip code or coordinates and it returns the current declination, annual change, and the date the value was computed. This is the gold standard I trust most.
Topographic map margin. Most USGS topo maps include a small declination diagram near the legend that shows the angle between true north, magnetic north, and grid north. The catch: the diagram is printed for the year the map was published, so older maps need an adjustment based on the annual change.
Smartphone apps and GPS units. Apps like Gaia GPS and many standalone compass apps can display declination based on your GPS location. Built-in iPhone and Android compass apps have improved, but I’ll cover the details and limitations later in this guide.
World Magnetic Model (WMM). Updated every five years by NOAA and the UK Defence Geographic Centre, the WMM provides the official global declination values. The current model runs through 2026, and the next refresh arrives at the end of the cycle.
Once you have the value, write it down or take a photo of it. I also note whether it is east or west, because that determines the add/subtract rule.
Easterly vs Westerly Declination: Add or Subtract?
This is the single most common question I get from new compass users, and it’s the source of the most painful mistakes. The rule itself is simple, but it gets twisted in memory under pressure. Let me give you the clearest version I know.
The Rule:
Easterly declination (positive number) – you add the declination value to convert a magnetic bearing to a true bearing.
Westerly declination (negative number) – you subtract the absolute value to convert a magnetic bearing to a true bearing.
Equivalently, when going from true to magnetic (the direction you usually follow with a map), you reverse the operation: add westerly declination and subtract easterly declination.
Example 1 (Easterly): You’re in Denver, where declination is roughly 8 degrees east. You sight a feature on a true bearing of 90 degrees. To convert that to a magnetic bearing for your compass, you subtract 8 degrees, giving you a magnetic bearing of 82 degrees. Walk 82 on your compass dial.
Example 2 (Westerly): You’re in Bangor, Maine, where declination is around 15 degrees west. The true bearing from your map says 270 degrees. Add 15 degrees, so you walk 285 on your compass dial (compass bearing).
Tip I teach every beginner: write “East is least, West is best” as a mnemonic. “East is least” because you subtract easterly declination from true to magnetic. “West is best” because you add westerly declination from true to magnetic. It sounds silly, but it works in the field.
If you only remember one thing from this guide, remember this rule. Every other error downstream traces back to getting east/west mixed up.
How to Adjust Declination on Adjustable Compasses
An adjustable compass has a small screw or key slot, usually on the back, that lets you offset the bezel relative to the index line. Most quality baseplate compasses from Suunto, Silva, Brunton, and similar brands include this feature. Here’s the step-by-step process I follow on every compass I own.
Step 1: Find your local declination value using NOAA, a current map, or an app. Note whether it is east or west.
Step 2: Hold the compass level and look at the bezel. Locate the declination scale, which is usually marked with “E” and “W” arrows and small degree marks.
Step 3: Turn the compass over. On Suunto and Brunton models, you’ll find a small adjustment screw or a hex-key slot. A small metal key is often included in the package and may even store inside the lanyard.
Step 4: Insert the key into the adjustment screw and gently turn it. Rotate until the declination indicator lines up with the correct value on the scale. For 8 degrees east, rotate so the indicator points to “8 E.” For 15 degrees west, rotate to “15 W.”
Step 5: Double-check by turning the compass back over and sighting through it. The orienting arrow and index line should match the angle you dialed in.
For Suunto models like the MC-2 or MC-2G, the adjustment screw is small and requires the included metal key. For Silva Ranger models, the screw is accessible with a small flathead and may be hidden under a sticker. For Brunton 5006 and 9077 lensesatic compasses, the adjustment involves loosening a small screw on the bezel ring and rotating the ring until the index line aligns with the correct declination value on the etched scale.
One habit I’ve developed: I always set the declination before I leave the trailhead, not at the campsite or on the trail. It’s a calm moment with no pressure. I also take a photo of the compass face to confirm.
How to Use a Compass Without Adjustable Declination
Not every compass has an adjustable declination feature. Basic baseplate compasses, military-issue lensesatic compasses without adjustable rings, and many budget models fall into this category. The good news: you can still find your way accurately by doing the math yourself.
Method 1: Add or subtract in your head. Take the true bearing from your map and convert it to a magnetic bearing using the add/subtract rule above. For example, if your map says 90 degrees and declination is 8 east, set your compass to 82 and walk that bearing.
Method 2: Use a fixed declination scale. Some compasses print a small “declination scale” near the bezel. You align this scale with the index line, then sight the bearing. The compass effectively does the math for you, but only at one pre-printed value (often 10 or 15 degrees). For other values, you’ll need to mentally calculate the offset.
Method 3: Use the map and orient on the fly. Hold the compass on the map and rotate both until the orienting arrow aligns with the magnetic north indicator on the map. This technique relies on the declination diagram printed on the map itself, which often shows three lines: true north, magnetic north, and grid north. Match the compass needle to the magnetic north line on the diagram, then plot your bearing relative to that.
When I bring a non-adjustable compass on a trip, I keep a small notecard in my map case with the current declination value and direction written in large letters. If you prefer digital, a note on your phone works too, as long as you trust the battery.
Map Orientation and the Red in the Shed Technique
Orienting a map means aligning it so the map’s north points to actual north. Once oriented, every feature on the map is in the same direction as the real-world feature. With declination correctly set, orienting a map becomes almost automatic.
The “red in the shed” technique is the most reliable way to do it. Here’s how it works on a baseplate compass.
Step 1: Place the compass on the map so that one edge of the baseplate runs along a north-south meridian (a vertical map grid line).
Step 2: Rotate the map and compass together until the red north end of the compass needle sits inside the “shed,” which is the small outline on the baseplate that surrounds the orienting arrow.
Step 3: The map is now oriented. Any feature you see on the map is in the same direction as the real-world feature.
Why “red in the shed” matters: it forces you to confirm orientation before plotting a bearing. If declination is set correctly, the needle sits in the shed whenever the map matches the ground. If it doesn’t, either your declination is wrong, or you haven’t aligned the compass edge properly along a true north meridian.
Common Declination Mistakes and How to Avoid Them
After reading years of forum threads and answering hundreds of questions, I’ve noticed the same handful of mistakes keep showing up. Avoiding them puts you ahead of most beginners.
Mistake 1: Confusing east and west declination. This is the king of all declination errors. Solution: draw a small diagram on your notecard showing the angle between true and magnetic north at your location, with arrows labeled “add” or “subtract.”
Mistake 2: Forgetting declination on the return trip. When you set out, declination is set. When you return, you may have switched maps or picked up a different compass. Recheck every leg.
Mistake 3: Using an outdated declination value. Maps from 2010 may have declination values that are off by a degree or more by now. Update to the current NOAA value.
Mistake 4: Forgetting to re-set declination when crossing into a new region. A trip from New York to Vermont crosses a different declination zone. Pause at the border to recalibrate.
Mistake 5: Trusting a phone compass in the backcountry. Phone compasses drift, especially near metal or electronics. Always carry a backup baseplate compass.
Why Declination Changes Over Time
Magnetic north is not stationary. It drifts as Earth’s molten iron outer core shifts the magnetic field. Currently, magnetic north is moving northwest from Canada toward Siberia at roughly 50 to 60 kilometers per year. That drift is why NOAA updates the World Magnetic Model every five years.
For most casual use, the change between updates is small. But for precise work – survey mapping, long-distance backcountry travel, or scientific use – you should always pull the latest value. I refresh my declination notes every January and before each major trip.
Some users mark their compass dial with a permanent adjustment based on the most common area they hike. If you only hike in one region, that’s a reasonable shortcut. If you travel, treat declination as a per-trip setup.
Digital Compasses and Smartphone Apps
Smartphones include magnetometer-based compasses that automatically apply declination based on your GPS location. On iPhone, the Compass app rotates to magnetic north, but it does not natively display declination in degrees. You can see declination in apps like Commander Compass, Gaia GPS, and some aviation apps.
On Android, the stock Compass app behaves similarly. Both platforms benefit from GPS-enabled declination correction, which is more accurate than the magnetometer alone.
The big limitation: a phone compass drifts near cars, belt clips, and other metal. Battery life is also a real concern in the backcountry. My approach is to use the phone compass for casual orientation and to fall back on a dedicated baseplate compass for any serious trip. The baseplate compass needs no battery, no signal, and no software update.
For travel in remote areas, a quality baseplate compass with adjustable declination is the gold standard. Combined with a current declination value from NOAA, you can find your way confidently without depending on any electronics.
FAQs
Do you add or subtract for declination?
It depends on whether the declination is east or west. For easterly declination, subtract the value when converting a true bearing to a magnetic bearing. For westerly declination, add the absolute value. To convert magnetic to true, reverse the operation: add easterly declination and subtract westerly declination.
What happens if declination is already set on your compass?
If declination is already dialed in, your compass is ready to use. Just confirm the value matches your current location and the current year, since declination shifts gradually over time. If the value matches, you can sight bearings directly from your map.
Does the iPhone compass adjust for declination?
The stock iPhone Compass app shows magnetic north using the magnetometer, but it does not display the declination value in degrees. To see declination on iPhone, use a third-party app such as Gaia GPS, Commander Compass, or an aviation app. These apps combine GPS location with the World Magnetic Model to compute accurate declination.
How do you use a compass without adjustable declination?
Convert true bearings from your map to magnetic bearings using the add/subtract rule for east or west declination. Set the converted bearing on your compass dial before walking. Alternatively, use the declination diagram printed on your topographic map to align the compass needle with the magnetic north line on the map.
How often does magnetic declination change?
Magnetic declination changes gradually as Earth’s magnetic field drifts. NOAA updates the World Magnetic Model every five years, and the current model is valid through 2026. For casual navigation, an annual check is usually sufficient. For survey-grade work, use the current year’s WMM values.
Practice Exercises to Lock in the Skill
Theory gets you halfway. Real fluency comes from practice. Here are three exercises I run with new compass users before any backcountry trip.
Exercise 1: Declination swap. Pick five locations on a topo map and calculate the magnetic bearing using the local declination. Then plot a magnetic bearing and convert it back to true. Doing both directions builds muscle memory.
Exercise 2: Set and sight. Set the declination on your compass. Walk 100 meters along a bearing and see if you arrive at the target. Repeat with the declination off and notice how far off course you end up.
Exercise 3: Night navigation. With declination set, take a bearing under headlamp. Stress-test your setup under conditions similar to a real trip. The first time you do this, you’ll discover any habits you forgot to build.
After a few rounds of these drills, the add/subtract rule becomes reflexive. That’s the moment when compass work stops feeling like math and starts feeling like driving.
Conclusion
Magnetic declination is the silent correction that turns a compass from a pretty toy into a real tool. Find your local value from NOAA, learn the east-versus-west add/subtract rule, set your compass before each trip, and verify your bearing before you walk. That habit chain will keep you on trail, save wasted miles, and turn compass work into a confidence-building skill instead of a stress test.
For your next outing, take ten minutes before the trailhead to dial in the current declination for your area and walk a short bearing to confirm. Once you’ve done it a few times, you’ll never head into the woods without it again.