
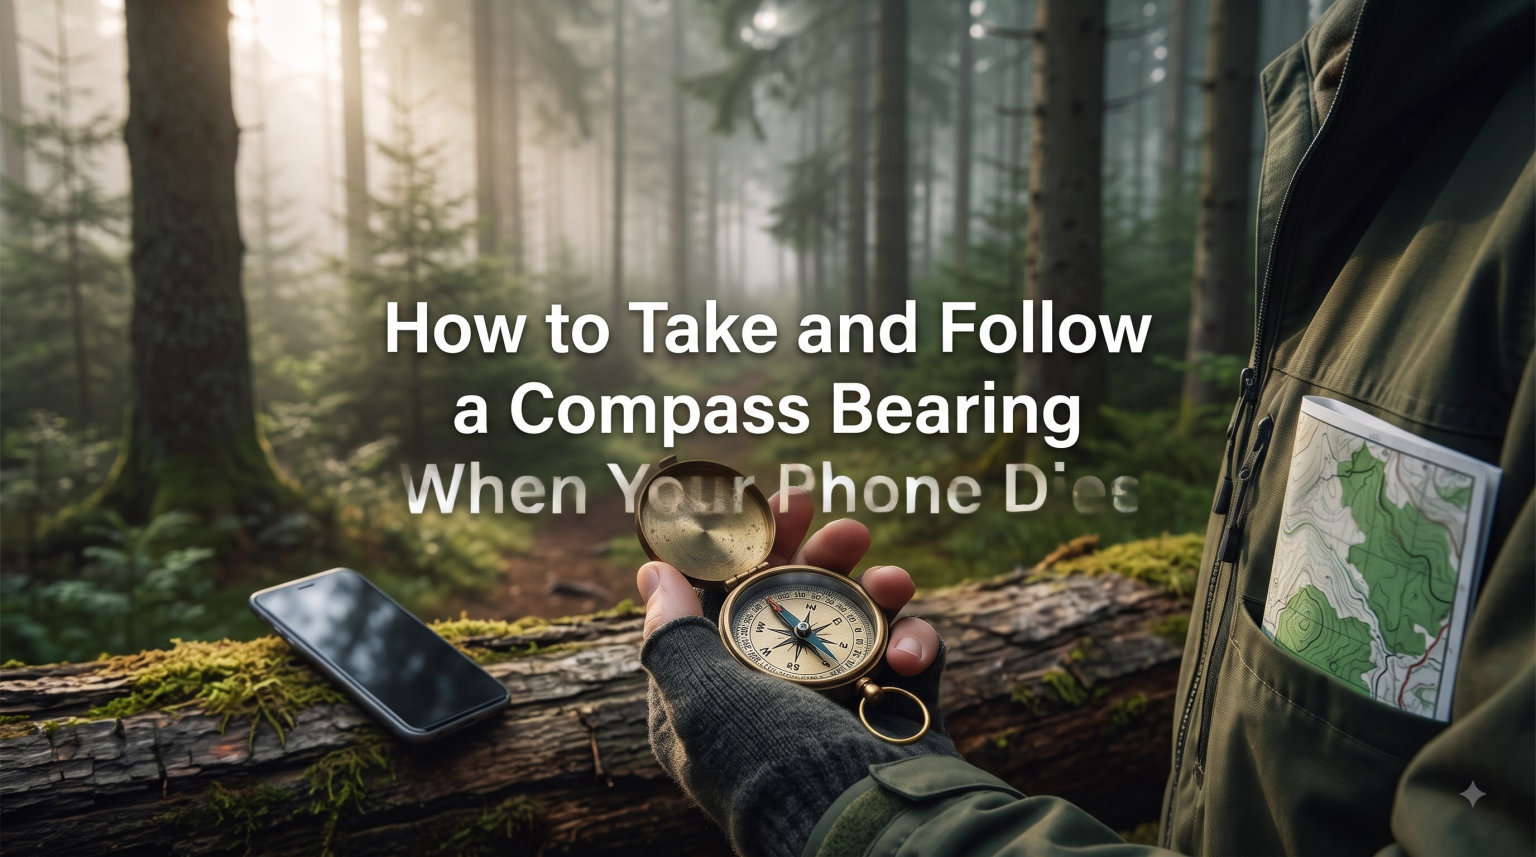
Your phone shows 1%. You tap the screen to pull up your GPS track and the display goes black. The trail behind you looks the same in every direction, and the sun is sliding toward the ridge. This is the moment every hiker quietly dreads, and the moment every compass-carrying hiker quietly prepared for.
In this guide I’ll show you how to take and follow a compass bearing using nothing but a baseplate compass and your eyes. We’ve tested these steps on cold mornings in the Cascades, in foggy coastal forests, and on featureless desert flats. By the end you’ll be able to pick a heading, walk it, find your way back, and dodge obstacles without losing your line. No batteries required.
Table of Contents
What Is a Compass Bearing and Why It Matters in Emergencies
A compass bearing is a direction of travel expressed in degrees from 0 to 360, with 0 (or 360) pointing to magnetic north. Instead of saying “head toward that tall pine,” you say “head at 73 degrees.” That number doesn’t care about fog, snow, darkness, or a dead phone. It only needs a working needle and a level compass.
Bearings matter in emergencies because they replace everything a GPS does. A GPS gives you a track, a position, and a destination. A bearing gives you a single decision: turn to this number and walk. When electronics fail, that single decision becomes the most important piece of data you carry.
Land navigation is the formal name for finding your way with a compass. When you walk a bearing without a map, you’re doing a form of dead reckoning, where you track direction and distance manually. It’s the same technique explorers, soldiers, and search-and-rescue teams have used for centuries. With practice, you can hold a line within a few degrees over a mile of travel.
Know Your Compass: The 6 Parts You Need to Identify
Before you take your first bearing, learn the parts of a baseplate compass. Every model has the same six features, and each one plays a role in measuring a direction of travel.
Baseplate. The flat rectangular plate with a ruler on the edge. You hold this in your palm. Look for the direction-of-travel arrow printed on it, usually a black arrow near the front edge.
Magnetic needle. The floating red-and-white needle under the housing. The red end always points to magnetic north. Most needles sit in a liquid-filled capsule so they settle quickly even when you move.
Orienting arrow. The arrow or outline inside the bezel, usually shaped like an arrowhead or a shed. You’ll rotate this to align with the magnetic needle. This is the famous “needle in the shed” cue taught in every scouting program.
Azimuth ring (or bezel dial). The rotating numbered ring around the housing. It runs from 0 to 360 degrees. Rotating this is how you “set” your bearing before you walk.
Index line. The fixed mark at the top of the housing where you read the bearing number. Often a small triangle or tick mark on the housing’s top edge.
Direction-of-travel arrow. The big arrow on the baseplate, pointing forward. This is what you aim at your destination before you read the bearing.
Take 60 seconds with a new compass and find each piece. Name them out loud. I keep a compass in my truck and I do this once a season so the parts stay familiar and my hands know the shape in the dark.
How to Take a Compass Bearing (Step-by-Step)
Taking a compass bearing is the act of measuring the direction to a point you can see. Follow these five steps in order, and you’ll have a usable number in under 20 seconds.
- Hold the compass level in front of your chest. Keep your elbows tucked against your ribs. The baseplate should be flat, not tilted forward or to one side.
- Point the direction-of-travel arrow at your destination. Imagine a laser running along the arrow toward your target. Move your whole body until the arrow lines up.
- Rotate the bezel until the orienting arrow sits directly over the red (north) end of the magnetic needle. The red end must sit inside the outline. This is called “putting the needle in the shed.”
- Read the number at the index line. This is your bearing in degrees, measured clockwise from magnetic north.
- Write it down. Pencil and paper or a note on your leg. Memory fails under stress; paper doesn’t.
That number is your compass bearing. The whole process takes about 15 seconds once you’ve practiced it 10 times in your living room.
A few tips to keep your reading honest. Hold the compass away from metal: belt buckles, trekking pole ferrules, knives, and yes, even your phone. Hold it at belly height so it’s away from the magnetic field of your head. Wait for the needle to stop swinging before you read it. If the needle still moves, give it another second.
How to Follow a Compass Bearing Without Drifting
Taking a bearing is half the skill. Walking it accurately is the other half, and it’s harder than it sounds because people naturally curve when they walk without landmarks. The trick is to break the trip into short legs and check your line often.
- Set the bearing on your compass. Rotate the bezel until the index line shows the number you wrote down. The orienting arrow is now fixed in place.
- Hold the compass level and turn your body until the needle sits inside the orienting arrow (the shed). The direction-of-travel arrow is now pointing exactly along your bearing.
- Pick a landmark directly along that line. A tree, a rock, a fence post 50 to 100 meters ahead. This is your “shooting post” because you shoot your sight along it.
- Lower the compass and walk to the landmark. Don’t stare at the compass while walking; it pulls your eyes down and you weave off line.
- Stop, sight again, pick the next landmark. Repeat until you reach your destination.
On a 1-mile walk in open terrain, expect to stop and re-sight 6 to 10 times. In thick brush, double that. The shorter the legs, the straighter the line. This is the single biggest reason trained navigators hit their targets while beginners wander off course by 30 degrees or more.
If you can’t see any landmark, say in fog or dark woods, you can still follow the line by keeping the needle in the shed as you walk. Move one foot at a time and pause every 20 steps to recheck. It feels slow. It works. I’ve used this technique to walk half a mile through a fogged-in forest on a section of the Pacific Crest Trail.
Finding Your Way Back: Reciprocal Bearing Explained
The biggest reason hikers get lost walking a bearing is forgetting the return trip. Always calculate your reciprocal bearing before you start moving. A reciprocal bearing is the exact opposite direction, and the math is simple enough to do in your head.
If your outbound bearing is 180 degrees or less, add 180. If it’s more than 180, subtract 180. Either way, you end up with the back-azimuth you need to retrace your path.
- Outbound 73 degrees, reciprocal 73 + 180 = 253 degrees
- Outbound 210 degrees, reciprocal 210 – 180 = 30 degrees
- Outbound 0 degrees (north), reciprocal 180 degrees (south)
- Outbound 359 degrees, reciprocal 179 degrees
Write both numbers down before you leave. “Out 73, back 253.” Now if your phone dies or your day runs long, you can pivot and retrace your exact path without guessing. This single habit has rescued more lost hikers than any other skill.
Getting Around Obstacles With the Box Method
You will not get far on a single bearing without hitting something. A lake, a cliff band, a thick patch of deadfall. The box method lets you detour without losing your line because every turn is a known 90-degree step.
- Hit the obstacle and stop. Note your current bearing and pick a side to detour around, usually right unless terrain suggests otherwise.
- Turn 90 degrees right from your bearing. Set your compass to that new number and walk until you’re past the obstacle.
- Count your paces. Each of your natural steps counts as one pace. Most adults take 60 to 70 paces per 100 meters on flat ground.
- Turn 90 degrees left to walk parallel to your original line. Travel the distance needed to clear the obstacle, then stop.
- Turn 90 degrees left and walk the same number of paces you counted in step 3. You’re now on the far side, directly across from your start point.
- Turn 90 degrees right and walk back to your original bearing line. Re-sight your destination and continue.
The box method is reliable in dense brush because each leg is short and counted. The main risk is miscounting paces. To lower that risk, count out loud or use a tally on a stick. I’ve watched trained guides do this entire dance in 4 minutes flat. Beginners usually take 10 to 15 minutes their first time.
Pacing and Distance Estimation
A bearing tells you direction. To know if you have walked far enough, you also need distance. The simplest way is to count paces.
Walk 100 meters of measured flat ground and count your natural paces. Most adults land between 60 and 70 paces per 100 meters on the flat. Up hill, your pace count rises by 30 to 50 percent for the same ground distance. Down hill, it drops slightly.
For example, if you count 65 paces per 100 meters on flat ground, that same 100 meters uphill might take you 90 paces. Knowing your personal pace count lets you turn a bearing into a real arrival point instead of a guess.
When the trail is steep or rocky, use time instead of paces. Most adults walk about 3 kilometers per hour on flat trail. Multiply your time on the bearing by your speed to estimate distance covered.
Advanced Field Techniques: Aiming Off and Handrails
Once you’ve mastered the box, two more techniques solve the common “where am I exactly” problem that catches even experienced hikers.
Aiming off. When your destination is a linear feature like a trail or river, deliberately aim a few degrees left or right of it. When you hit the line, you know which way to turn along it to find your target. This beats the alternative of walking parallel to the trail for hours because you can’t tell which side you’re on.
Handrails. A handrail is any linear feature you can follow without a compass: a stream, a ridge, a power line cut. Use a bearing to reach the handrail, then follow it in the easier direction toward your goal. When I cross the Cascades, I use creeks as handrails because they lead downhill to trailheads. No compass needed once I’m on the creek.
Common Mistakes That Send Hikers Off Course
Even experienced hikers drift when they skip the basics. Watch for these traps and correct them the moment you notice them in the field.
Holding the compass crooked. A tilted needle drags and reads wrong. Always level, always level, always level.
Ignoring magnetic declination. Maps use true north, compasses use magnetic north. The difference is your magnetic declination, which can be 10 to 20 degrees depending on where you are. If you ever mix a map bearing with your compass, you need to adjust. For pure field use without a map, just follow the needle.
Staring at the compass. Looking down at the dial while walking pulls you off line. Sight, lower, walk, repeat. Your eyes belong on the trail, not on the bezel.
Forgetting to record the bearing. Stress kills memory. Write it down. Tape it to your forearm if you have to.
Trusting your memory of a winding trail. “I just walked downhill, so going back is just uphill” is wrong the moment the trail curves. A reciprocal bearing is exact; memory isn’t.
Walking near metal. Belt buckles, knives, phones, even ice axes can deflect the needle by 5 to 20 degrees. Hold the compass away from your pack and gear.
Backup Methods When You Don’t Have a Compass
If your phone died and you forgot your compass, two analog tricks still work using only the sun and a bit of patience.
Analog watch as a compass. In the Northern Hemisphere, point the hour hand at the sun. The line bisecting the angle between the hour hand and 12 o’clock points south. At 3 p.m., the angle points straight south. In the Southern Hemisphere, use the 12 o’clock mark instead and the line points north.
Shadow stick method. Stick a straight branch in flat ground. Mark the tip of its shadow with a stone. Wait 15 minutes and mark the new tip. The line between the two stones runs roughly east-west, with the first mark at the west end.
Both are rough and depend on sunlight, but they can save your life when nothing else is available. They’re worth practicing at home so the steps are muscle memory when you need them.
Frequently Asked Questions
How do I use a compass if lost?
Stop moving, sit down, and calm your breathing for five minutes. Find your current position using terrain around you, then pick a safe landmark such as a trail, river, or ridge. Take a bearing from where you are to that landmark, calculate the reciprocal bearing in case you overshoot, and walk the line using short legs and frequent sightings. If conditions are bad, stay put and signal instead of wandering.
Can I pull up a compass on my phone?
Yes. iPhone, Android, and most smartwatches include a built-in compass app that uses the device’s magnetometer. It works without cell signal. The downside is battery drain: continuous compass use can kill a phone in a few hours, which is why experienced hikers carry an analog baseplate compass as backup. A phone compass is a great primary tool but never a primary-only tool in the backcountry.
How accurate is a handheld compass?
A quality baseplate compass is accurate to within 2 degrees when held level and used away from metal. At 1 kilometer that translates to roughly 35 meters of error, which is well within the size of most landmarks. Cheap button compasses on watches and keychains can be off by 10 degrees or more. For emergency navigation, spend a few dollars on a real baseplate model with a liquid-filled housing.
Do I need to adjust for magnetic declination?
Only when you translate between a map and a compass. If you take a bearing visually with a compass and follow that same compass reading back, declination does not matter because the error cancels out. If you plot a bearing from a map (which uses true north), you must add or subtract the local declination to match magnetic north before walking. You can find your local declination from a topographic map or an online calculator.
How do I keep track of my bearing when I can’t see my destination?
Break the trip into short legs using intermediate landmarks. Pick a visible tree or rock along your bearing line, walk to it, then pick the next landmark from that new spot. Repeat every 50 to 100 meters. In fog, dark woods, or featureless terrain where you cannot see anything, walk slowly with the compass in front of you, keeping the needle in the shed, and pause every 20 steps to recheck your alignment.
Final Thoughts: Practice Before You Need It
Learning how to take and follow a compass bearing when your phone dies is one of the cheapest, lightest insurance policies you can carry. A baseplate compass weighs about an ounce and costs less than a tank of gas. The skill weighs nothing and lasts forever.
Pick a Saturday morning, drive to a local park, and walk a 1-mile loop using only bearings. Time yourself. Pick a foggy day and try again. The first time you find your way home by needle alone, you’ll feel a quiet confidence that no phone update can match. Pack the compass. Practice the steps. Your future self, standing on a trail with a black screen, will thank you.