
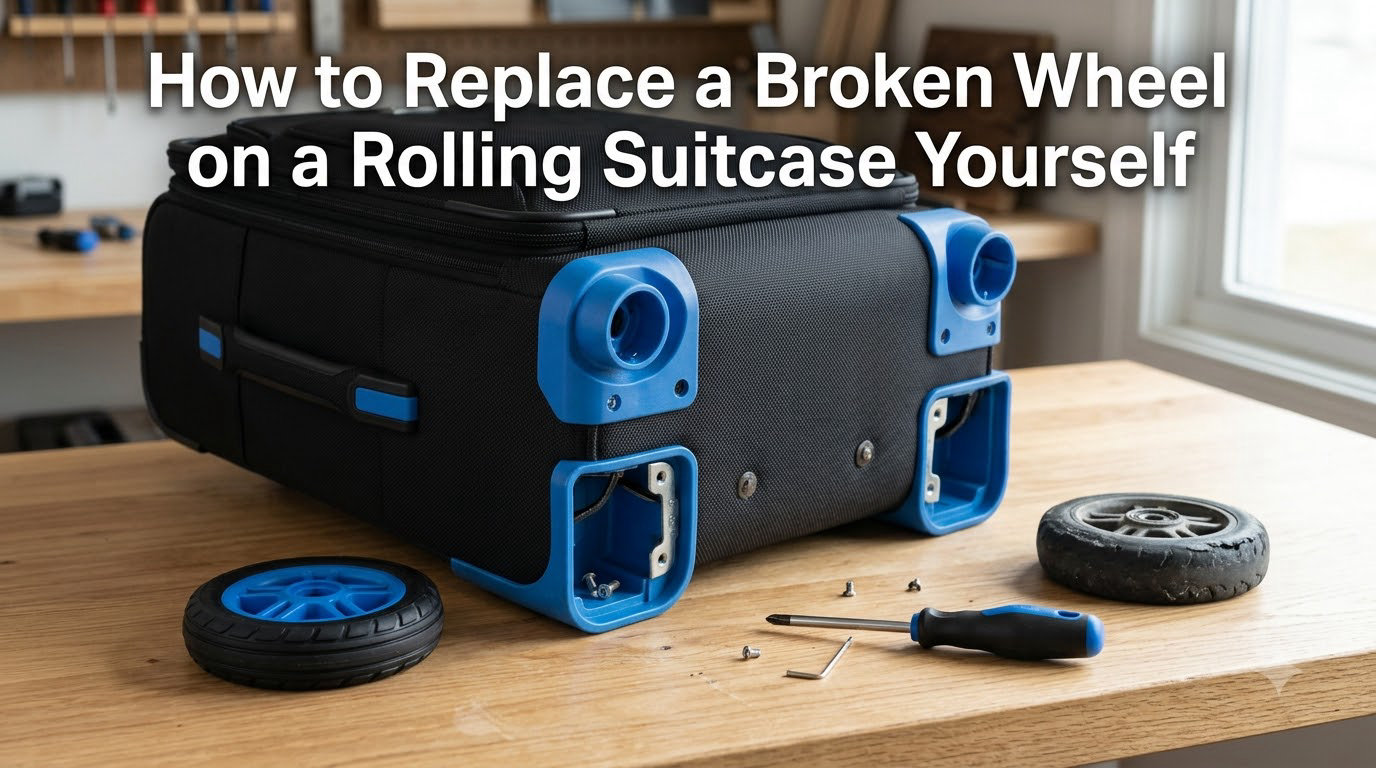
Learning how to replace a broken wheel on a rolling suitcase yourself can save you the cost of buying entirely new luggage. A cracked, jammed, or missing wheel is one of the most common travel gear problems, and the good news is that most rolling suitcases are designed with replaceable wheels. Whether your bag has spinner wheels or fixed inline wheels, the repair process comes down to two main methods depending on how your wheels are mounted.
Our team has researched repair methods from DIY forums, manufacturer guides, and luggage repair professionals to put together this complete walkthrough. We cover everything from diagnosing the problem to sourcing the right replacement wheel and completing the swap. By the end of this guide, you will have the confidence to tackle this repair at home with basic tools.
Most repairs take 20 to 45 minutes and require tools you likely already own or can pick up for a few dollars. The process differs depending on whether your wheels are held in place by screws or rivets, so we will walk you through both methods step by step.
Table of Contents
Can You Replace Wheels on a Rolling Suitcase?
Yes, you can replace wheels on most rolling suitcases yourself at home. The vast majority of luggage manufacturers design their wheels to be serviceable, which means they can be removed and swapped with replacements without special equipment.
The repair method depends on how the wheel is attached to your suitcase. Wheels secured with screws are the easiest to replace and typically take about 15 minutes per wheel. Wheels held in place by rivets require a bit more effort since you need to cut or drill out the old rivet, but the process is still completely doable for a DIYer with standard hand tools.
Forum users on Reddit’s DIY communities regularly report successful luggage wheel replacement using basic tools like screwdrivers, pliers, and hacksaws. Many note that the hardest part is not the actual repair but finding the correct replacement wheel that matches the mounting hardware on their specific suitcase.
Diagnosing the Problem: Is Your Wheel Really Broken?
Before you start removing wheels, make sure the problem actually requires replacement. Many suitcase wheel issues look like breakage but turn out to be simple maintenance problems you can fix in five minutes. We have seen cases where a wheel that seemed completely dead turned out to be packed with hair and debris.
Signs Your Wheel Is Actually Broken
Real wheel damage usually falls into one of these categories. Cracked or split wheel housings mean the plastic or rubber shell has fractured and the wheel will no longer roll smoothly. Flat spots on the wheel surface cause a bumpy, noisy ride and happen when luggage sits in one position under heavy load for extended periods.
Missing chunks of rubber from the wheel exterior create an uneven rolling surface and can damage floors. A wheel that wobbles excessively on its axle often indicates a bent or worn bearing that cannot be tightened back into shape. If the wheel has separated entirely from its mounting bracket, you are dealing with a clear replacement situation.
When Cleaning Is All You Need
Start by inspecting the wheel for tangled hair, threads, or debris wrapped around the axle. This is the number one cause of wheels that stop spinning freely. Use tweezers or needle-nose pliers to pull out anything wrapped around the axle, then wipe the wheel with a damp cloth.
If the wheel still does not spin after cleaning, try applying a few drops of silicone lubricant or WD-40 to the axle area. Spin the wheel by hand a dozen times to work the lubricant in. A wheel that spins freely after this treatment does not need replacement.
A wheel that is cracked, chipped, or has flat spots will not improve with cleaning and genuinely needs to be replaced. Take photos of the damage before you start so you have a reference for matching the replacement part later.
Identifying Your Wheel Type: Screwed vs Riveted
Identifying your wheel type is the single most important step in this process because it determines which repair method you will use. Turn your suitcase upside down and examine where each wheel meets the housing or bracket. The mounting hardware is always visible if you look closely.
Screwed Wheels
Screwed wheels are attached with visible screws or bolts that pass through the wheel housing into the suitcase frame. You will see a screw head (Phillips, flathead, or hex) on one or both sides of the wheel mount. These are the most common type on modern luggage and the easiest to service.
Some screwed wheels also use a C-ring or E-clip that snaps onto the axle to hold the wheel in place. Look for a small metal ring sitting in a groove on the axle shaft. You will need C-ring pliers or a small flathead screwdriver to remove this clip before the wheel slides off.
Riveted Wheels
Riveted wheels are held in place by metal rivets instead of removable screws. The rivet head looks like a smooth, rounded metal button with no screwdriver slot. You cannot unscrew a rivet, which means you have to cut or drill it out to remove the old wheel.
Riveted wheels are more common on older luggage and budget brands. The removal process requires a hacksaw, drill, or rotary tool to cut through the rivet. This takes more time and care than removing a screw, but it is a straightforward process once you understand the technique.
Spinner Wheels vs Inline Wheels
Spinner wheels rotate 360 degrees and are mounted on swivel brackets that allow them to pivot in any direction. These typically come in sets of four and are found on modern four-wheel suitcases. Spinner wheel assemblies include the wheel plus the swivel mount, so you may need to replace the entire assembly rather than just the wheel itself.
Inline skate wheels roll in a fixed direction and are usually mounted in pairs on the back edge of two-wheel rolling luggage. These are simpler to replace because the wheel slides straight off the axle once the mounting hardware is removed.
Tools and Materials You’ll Need
Gathering your tools before starting saves time and prevents mid-repair trips to the hardware store. The tools you need depend on your wheel type, but many of these are standard household items you may already have in your toolbox.
For Screwed Wheels
You will need a screwdriver set (Phillips and flathead), C-ring pliers if your wheels use retaining clips, a pair of needle-nose pliers for holding small parts, and a small container to keep screws and washers organized. A hex key or Allen wrench set is useful if your luggage uses hex bolts instead of standard screws.
A tape measure and caliper help you match the replacement wheel dimensions. Measure the wheel diameter, width, and axle hole diameter before ordering replacements. Having these numbers ready makes online ordering much faster.
For Riveted Wheels
Riveted wheel removal requires cutting tools. A hacksaw with a fine-tooth blade is the most accessible option for most people. A power drill with metal-cutting bits works for drilling out rivet centers. A rotary tool like a Dremel with a cutting wheel attachment offers precise control.
You also need safety goggles to protect your eyes from metal shavings, work gloves for grip, and a file or sandpaper to smooth rough edges after cutting. A replacement bolt and nut set allows you to secure the new wheel since you cannot re-rivet without specialized equipment.
Replacement Wheels
Replacement wheels are available from several sources. Universal luggage wheel replacement kits sold on Amazon and hardware stores fit many common suitcase brands. Some manufacturers like Samsonite and Travelpro sell direct replacement parts through their websites or customer service departments.
When ordering, match the wheel diameter, axle diameter, and overall width to your original wheel. If you cannot find an exact match, look for universal wheels with adjustable axle sleeves that adapt to different mounting hardware. Many Reddit users report good results with inline skate wheels or rollerblade wheels as replacements for inline suitcase wheels.
How to Replace Screwed Luggage Wheels (Step by Step)
Screwed wheel replacement is the simpler repair method and takes about 15 to 20 minutes per wheel. Here is the complete step-by-step process based on techniques shared by DIY repair communities and luggage manufacturers.
Step 1: Empty and Position the Suitcase
Remove all contents from your suitcase so it is completely empty and lightweight. Working with an empty bag makes it easier to flip and position during the repair. Place the suitcase upside down on a stable, well-lit surface like a table or workbench.
Step 2: Remove the Old Wheel
Locate the screw or screws holding the wheel in place. Most wheels have one screw on each side of the axle, though some have a single center screw. Use the appropriate screwdriver to loosen and remove each screw, keeping them in your small container so they do not get lost.
If your wheel uses a C-ring clip instead of a screw, use C-ring pliers to squeeze the clip open and slide it off the axle. If you do not have C-ring pliers, a small flathead screwdriver can carefully pry the clip out of its groove. Pull the old wheel straight off the axle once the hardware is removed.
Step 3: Clean and Inspect the Wheel Housing
With the wheel removed, take a moment to clean the wheel well and axle area. Remove any accumulated dirt, hair, or debris with a cloth or old toothbrush. Inspect the axle shaft for wear, bending, or corrosion.
If the axle is damaged, you may need a replacement axle or the complete wheel housing assembly. A straight, clean axle is essential for smooth wheel rotation after the repair.
Step 4: Install the Replacement Wheel
Slide the new wheel onto the axle, making sure it sits flush against the housing. The wheel should spin freely by hand before you secure it. If the new wheel has a slightly different axle diameter, use the included adapter sleeves or washers to fill any gap.
Reinstall the screws or C-ring clip to secure the wheel. Tighten screws firmly but avoid over-tightening, which can restrict the wheel’s ability to spin. The wheel should rotate smoothly with light hand pressure.
Step 5: Test the Repair
Stand the suitcase upright and push it across a smooth floor. Listen for clicking or grinding sounds that indicate improper seating. The repaired wheel should roll as smoothly as the other three wheels with no wobbling or resistance.
How to Replace Riveted Luggage Wheels (Step by Step)
Riveted wheel replacement takes about 30 to 45 minutes per wheel and requires cutting tools. The process involves removing the old rivet, cleaning the mount, and installing the new wheel with a bolt-and-nut combination. Here is the step-by-step method recommended by experienced DIYers.
Step 1: Gather Safety Gear and Position the Suitcase
Put on safety goggles before you start cutting metal. Metal shavings from the rivet can fly off during cutting and drilling, and eye protection is non-negotiable. Work gloves give you better grip and protect your hands from sharp edges.
Empty the suitcase and place it upside down on a stable surface. Make sure the wheel you are working on is easily accessible and well-lit.
Step 2: Cut or Drill Out the Old Rivet
The hacksaw method is the most common approach for home DIYers. Position the hacksaw blade against the rivet head where it meets the wheel housing. Saw carefully back and forth until you cut through the rivet head, which will typically pop off after a minute or two of cutting.
Alternatively, use a drill with a metal bit slightly larger than the rivet’s center hole. Drill straight through the rivet center until the rivet head separates from the shaft. This method is faster but requires a steady hand to avoid drilling into the suitcase material.
Some Reddit users report success using a Sawzall or oscillating multi-tool to cut through stubborn rivets. Whatever tool you choose, work slowly and check your progress frequently to avoid damaging the surrounding plastic or fabric.
Step 3: Remove the Old Wheel
Once the rivet head is removed, push the remaining rivet shaft through the wheel housing from the opposite side. Use pliers to pull out any stuck shaft fragments. Slide the old wheel off the axle and set it aside for dimension matching.
Step 4: Clean and Prepare the Wheel Housing
Use a file or sandpaper to smooth any rough metal edges left from the cutting process. Sharp burrs can damage the new wheel or scratch you during installation. Clean out the wheel well of debris and check that the axle hole is clear and undamaged.
Step 5: Install the Replacement Wheel with a Bolt
Since you cannot re-rivet without a rivet gun, use a bolt and nylon-locking nut to secure the new wheel. Slide the bolt through the wheel housing, through the replacement wheel’s axle hole, and out the other side. Add washers on both sides of the wheel to prevent it from rubbing against the housing.
Thread the nylon-locking nut onto the bolt and tighten it with a wrench while holding the bolt head with pliers or a second wrench. Tighten until the wheel is secure but still spins freely. The nylon insert in the locking nut prevents it from vibrating loose during travel.
Step 6: Test Thoroughly
Flip the suitcase upright and roll it across different floor surfaces. Pay attention to the repaired wheel and confirm it spins smoothly without wobbling, grinding, or catching. Push the bag forward, pull it backward, and make turns to stress-test the repair from multiple angles.
DIY vs Professional Repair: What Actually Makes Sense
Deciding between DIY repair and professional service comes down to cost, time, and the value of your luggage. For most standard suitcases, doing the repair yourself is the clear winner on cost. DIY wheel replacement typically costs just the price of replacement wheels, which usually run between $8 and $25 for a set.
Professional luggage repair services charge significantly more, often between $40 and $80 per wheel when you factor in parts and labor. Some high-end brands offer warranty wheel replacement, but this usually requires shipping your luggage to a service center, which adds time and shipping costs.
DIY repair makes the most sense for budget and mid-range luggage, older suitcases that are out of warranty, and travelers who want quick turnaround. Professional repair or manufacturer warranty service is worth considering for premium luggage brands where using exact original parts matters for resale value or warranty coverage.
Replacing the entire suitcase is almost always the most expensive option. A quality rolling suitcase can cost anywhere from $80 to $400 or more, while a wheel replacement costs a fraction of that. Unless your suitcase has multiple structural issues beyond the wheels, repairing the wheels extends its usable life for years.
Emergency Temporary Fixes While Traveling
A wheel breaking mid-trip is stressful, especially when you are far from your toolbox. Here are temporary fixes that can get you through the rest of your journey until you can do a proper repair at home.
If a wheel has cracked but not fully detached, wrap it tightly with duct tape or electrical tape from your travel kit. This stabilizes the wheel enough to prevent further damage during transport. The tape will not last long-term but can get you through an airport or train station.
If a wheel has fallen off entirely, tilt the suitcase to roll on the remaining three wheels. Most four-wheel spinners function adequately as three-wheel bags for short distances. For two-wheel luggage with one missing wheel, carry the bag by the handle or use a luggage strap to sling it over your shoulder.
Hotel front desks sometimes have basic tools available for guest use. Ask if they have a screwdriver or pliers you can borrow for a quick repair. Some airport lost-and-found or baggage service desks also carry emergency repair supplies for damaged luggage.
Preventing Future Wheel Damage
A few simple habits can significantly extend the life of your luggage wheels. These preventive measures take minimal effort but can save you from repeating this repair process down the road.
Clean your wheels after every trip. Hair, string, and debris accumulate around the axles during travel and gradually restrict wheel rotation. A quick wipe-down with a damp cloth and a check for tangled material takes less than two minutes per wheel.
Avoid dragging your suitcase up and down stairs on its wheels. The impact stress from bouncing on steps is a leading cause of cracked wheel housings. Carry the bag by its handle when navigating stairs, curbs, and uneven surfaces like cobblestone or gravel.
Store your suitcase wheels-up when not in use. Long-term pressure on the wheels from the weight of the bag can develop flat spots, especially in hot storage environments like attics or car trunks. Give wheels an occasional spin to keep the bearings from seizing up during long storage periods.
Where to Buy Replacement Suitcase Wheels
Finding the right replacement wheel is often the most time-consuming part of this repair. Start by checking your luggage manufacturer’s website or contacting their customer service department. Brands like Samsonite, Travelpro, Delsey, and Tumi often sell replacement parts directly or can point you to authorized dealers.
Amazon carries a wide selection of universal luggage wheel replacement kits that fit many common brands. Search for your luggage brand name plus “replacement wheels” to find compatible options. Read the reviews carefully to see if other buyers have used the kit successfully with your specific luggage model.
Hardware stores like Home Depot and Lowe’s carry inline skate wheels and caster wheels that can serve as replacements with minor modifications. Specialty luggage repair shops in major cities stock brand-specific parts and can also perform the repair if you decide DIY is not for you.
Frequently Asked Questions
Can you replace wheels on a rolling suitcase?
Yes, most rolling suitcases have replaceable wheels. Screwed wheels simply unscrew and swap out in about 15 minutes, while riveted wheels require cutting or drilling out the old rivet before installing a replacement with a bolt and nut. Replacement wheels are widely available online from manufacturers and retailers.
Can a broken suitcase wheel be repaired?
In many cases yes, but it depends on the type of damage. Wheels jammed by hair or debris can often be fixed with cleaning and lubrication. Cracked, chipped, or missing wheels require full replacement, which is a straightforward DIY process for both screwed and riveted wheel types.
Is it worth replacing wheels on a suitcase?
Yes, replacing wheels is almost always worth it compared to buying new luggage. Replacement wheels typically cost under $25, while a new quality suitcase costs far more. The repair takes under an hour and can extend the life of your luggage by several years.
What to do if a luggage wheel breaks?
First determine if the wheel is truly broken or just dirty and jammed. Clean the axle area and apply lubricant to see if that fixes the issue. If the wheel is cracked or missing, identify whether it is screwed or riveted, gather the appropriate tools, and follow the step-by-step replacement process outlined in this guide.
Conclusion
Knowing how to replace a broken wheel on a rolling suitcase yourself is a practical skill that saves money and extends the life of your travel gear. The process comes down to identifying your wheel type, gathering a few basic tools, and following the appropriate step-by-step method for screwed or riveted wheels.
Start by diagnosing whether your wheel truly needs replacement or just a good cleaning. Once you confirm replacement is necessary, match your replacement wheel to the original dimensions and choose the correct installation method. Most repairs are complete in under an hour and cost a fraction of buying new luggage.
Take your time with each step, especially when cutting rivets, and always wear safety goggles when working with metal. Your repaired suitcase will roll smoothly again and serve you well for many more trips to come.