
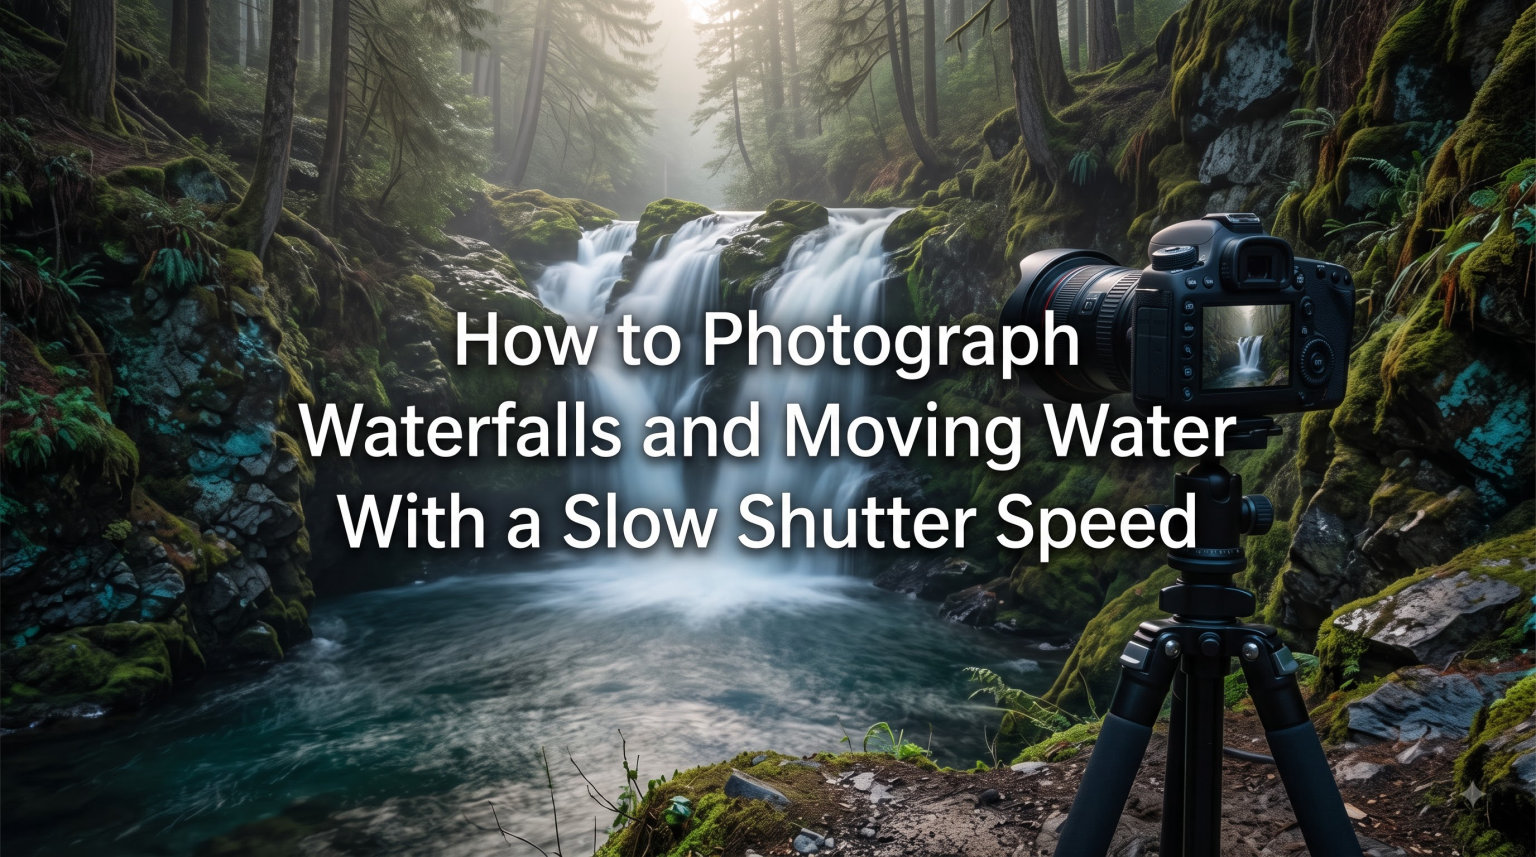
There’s a moment every landscape photographer remembers: the first time they see rushing water turn into pure silk on the back of their camera. I still remember standing at a small cascade in Oregon with my tripod sunk into wet gravel, watching a 6-second exposure transform violent white rapids into a glassy ribbon.
This guide on how to photograph waterfalls with a slow shutter speed distills everything I learned across three wet seasons of trial and error. You’ll get the exact shutter speeds, aperture values, ISO settings, and gear choices professional landscape photographers use, plus the mistakes that cost me dozens of frames before I figured them out.
By the end, you’ll know how to plan a waterfall shoot, set your camera for silky water, choose the right ND filter, and handle the wind and spray problems that ruin most beginner waterfalls. Whether you’re shooting with a DSLR, mirrorless body, or iPhone, the same principles apply.
Table of Contents
How to Photograph Waterfalls With a Slow Shutter Speed
The core technique behind how to photograph waterfalls with a slow shutter speed is simple: leave the shutter open long enough that moving water blurs into a smooth, milky streak while stationary rocks and trees stay sharp. This is called long exposure photography, and it’s the difference between a snapshot of water and a portrait of water.
A typical waterfall long exposure runs anywhere from 1/4 second to 30 seconds depending on the volume and speed of the water. Small mountain streams reach the silky look in under a second. Big cascades like Niagara need 5 to 30 seconds to fully smooth out. The wider the lens and the more turbulent the scene, the longer the exposure you’ll want.
What shutter speed creates the silky water effect
Water starts to look silky once shutter speed drops below about 1/4 second. From 1/4 second to 1 second you get a soft, slightly textured look. From 1 to 4 seconds the water becomes creamy. Beyond 5 seconds you enter the misty, fog-like look that most people associate with professional waterfall photography.
I shot a small cascade at f/11, ISO 100, for 1/2 second and got a hint of motion. The same scene at 8 seconds looked like a watercolor painting. Going to 25 seconds pulled so much mist out of the water that the rocks in the foreground started veiling over. There’s a sweet spot for each scene, and finding it is half the fun.
Step-by-step technique for your first long exposure
Step 1: Mount your camera on a tripod. Anything that moves during the exposure will blur, including your hand. A stable tripod is non-negotiable.
Step 2: Set your ISO to 100 (or the lowest native value your camera offers). Lower ISO means less noise and more flexibility for long exposures.
Step 3: Choose an aperture between f/8 and f/11 for waterfalls. This gives you sharpness across the frame and enough depth of field that foreground rocks and background trees both look crisp.
Step 4: Switch to Manual mode and pick a starting shutter speed of 1 second. Take a test shot and review the histogram.
Step 5: If the scene is too bright, you’re in one of two situations: add a neutral density filter or shorten the shutter to 1/4 second. If the scene is too dark, lengthen the shutter to 2 seconds or open the aperture to f/8.
Step 6: Use a 2-second self-timer or remote shutter release to fire the camera without touching it. Any vibration at the start of the exposure will blur the entire image.
Camera Settings for Waterfall Photography
The right camera settings for waterfall photography follow the same exposure triangle logic as any other genre, with one twist: your shutter speed is locked in by the effect you want, so you adjust the other two corners of the triangle to match the light.
ISO, aperture, and shutter priority
Set ISO to 100 for the cleanest image. ISO 200 is acceptable on modern mirrorless cameras. Anything above ISO 400 starts to introduce noise that becomes visible in shadow areas, especially on long exposures where heat from the sensor builds up over time.
Use an aperture between f/8 and f/11 for most waterfall scenes. f/8 is the sweet spot for wide-angle lenses because it balances sharpness with diffraction. f/11 gives you more depth of field when you have foreground rocks close to the lens. Avoid going smaller than f/16 because diffraction softens the image noticeably.
Set your shutter speed last. In manual mode, dial in the slow shutter speed that gives you the silky look you want. In shutter priority mode, pick the shutter speed and let the camera choose the aperture. Manual mode is preferred because waterfalls are tricky for in-camera metering, especially in shaded forests where the camera often overexposes the highlights.
Reading the histogram and exposure
The histogram is your best friend for waterfall photography. The LCD preview on the back of your camera looks bright in daylight and dark in shade, so it lies to you. The histogram tells the truth.
For a balanced exposure, push the histogram as far to the right as possible without clipping the highlights. Blown-out white water is recoverable to a point, but blown-out white water plus a tiny sun glint is a permanent bright spot. Always check the right edge of the histogram after each shot.
Shooting in shutter priority vs manual mode
Shutter priority mode works fine for beginners because the camera meters the light and chooses an aperture. The problem is that cameras often underexpose shaded waterfalls because the dark forest tricks the meter into opening the shutter longer than needed.
Manual mode gives you full control. I shoot 90% of my waterfall work in manual mode with auto ISO turned off. Once you dial in your base settings, only the shutter speed changes between shots.
Tripod and Stabilization Essentials
A sturdy tripod is the single most important piece of gear for waterfall photography. Camera shake from hand-holding eliminates the entire long-exposure effect, and stabilization mistakes turn an 8-second exposure into a smeared mess.
Look for a tripod that weighs at least 3 pounds and has a load capacity of 15 pounds or more. Aluminum tripods are cheaper and heavier. Carbon fiber is lighter and stronger but costs more. Don’t skimp here. A $40 tripod will fail in wind, vibrate in running water, and slowly tilt over the course of a long exposure.
Two accessories make a noticeable difference. A ball head with an Arca-Swiss clamp lets you level the camera precisely without re-adjusting the legs. A remote shutter release or wireless remote removes the need to touch the camera at the start of the exposure. If you don’t have a remote, the 2-second self-timer works just as well.
Hang your camera bag from the center column of the tripod for extra stability in wind. This trick adds weight low and keeps the tripod from wobbling. I learned this on a windy day at Bridal Veil Falls and never went back.
Neutral Density Filters Explained
A neutral density filter is a piece of dark glass that screws onto the front of your lens and reduces the amount of light entering the camera. It lets you use a slow shutter speed even in bright daylight when the light would otherwise force a faster shutter.
Choosing the right ND filter stops
ND filters are rated by stops of light reduction. A 3-stop ND reduces light by 3 stops, letting you shoot at 1/8 second instead of 1/1000 second. A 10-stop ND reduces light by 10 stops, turning a 1/1000 second shutter into a 1 second shutter. A 15-stop ND lets you shoot 30-second exposures in midday sun.
For waterfall photography, the workhorse is a 6-stop or 10-stop ND. A 6-stop gives you the silky look on overcast days and shaded forests. A 10-stop is essential for bright sunny conditions and gives you the creamy 5 to 30 second exposures that produce the most dramatic silk effect. I carry a 10-stop as my primary filter and a 6-stop as my backup.
Budget-friendly ND alternatives
Quality ND filters cost anywhere from $50 to $300 for a 77mm thread size. Budget options work, but watch for color casts. Cheap ND filters often turn your image slightly blue or magenta at long exposures. The Big Stopper and Little Stopper from Lee Filters are well-regarded but expensive. Formatt Hitech and B+W make solid mid-range options.
If you can’t afford a filter, shoot at dawn or dusk when light is naturally low. The hour around sunrise and sunset gives you 30-second exposures without any filter at all. Another option is waiting for overcast weather, where you can shoot at f/11, ISO 100, and 1 to 4 seconds without a filter.
Composition Tips for Stunning Waterfall Images
Composition turns a technically correct photo into a great one. The most powerful waterfall images have a clear focal point, leading lines, and a sense of depth that pulls the viewer into the scene.
Use leading lines through the path of the water itself. A diagonal cascade draws the eye from a corner toward the center of the frame. A vertical waterfall anchors the composition in the middle or the rule-of-thirds line.
Include foreground elements. A wet boulder, a moss-covered log, or a colorful leaf adds scale and texture. Without foreground, the water sits alone in the frame and the image feels flat.
Try a low angle. Crouching down and shooting upward toward the waterfall makes the water look more powerful and dramatic. Just bring a microfiber cloth because the lens will get spray.
Consider excluding the sky. A blown-out white sky pulls attention away from the water. Cropping the sky out of the frame keeps the focus on the silky water and the surrounding rocks.
Dealing With Wind and Vegetation Movement
Wind is the most underestimated problem in waterfall photography. A 10-second exposure in a 5 mph breeze will blur every leaf and branch in the frame, even though the rocks and water stay sharp. The result is a ghostly scene that looks like a mistake.
Three workarounds exist. The first is to wait for calm conditions. Most waterfalls are sheltered in narrow canyons where wind dies down. The second is to use a shorter exposure (1/4 second) where the wind motion is less noticeable. The third is to take a separate sharp frame of the vegetation and blend it in Photoshop, which is the technique used by most professional landscape photographers.
I’ve found that golden hour and overcast mornings almost always have less wind than midday. Steep canyons also tend to be calmer than open meadows. When wind is unavoidable, embrace it. A 1/4 second exposure with a slight blur in leaves can look intentional and atmospheric.
Best Lighting Conditions and Times to Shoot
The best light for waterfall photography is overcast, soft, and even. Bright sun creates harsh shadows, blown-out highlights, and uneven exposure across the frame. Cloud cover acts like a giant softbox, smoothing the light on the water and the rocks.
Golden hour, the hour around sunrise and sunset, produces warm, glowing light that works beautifully on west-facing waterfalls. The water picks up orange and pink tones, and the silky effect looks magical against the warm light.
Midday is the hardest time of day but can work with a strong ND filter. A 10-stop filter turns a 1/1000 second shutter into a 1 second shutter, which is enough for a soft silky effect even in harsh sun.
Winter offers unique opportunities. Icicles form at the edges of waterfalls, frozen spray creates intricate patterns on rocks, and the lack of leaves on deciduous trees opens up new compositions. Just dress warmly and watch for ice on your tripod legs.
Protecting Your Camera From Water Spray
Water spray is the enemy of every camera. Mist from a waterfall can coat your lens in droplets and seep into buttons and seams. A rain cover or plastic bag works in a pinch, but a dedicated rain cover is more reliable.
Wipe your lens with a microfiber cloth every few shots. A single water droplet on the front element creates a soft spot in the image that doesn’t show up in the viewfinder. I keep one microfiber cloth in my pocket and another wrapped around my wrist for fast access.
Stay aware of the wind. A sudden gust can shift the spray direction and soak your camera in seconds. Always check for changing conditions, especially when shooting near the base of a large waterfall.
Smartphone Waterfall Photography Tips
Modern smartphones can produce surprisingly good long exposure waterfall shots. iPhone’s Live Photo mode captures a 3-second video clip from which you can extract a long exposure frame. Android phones with manual mode let you dial in the shutter speed directly.
For iPhone, open the camera app, turn on Live Photo, and hold the phone as steady as possible against a rock or tree. After taking the shot, swipe up on the photo in the Photos app, select Effects, and choose Long Exposure. The phone combines frames to create a smooth water effect.
For Android, switch to Pro or Manual mode (found in the camera app’s menu), set ISO to the lowest value, and pick a shutter speed around 1 to 4 seconds. Stabilize the phone against a surface because even small hand movements will blur the stationary elements.
Smartphone results won’t match a full-frame camera with a 10-stop filter, but they can be genuinely beautiful. The milky effect is real, and the file is more than enough for social media and small prints.
Common Mistakes to Avoid
Forgetting to turn off image stabilization. IS on a tripod creates micro-movements that blur long exposures. Turn it off before the first shot.
Shooting in JPEG only. RAW files give you 2 to 3 stops of recovery in post-processing, which matters when shadows and highlights are both common in waterfall scenes.
Skipping the histogram. The LCD lies, especially in bright sun. Always check the histogram and chimp the highlights before moving on.
Using UV filters instead of ND filters. A UV filter doesn’t reduce light. You need a real neutral density filter for long exposures in daylight.
Choosing the wrong aperture. f/22 sounds like more depth of field, but diffraction softens the image. Stick with f/8 to f/11 for sharper results.
Rushing the composition. Take the time to walk around the waterfall, try different angles, and check the foreground. The best shots are usually the ones where you spent 10 minutes looking before raising the camera.
FAQs
What is a good slow shutter speed for taking pictures of waterfalls?
A good slow shutter speed for waterfalls starts at 1/4 second for a soft motion look and ranges from 1 to 4 seconds for a creamy effect. For the classic silky, misty look, use 5 to 30 seconds. Small streams need shorter exposures, while large cascades need longer ones to fully smooth out.
What shutter speed should I use for moving water?
For moving water, start with 1/4 second for a soft look. Use 1 to 2 seconds for a creamy texture. Use 5 to 30 seconds for the silky, glassy effect. The exact speed depends on water volume: faster flows need longer exposures to fully blur.
What is the best ISO setting for taking pictures of waterfalls?
The best ISO setting for waterfall photography is 100, the lowest native value on your camera. ISO 100 minimizes noise and gives you the most flexibility for long exposures. ISO 200 is acceptable on modern mirrorless cameras. Avoid ISO 400 or higher because heat from the sensor builds up during long exposures and creates visible noise in shadow areas.
What type of camera is best for taking waterfall photos?
Any camera with manual mode and the ability to shoot at slow shutter speeds works for waterfall photography. A DSLR or mirrorless camera with a tripod mount and manual exposure control is ideal. A wide-angle lens (16-35mm range) gives you the most flexibility for landscape compositions. Smartphones with manual or long exposure modes can also produce good results.
Do I really need an ND filter for waterfall photography?
An ND filter is essential for bright daylight conditions but not always necessary. On overcast days, in shaded forests, or during golden hour, you can shoot long exposures without a filter. In bright midday sun, a 6-stop or 10-stop ND filter is required to reach slow shutter speeds like 1 to 30 seconds. A 10-stop ND is the most versatile choice.
How do I prevent camera shake during long exposures?
Use a sturdy tripod, a remote shutter release, and the 2-second self-timer. Turn off image stabilization when using a tripod because it can introduce micro-movements. Hang your camera bag from the tripod’s center column for added weight. Avoid touching the camera during the exposure entirely.
Can I photograph waterfalls with my iPhone?
Yes, modern iPhones can capture long exposure waterfall shots using Live Photo mode. Turn on Live Photo, take the shot while holding the phone steady against a rock or tree, then open the photo in the Photos app, swipe up, and select the Long Exposure effect. The phone combines frames to create a smooth water effect.
Final Thoughts
Learning how to photograph waterfalls with a slow shutter speed is one of the most rewarding skills in landscape photography. Once you understand the relationship between shutter speed, aperture, ISO, and ND filters, you can turn any waterfall into a piece of visual art.
Start with the basics: a tripod, ISO 100, and a 1 to 4 second exposure. Add a 10-stop ND filter when you want to shoot in daylight. Practice reading the histogram. Try different compositions and angles. Watch the wind. Wait for the light. The waterfall will be there for hours. Take your time.
I still learn something new every time I shoot a waterfall. The technique is simple, but the variations are endless. Go out this week, find a local cascade, and put these techniques into practice. Your first silky water shot is closer than you think.